...Return To Mine & Other Bonneville Car Construction Pages
.Previous Page...............B'ville Car Index Page.........................Next Page
..............................-- Skin Chute Doors - Part I --.................
.................. .
.
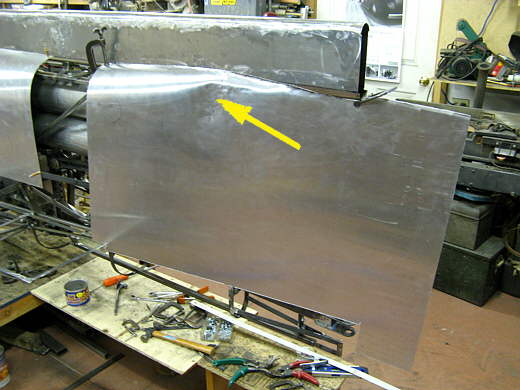
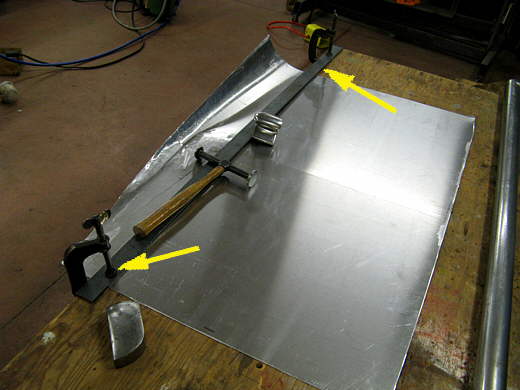
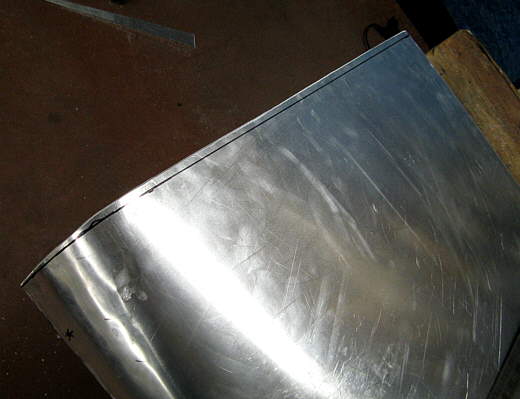
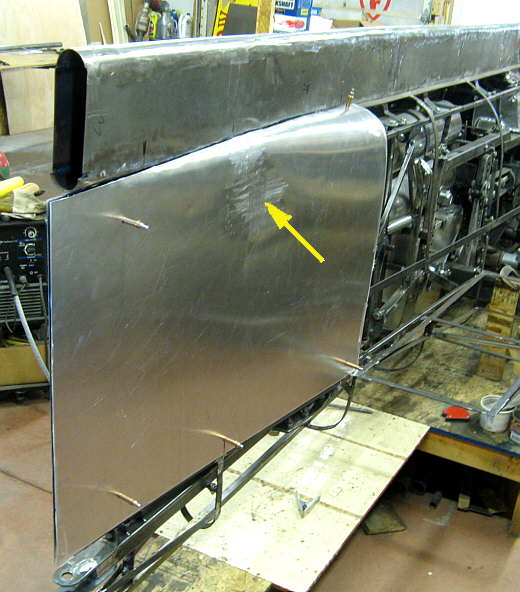
Well I had put off skinning some more of the car for about as long as I could. I cut a piece of .050 3003 aluminum about 28 inches long and left it the full 48 inches wide from the sheet of aluminum that had been used for the two forward pieces of the body. I rolled part of the top like what I had done on the other two pieces. I wanted to bring the piece in a little more than 7 deg. angle part way back on the door (arrow) and then from there back taper to less than 7 deg. angle with the rear edge almost parallel to the cars centerline. This resulted in needing a compound curve in the area of the arrow.
.................. .
.
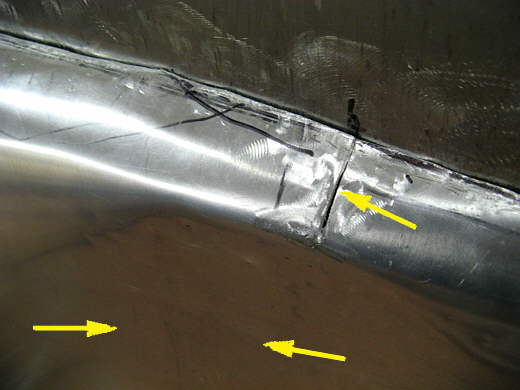
I beat that area in with a poly teardrop shaped mallet until I got about the shape I wanted. Of course then the top near the exhaust/tail fin wasn't right and I had to cut a ..............
.................. .
.
........ relief cut in it to move the top roll into the shape I wanted. The top arrow is the relief cut made with a cutoff wheel and the two arrows point to the area I beat in with the mallet.
.................. .
.
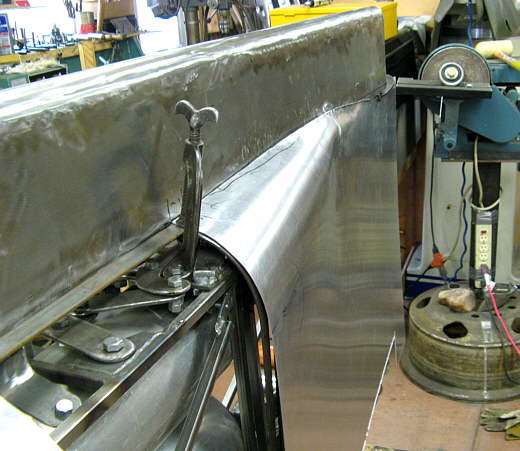
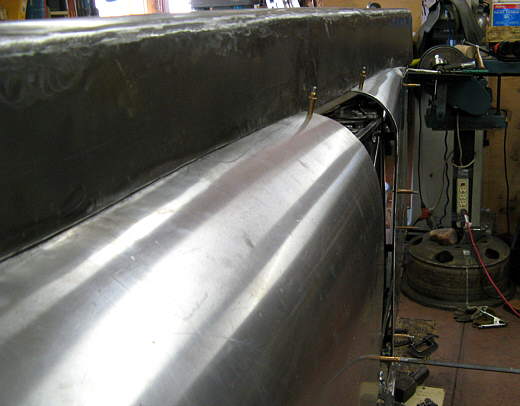
I made most of the roll with the pipe (arrow) earlier by putting it where the flat stock and c-clamps are in the picture and bending the panel around it as I moved the panel to different positions under the pipe. Here the panel is just being held stead with the flat strap while................
.................. .
.
.......... fine tune the edge and the relieved area with a hammer and dolly.
.................. .
.
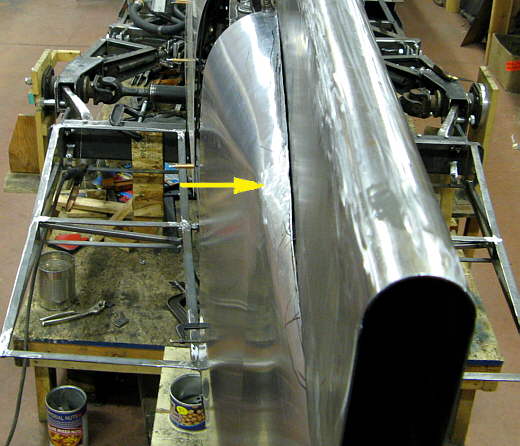
Next the relief cut was welded closed with the TIG (arrow).... and ......
.................. .
.
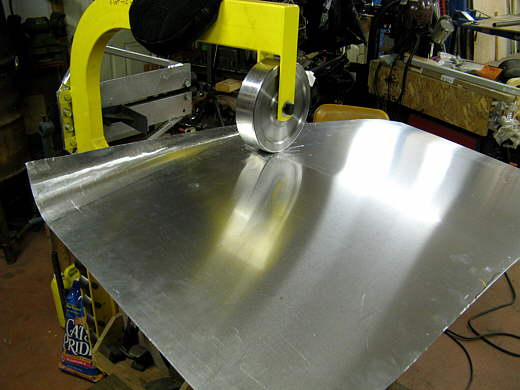
......... the English wheel was used to take out the hammer marks and to work on the compound curve in the flatter part of the panel some. I rolled the panel through in this direction in the worked area and then turned it 90 deg. and rolled in that area. I didn't have it set with much pressure as I was mainly just trying to get the blows from the mallet worked back smooth.
.................. .
.
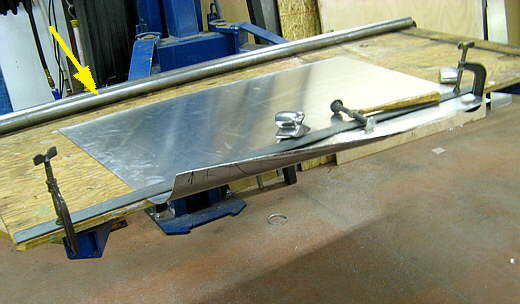
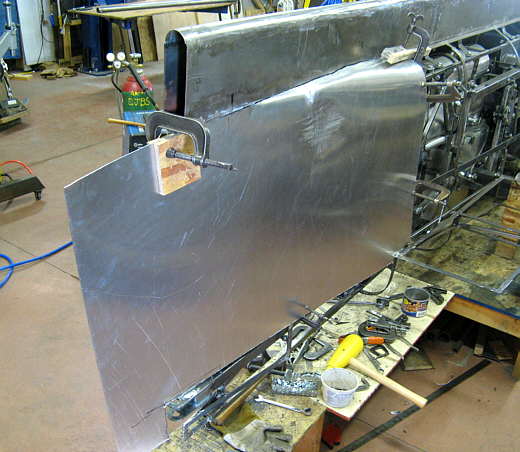
Here the skin is cut to final dimensions and held onto the door frame with clecos. To cut it to final size I marked it at a couple places when it was in position on the door and then.....
.................. .
.
.......... finished marking it along the entire length of the area to be cut. Next.............
.................. .
.
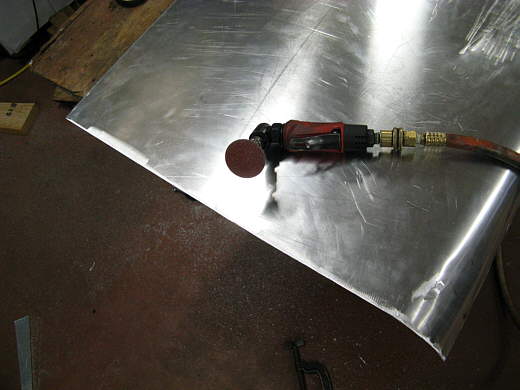
........... a piece of strap was clamped next to the cut line the right distance so that when the plasma cutter was used it would be going down almost on the line. I can't image doing all of these panels without the plasma cutter. Tin snips are used in some areas while fitting the panel like the area where it wraps down and around under the exhaust, but all of these long cuts were done with the plasma cutter along with cutting the oversize pieces that I would start with. I start with them oversize on all sides and then trim in until I just need these more or less straight cuts. After the cut with the plasma cutter.................
.................. .
.
I clean the edge up with a 50 or 80 grit disk. I found out to use a high setting with the plasma cutter on the aluminum and move along the cut much faster than when cutting steel. There is hardly any cleanup at all. I love it.
.................. .
.
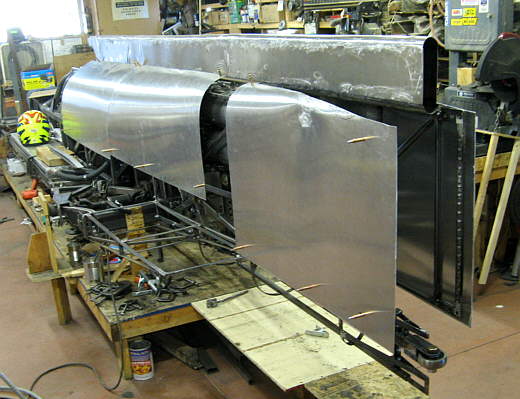
A view looking back at the door skin.
.................. .
.
Next I moved to the other side and did the same procedure, but it went a lot faster than the first time. You can see the mallet that was used below the door.
.................. .
.
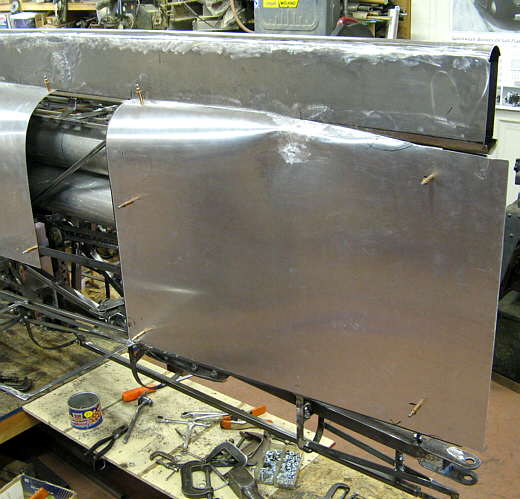
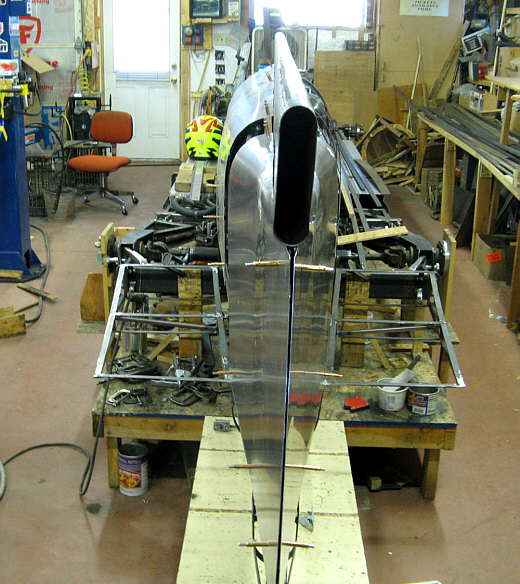
Here is the other door cut and finished. The arrow points to the same area on this door that has an "S" curve look to it looking down from above. You can also see the tracks vertically and horizontally from the English Wheel. At the bottom the door skin overlaps the bottom horizontal body mount by 3/8th inch along it's horizontal run. The bottom skin will also overlap that 3/4 inch strap by 3/8th inch coming up from the bottom. The strap gives a common backing for both. The same happens at the leading edge of the door skin. It overlaps the vertical 3/4 inch strap that is the rib defining the body shape there by 3/8th inch. The way the hinges work on the door they first move the door straight out away from the body and then forward.
.................. .
.
A view of the rear...... and .............
.................. .
.
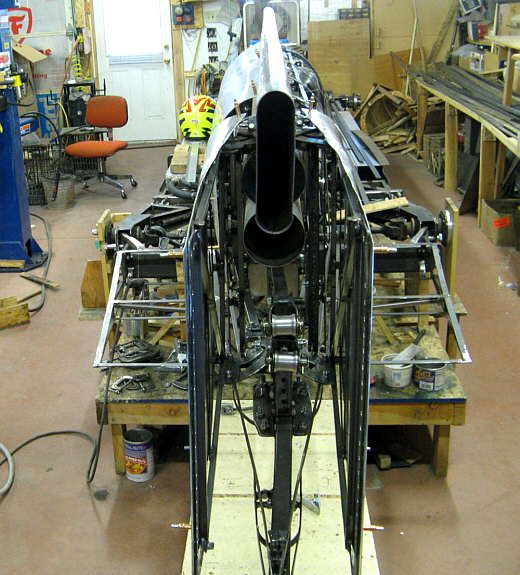
...........from the back with the chute doors open. I am not interested in these doors acting as a brake and hope aero wise they will be pretty neutral, but there will be a large low pressure area they when they open. It is hard to visualize size in these pictures, since most of the pictures are taken on wide angle, but...........
.................. .
.
.............. they open to a little over 9 inches wide and they are 24 1/2 inches high at their back edge. I will still have to skin the inside of the doors and cover the push bar and anything else that the chute could hang on.
................................ .
.
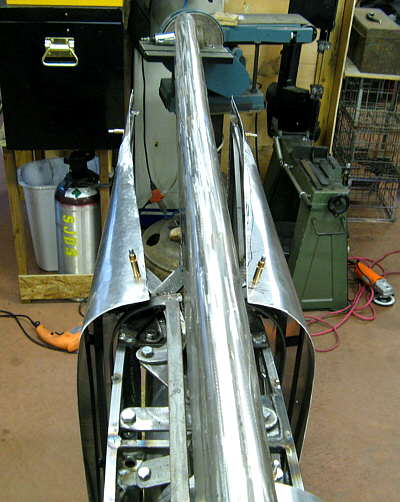
And finally a view looking rearward. I'm starting to get my courage up to try skinning a more difficult area and will move to the area below the doors and the back of the side pods next.
..............................................................Next Page