...Return To Mine & Other Bonneville Car Construction Pages
.Previous Page...............B'ville Car Index Page.........................Next Page
........................................-- Body Mounts Part II --.................
.................. .
.
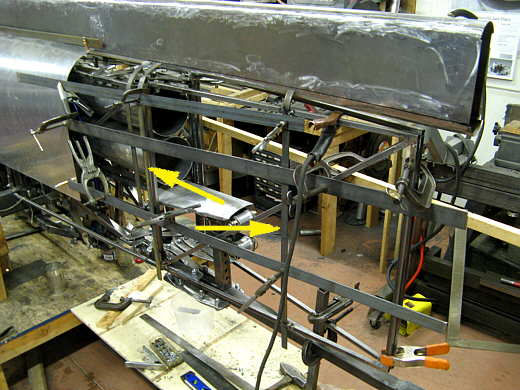
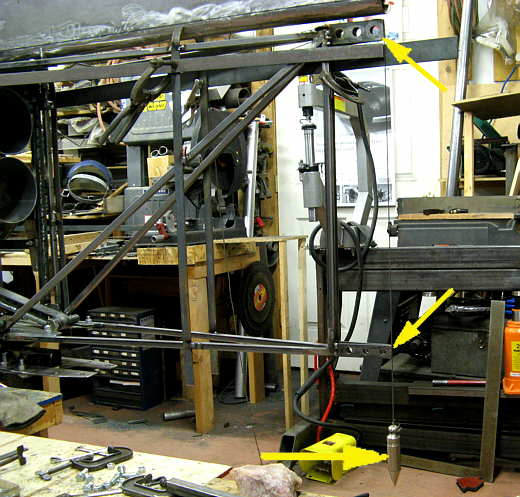
Before I could finish making body panels for the rear of the car I had to finish body mounts in this area. These mounts are used as guides/bucks to shape the body to and to hold the body on. After the body is finished some of them might be cut off of the car. The arrows point to two vertical mounts that define the shape of the sides of the chute door. All of the horizontal pieces are temporary and use to position the uprights in the correct place.
.................. .
.
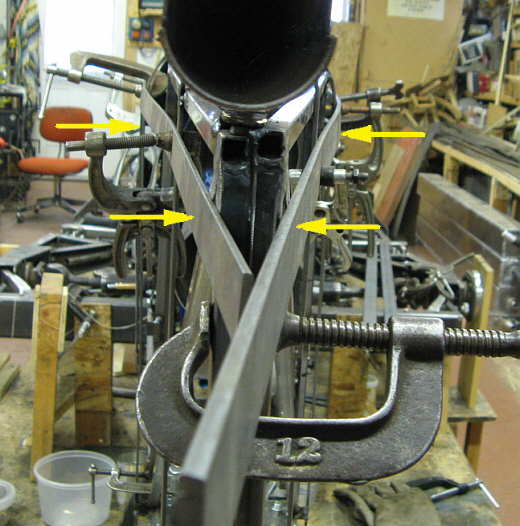
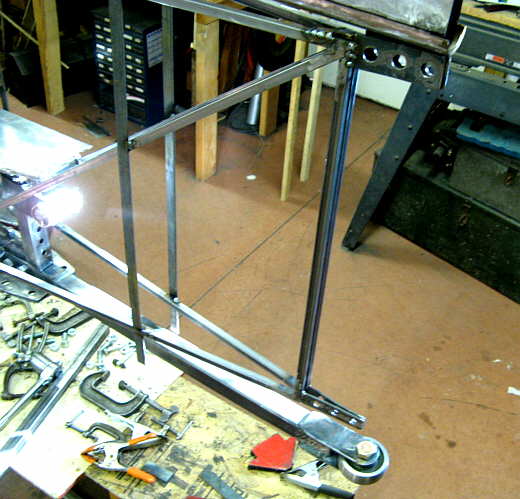
Another picture of the two uprights being positioned and then welded to the door with tabs coming off of the door out to them.
.................. .
.
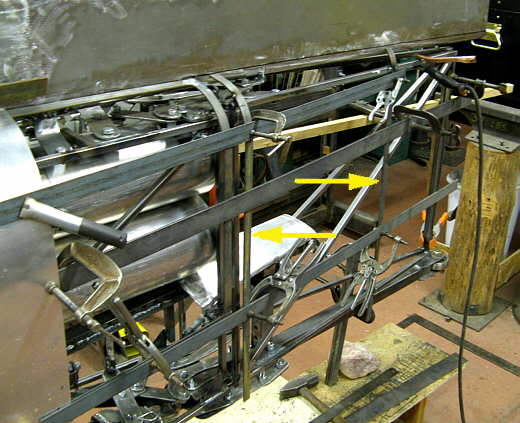
I talked to "Blue" on landracing.com about some of the aero at the rear of the car. The car tapers in from the cage area to the back at a little less than 7 deg. to help with the aero back here. He suggested that at a point 1/2 way between the cage (widest part of the car) and the rear of the car increasing the "in taper" to somewhat more than 7 deg. (area at upper two arrows). If I understood right this will induce a low pressure in that area and some of the air will flow into it and reattach to the car where I have taken the taper back to less than 7 deg. (area of lower two arrows). At the very back the two sides now come together in a more parallel fashion instead of converging at a 7 deg. angle. So the air joins in parallel air streams and not converging ones. To picture this better think what it looks like looking down on the rear of a fish and you will see this "S" shaped convergence going out to the fish's tail.
.................. .
.
I was unable to start this "S" shaped transition 1/2 way back from the cage due to internal parts being in the way. I decided to do it the best I could at the door. Hopefully this will help some to bring the air from both sides of the car together in a non-turbulent way.
.................. .
.
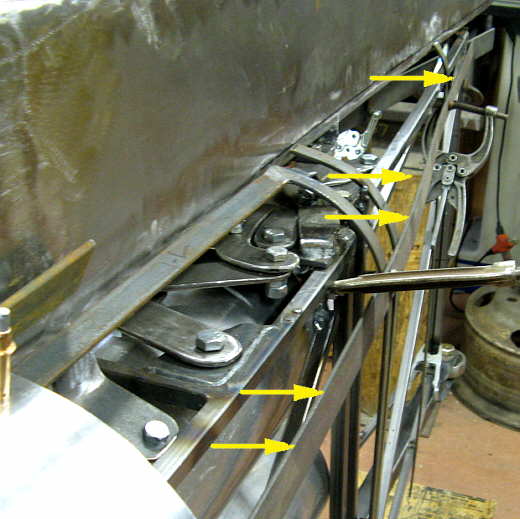
Here I am attaching the two rearmost parts of the door (2 right arrows) using a plumb bob (left arrow).
.................. .
.
You can see how they are bent a little to further enhance the near parallel convergence of the two sides of the chute doors.
.................. .
.
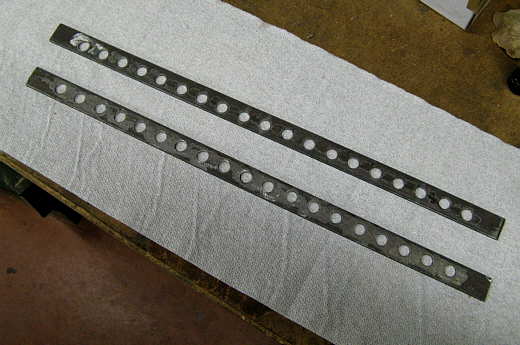
These 2 bars will be added to the very rear of the door vertically between the pieces that were attached in the last picture.
..............................................................Next Page