...Return To Mine & Other Bonneville Car Construction Pages
.Previous Page...............B'ville Car Index Page.........................Next Page
.......-- Finish Primary Exhaust & Inlet Plenum --.................
.................. .
.
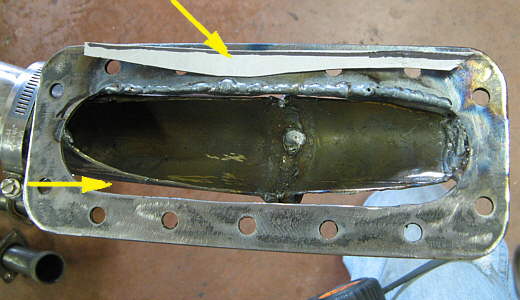
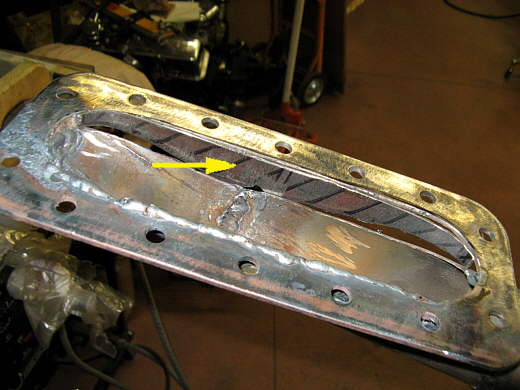
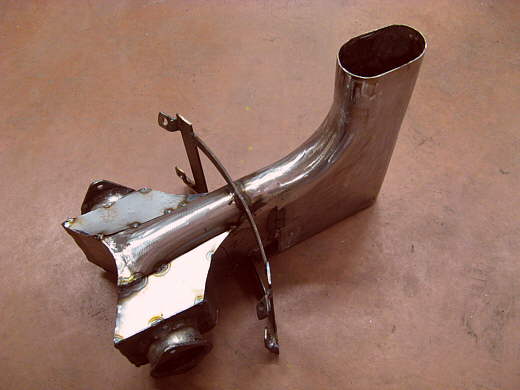
To finish off the primary side of the exhaust I had to fill the gaps (bottom arrow) where they met the main exhaust flange. To do this I first made cardboard patterns.
.................. .
.
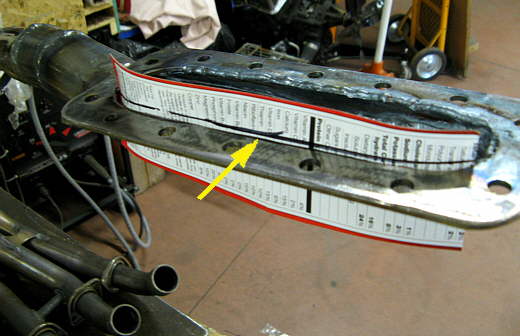
I held the cardboard in the gap area and marked the top of the flange on the outside of the cardboard and ....
.................. .
.
.......... then marked the pipe outline on the inside of the card board. Here the cardboard had moved up a little as I took the picture.
.................. .
.
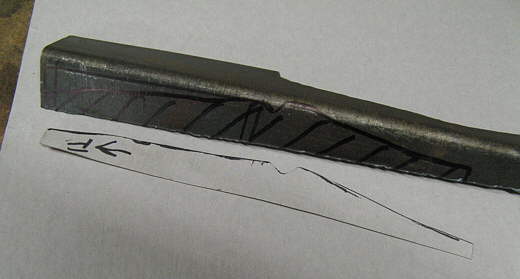
Then I cut the two lines on both sides of the cardboard and had the pattern (bottom). I marked that on some scrap steel and cut it out with the plasma cutter.
.................. .
.
Then it was inserted and I would weld and then hammer on it a little to conform it to the space. It worked pretty good.
.................. .
.
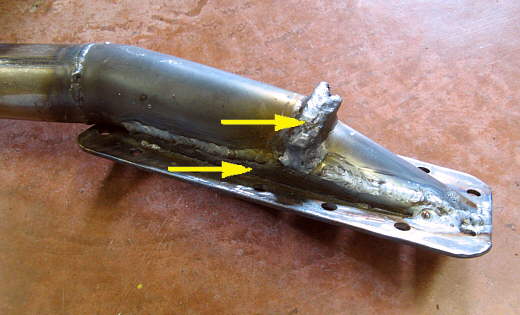
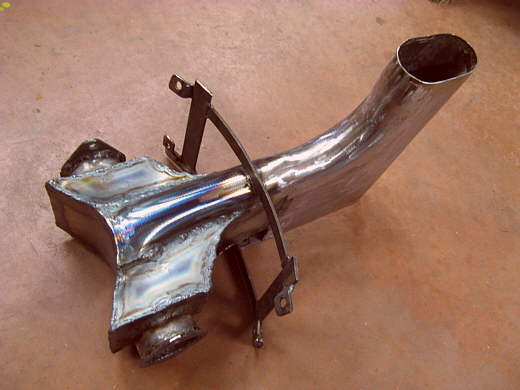
Here is the finish weld (bottom arrow). I also welded all of the joint together where I had turned the piece that I had cut off the top over and joined it to the bottom (top arrow).
.................. .
.
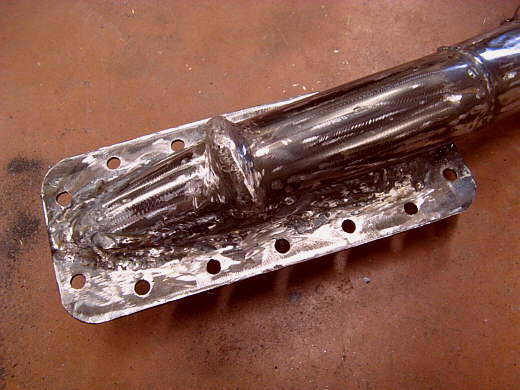
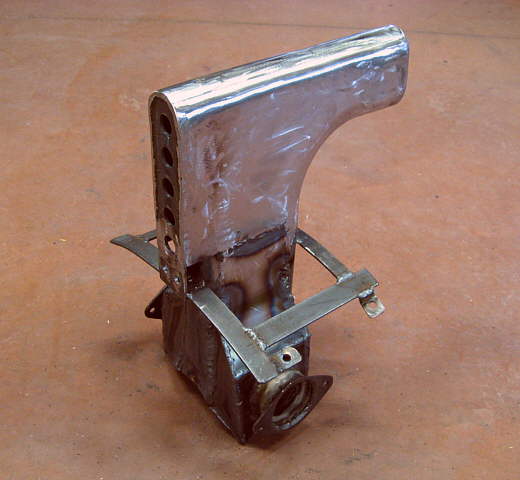
The finished flange/pipe.
.................. .
.
Finishing this finished the exhaust system except for paint. Now to finish the intake side.
.................. .
.
To finish the plenum under the inlet scoop I cut and tacked in pieces of 20 gauge metal and .....
.................. .
.
........... then finished welding them in.
.................. .
.
Now the intake is finished except to connect the outlets on the side of this to the inlets on the front sides of the air box.
.................. .
.
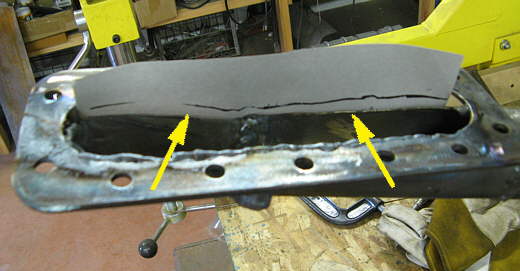
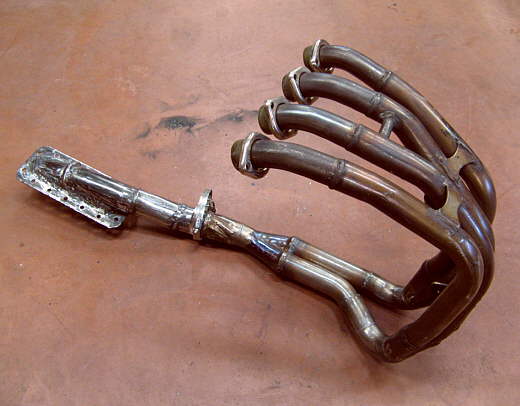
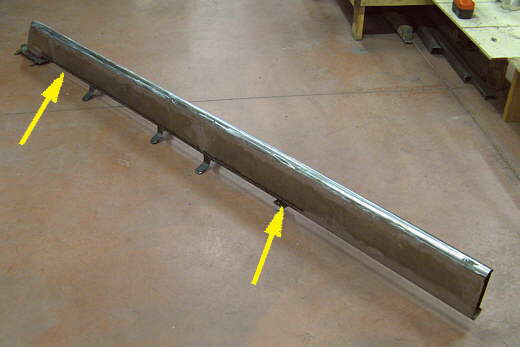
I took the exhaust/tail off the car so I could grind the bottom welds between the two arrows.
.................. .
.
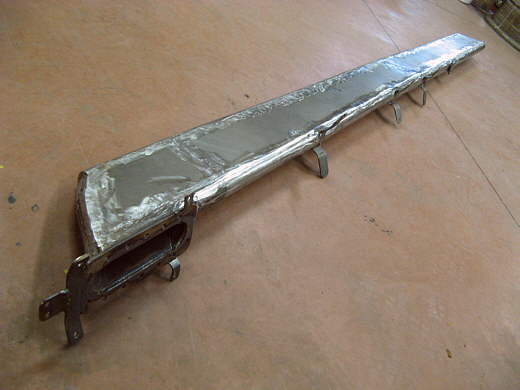
Now this is all done and ready to go back on the car so the body can be built
to it on the bottom.
..............................................................Next
Page