...Return To Mine & Other Bonneville Car Construction Pages
.Previous Page...............B'ville Car Index Page.........................Next Page
.............................-- Intake/Exhaust/Tail Part VI --.................
.................. .
.
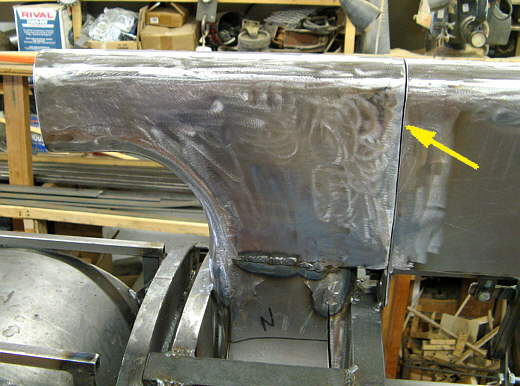
Up to this point I've kept the top tube all as one piece to keep the alignment from the front to rear of this whole assembly. It came time finally to cut the middle section free. I cut at the back right where the exhaust section starts. I wanted the two pieces to fit as flush as possible so I made the cut with a hacksaw and not a cut-off wheel.
.................. .
.
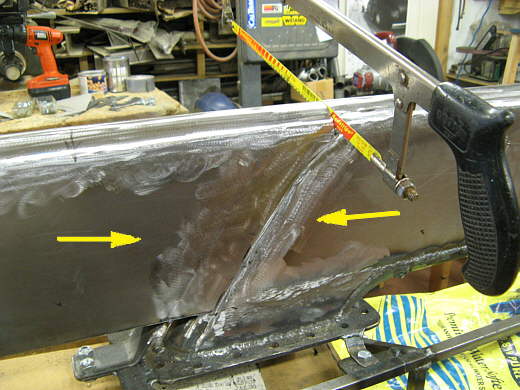
I then also cut the front section free right behind the scoop area (arrows). You can see where the two uprights bolt together with the two bolts at the bottom of the picture. At his point the middle section is tacked to the rear upright.
.................. .
.
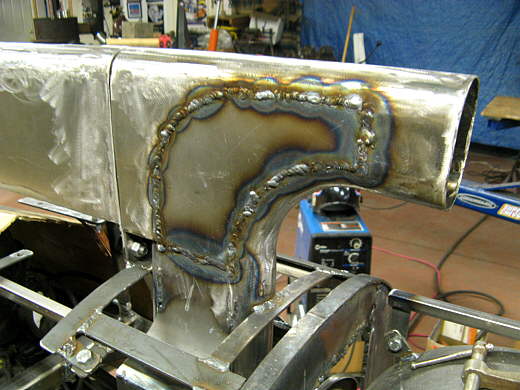
The side skin was then fully welded to the up right and the tube at the top and then.....
.................. .
.
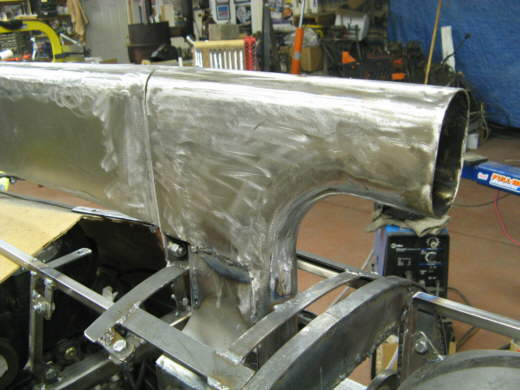
..... ground down flush.
.................. .
.
Here we are looking at the back of this piece where it fits the exhaust section. I welded and ground on the exhaust section until I had a good fit there. Besides the bracket that bolts this end down the top slides down over the exhaust section and can't move side to side.
.................. .
.
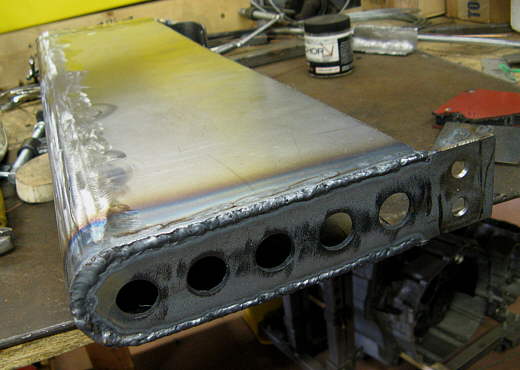
Finally the front where we began all of this. Patterns were made of the openings on both sides and metal was then cut out go fit the openings and ....................
.................. .
.
............ welded into place making sure everything was kept in alignment as best I could. This is all 16 gauge and not real thick, so I had to weld little sections at a time and tried to get a good deep weld so that I wouldn't grind through it when finishing it.
.................. .
.
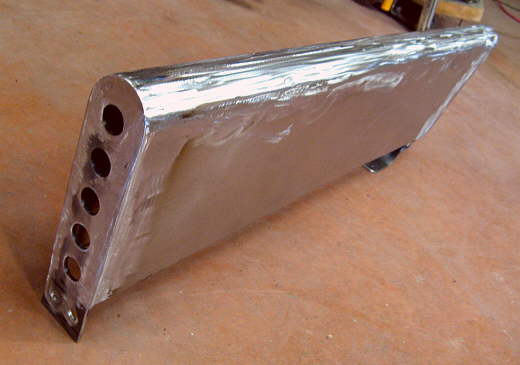
Here is the finished scoop at least the upper track. I still have to make a nose piece for it that will slide in the front and be the size I want.
.................. .
.
I was able to achieve a pretty good flat fit at the rear of the center section with some work and ......
.................. .
.
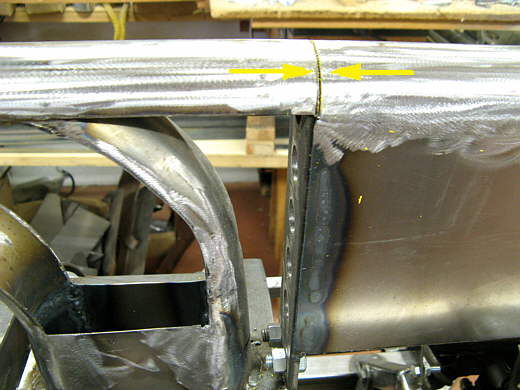
....... with some welding on the two front uprights I was able to get a narrow seam up front with a good fit.
.................. .
.
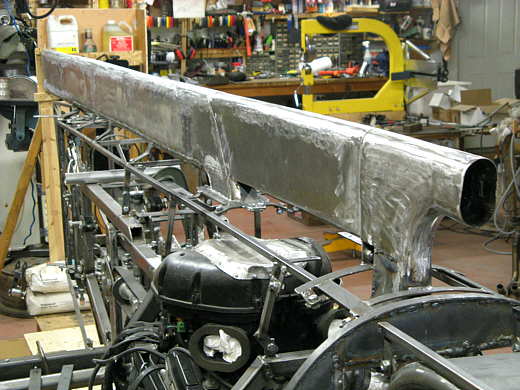
Finish with the exception of first finishing the air plenum box under the inlet and then taking it off and grinding the bottom welds in the exhaust part.
..............................................................Next
Page