...Return To Mine & Other Bonneville Car Construction Pages
.Previous Page...............B'ville Car Index Page.........................Next Page
.............................-- Intake/Exhaust/Tail Part IV --.................
.................. .
.
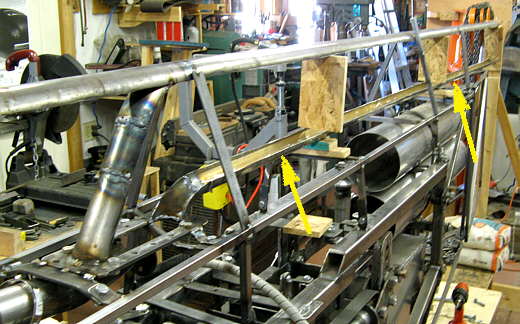
To continue with the exhaust part of this assembly I blocked the bottom half of the pipe I had cut in half 6 inches below the top one. That gave a total top to bottom measurement of 8 inches for the pipe since each half section is 1 inch high. Again I sized this with the blown 'Busa motor in the car's future.
.................. .
.
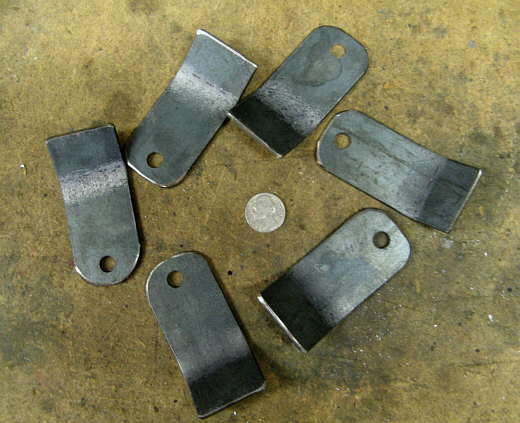
These tabs where then made to hold the exhaust to the body framework.
.................. .
.
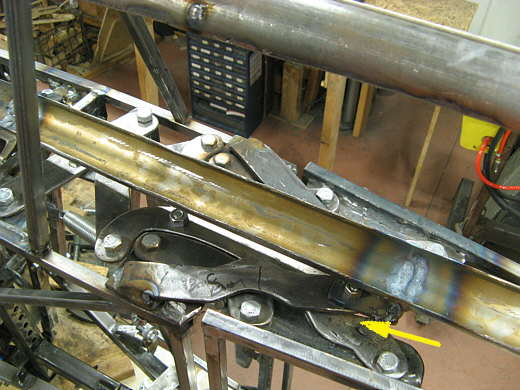
After the bottom part of the exhaust was carefully centered under the top part the tabs were welded to it and bolted to tabs that were welded to the body framework structure. The three arrows point to three sets of these.
.................. .
.
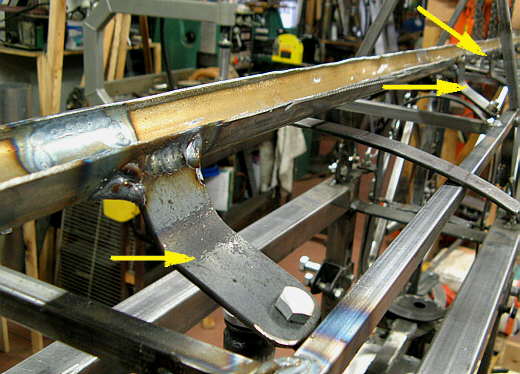
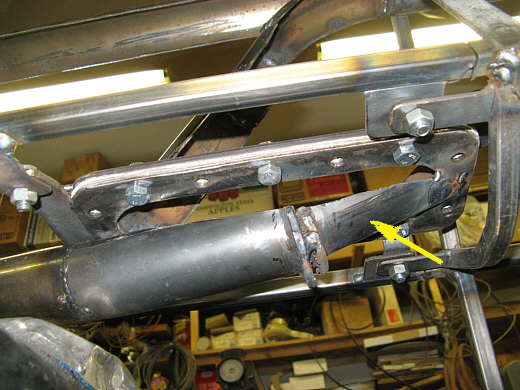
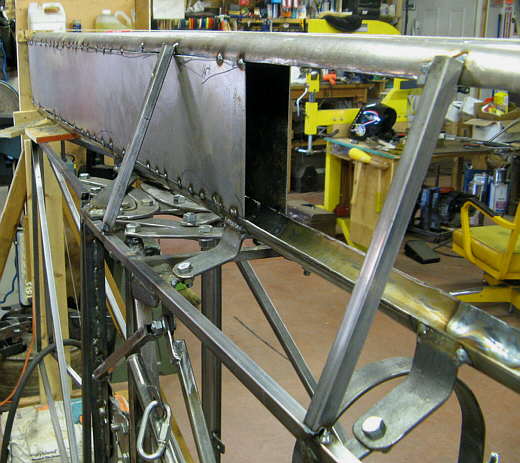
I wanted to get a mount as far back on the car so I made some brackets that cantilevered back over the chute doors.
.................. .
.
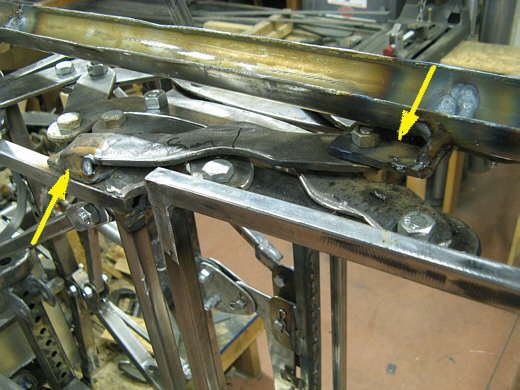
These were tricky to do at there is a lot going on in that area with the hinges there. One hinge (arrow) I had to cut out on one side and weld the cutout piece to the other side so I could get to the bracket bolt.
.................. .
.
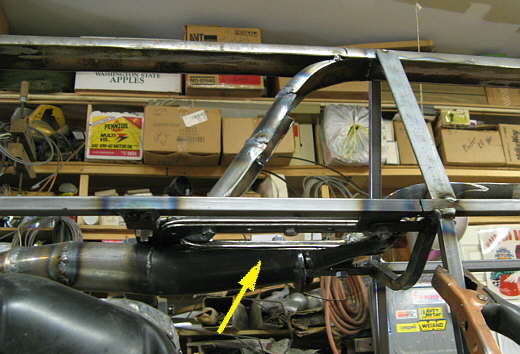
At this time the exhaust that had been cut off was welded to the bottom exhaust flange. The arrow points to the top that had been cut off. I turned it upside down and attached it to the back to fill in the bottom. The gapping holes on the side will be taken care of later.
.................. .
.
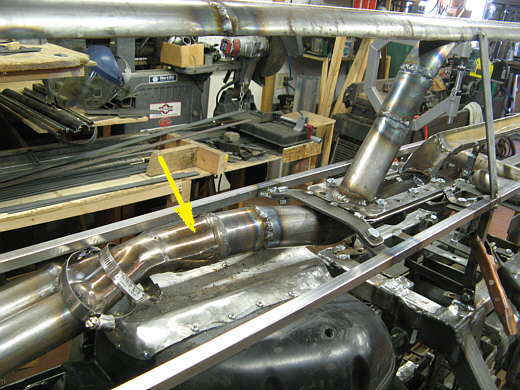
Here you can see how the exhaust loops over the air box and then down a little and up into....
.................. .
.
..... the flange at the bottom of the exhaust track in the tail.
.................. .
.
Next came a job I didn't look forward to. I cut 6 inch wide 4 fool long pieces out of 16 gauge flat sheet with the plasma cutter. That was the easy part. Next I had to weld these to the top and bottom 1/2 pipes. Since it was hard to cut them exactly in half there were gaps that were going to have to be welded shut. I cut the pieces slightly over size and trimmed them as best I could, but it still was a pain.
.................. .
.
As I would do one side I would try and do the other side at the same time and alternate welding side to side and jumping around to try and avoid distortion. I still got a little. I take most of the pictures on wide angle with the camera, so it is hard some times to get a perspective looking at them. For instance the sides shown here are only 6 inches tall and 4 feet long. This means that a lot of things you see on the car in these pictures aren't really as big as they appear.
.................. .
.
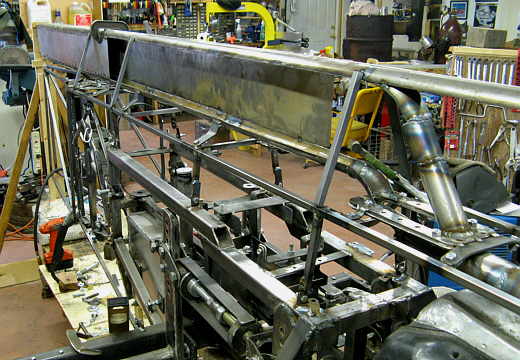
Now after two pieces (8 feet) on the far side I'm getting close to the exhaust flange.
.................. .
.
The open space from the end of the exhaust sides in the picture up to the scoop is 4 feet.
.................. .
.
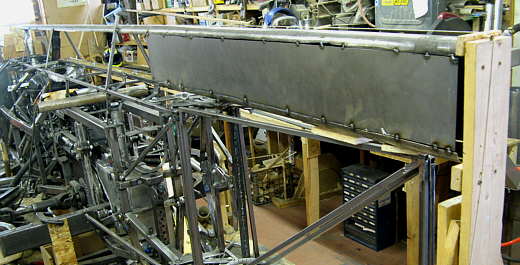
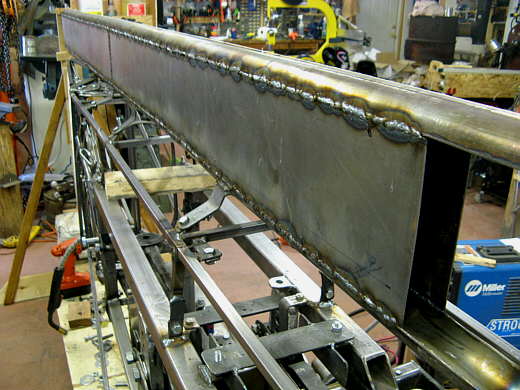
After tacking all the pieces in place I had to go back and jump around and weld here and there until I had the top and bottom seams welded on both sides. With the vertical welds where the joints are and all the horizontal welds I had well over 50 feet of welds and all of those welds........
.................. .
.
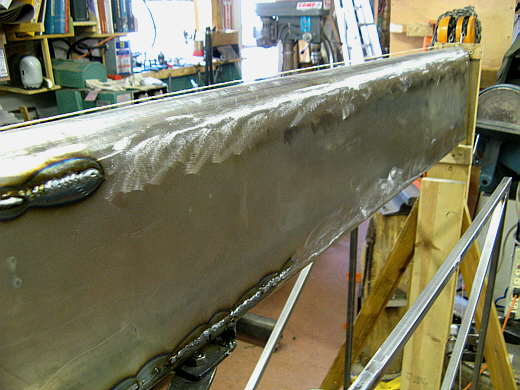
............had to be ground flush. I used a 4 1/2 inch grinder to get it close and then an air grinder with the small loc-discs on it.
.................. .
.
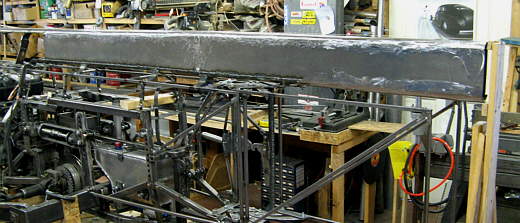
Here the top welds are done and the bottoms by the chute doors. I'll finish the rest of the bottom when I take this section off the car. Looks long doesn't it.....remember this is just 8 feet so far.
.................. .
.
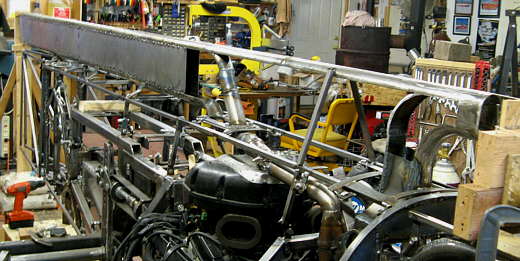
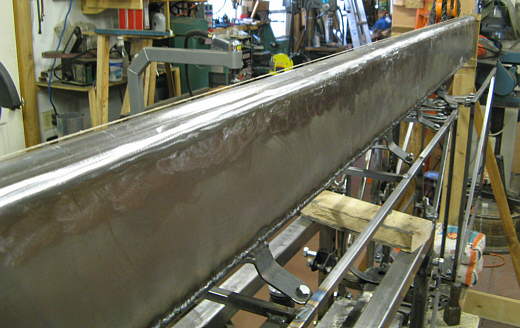
A view from the front to the back. You can also see the reference string running
down the top. Since this is all exhaust and will get hot I can't finish it off with a skim coat of bondo. This
will be as good as it gets, but I'm happy with it. It will be painted with exhaust paint.
..............................................................Next
Page