...Return To Mine & Other Bonneville Car Construction Pages
.Previous Page...............B'ville Car Index Page.........................Next Page
..............................................-- Firewall Part II --.................
.................. .
.
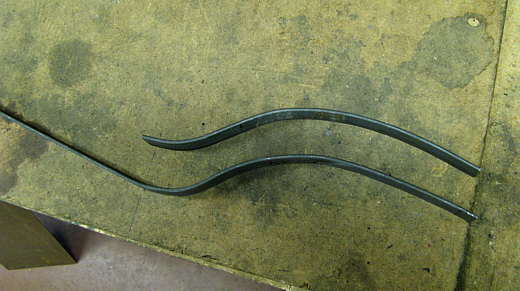
Now for the bottom of the car and the continuation of the fire-wall there. I again bent one piece of strap to the shape I wanted and then made a duplicate piece. I also made a third and kept the 1st one as a pattern as a good portion of the bottom of the car will have the same rounded shape and the same width all in the cockpit area.
.................. .
.
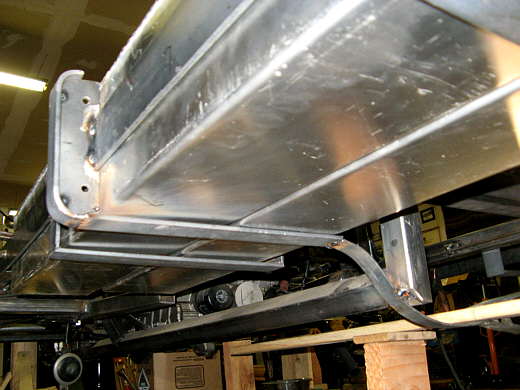
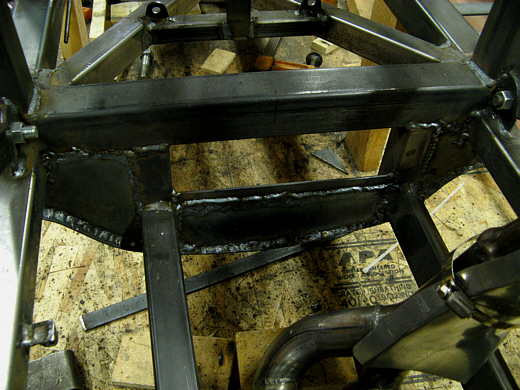
Here is the piece welded in place at the bottom of the tanks. It does not have to be removable since the tanks are removed out the top. I welded the other one to the other side and welded them together at the middle bottom of the car.
.................. .
.
No to actually start filling in with metal to make the fire-wall. I squared off the area just behind the roll cage as I ......
.................. .
.
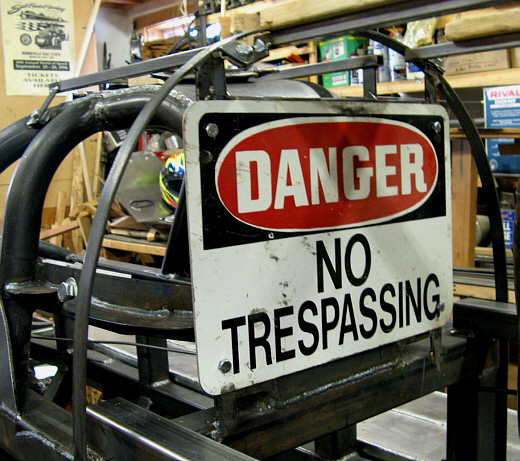
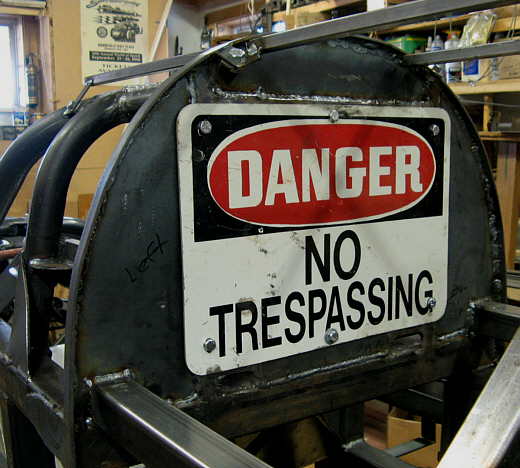
................ had this aluminum sign that would fit there. I like it. Next I had to fill in above and to the sides of the sign.
.................. .
.
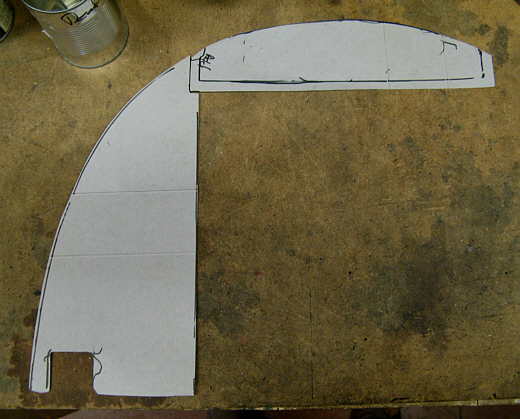
I made cardboard patterns of those pieces and ........
.................. .
.
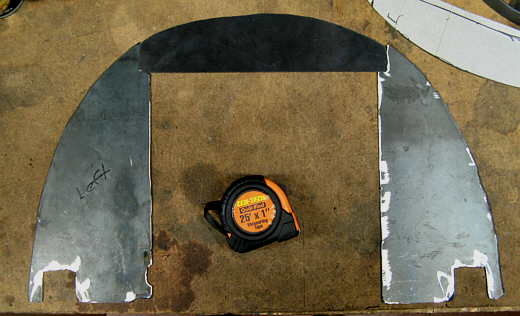
.............. cut them out of .063 steel and .........................
.................. .
.
................... welded them into place on both sides of the sheet steel in the middle of the strap that defines the body shape. They actually go behind this sign a ways and then the sign is bolted on. I need to get into the back of the cage in order to bolt the seat in.
.................. .
.
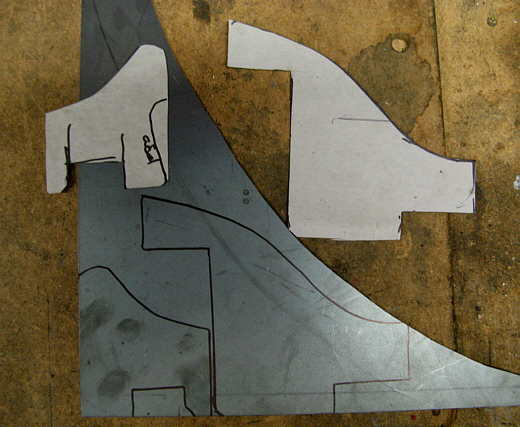
Next patterns and pieces were cut to fill in the rounded area at the bottom of the car.
.................. .
.
The squared off area above the bottom and also below the other sign will be filled in with yet another sign that the county road dept. donated to the project and yes they gave it to me I didn't help myself!!
.................. .
.
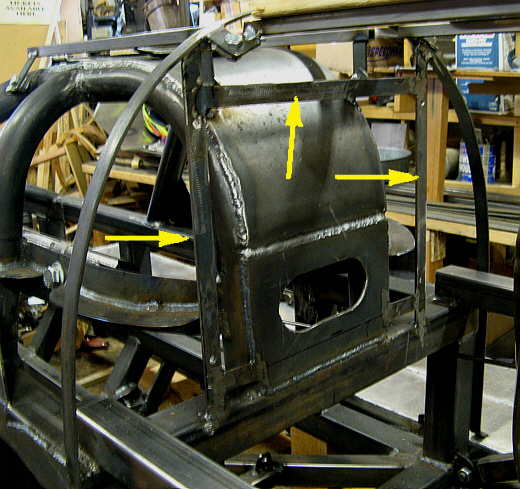
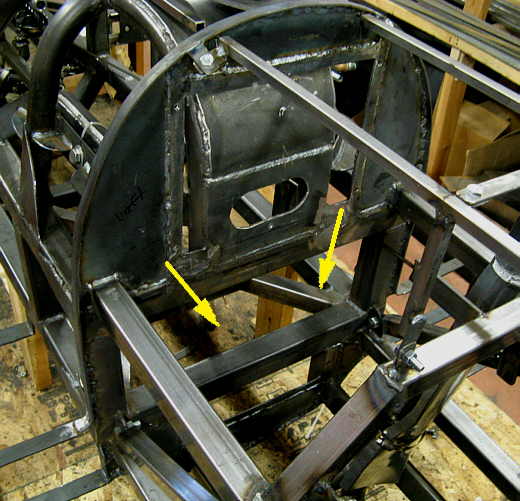
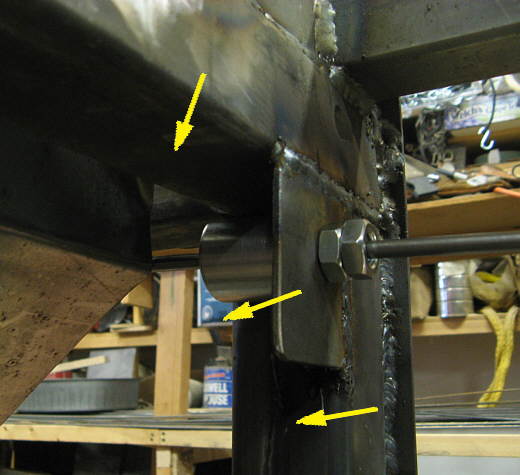
The arrows point to where the other aluminum sign will be placed. That will finish the fire-wall. Looks simple, but there was lots of patterns, cutting and welding to get this all done.
.................. .
.
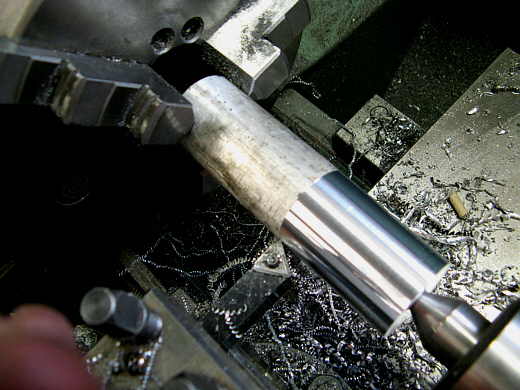
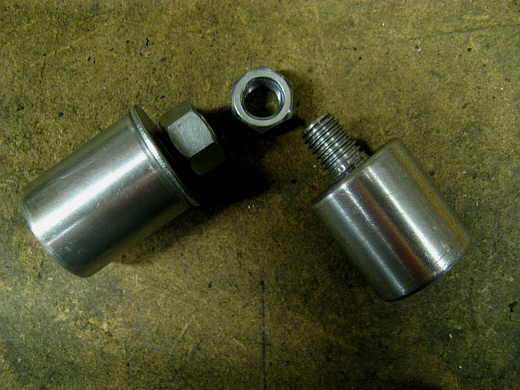
I needed a way to get the clutch and throttle rods through the firewall. and didn't want to just have them running through holes/grommets. I took some round aluminum stock Hooley had found for me and first cleaned it up and ......
.................. .
.
............... then turned the center down and drilled a little over 1/4 inch hole through the center of it.
.................. .
.
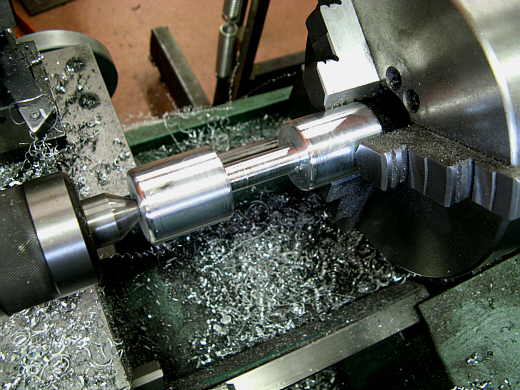
Next I cut it into two pieces and threaded the small ends for nuts. These will go through the firewall. and the linkage rods will go through them.
.................. .
.
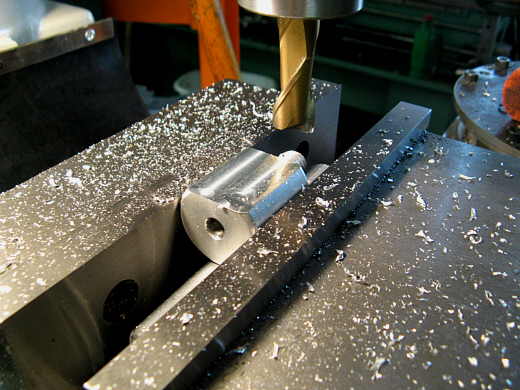
I had to mill a flat on one for it to ........................
.................. .
.
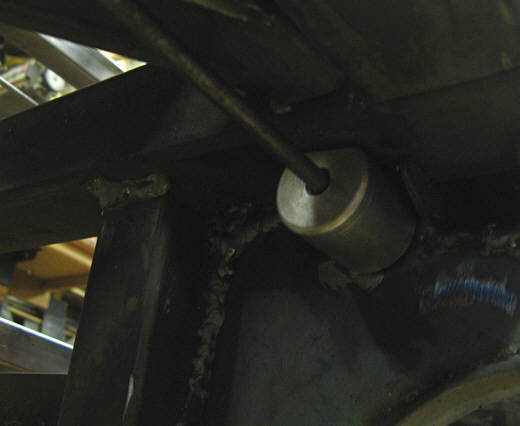
................ fit in this place up against the frame rail. This is the clutch side and you can see the clutch linkage rod going through it.
.................. .
.
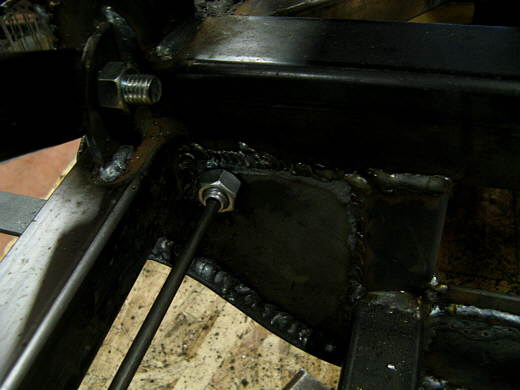
Here is the other side with the nut that holds it to the firewall.
.................. .
.
This is the one on the throttle side of the car with the throttle rod going through it. The second nut there doesn't belong there it had just slid down the rod.
The arrows point to the area of the firewall. that will be filled in with the second road sign.
..............................................................Next
Page