...Return To Mine & Other Bonneville Car Construction Pages
.Previous Page...............B'ville Car Index Page.........................Next Page
...-- Surge/Fill Tank for Cooling Water Tanks --
.................
I needed a way to fill the cooling water tanks on the side of the car
and wanted to run a surge tank for them also. I don't plan on having pressure in the system except that provided
by the cooling pump.
.................. .
.
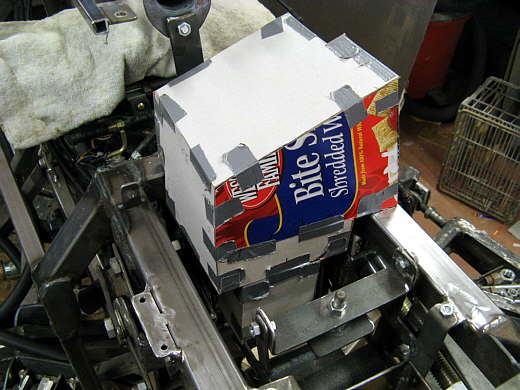
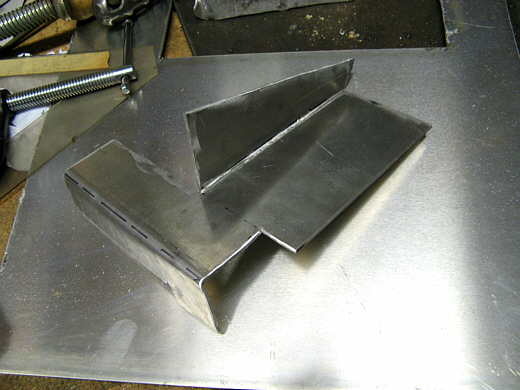
I picked the highest part on the car I could find, right behind the motor and just ahead of the batteries. I wanted to try and make this tank at least 1 gallon in capacity to easy in filling the water tanks. I was limited by a very confined space and finally just had to start cutting and taping pieces to fill the available space.
.................. .
.
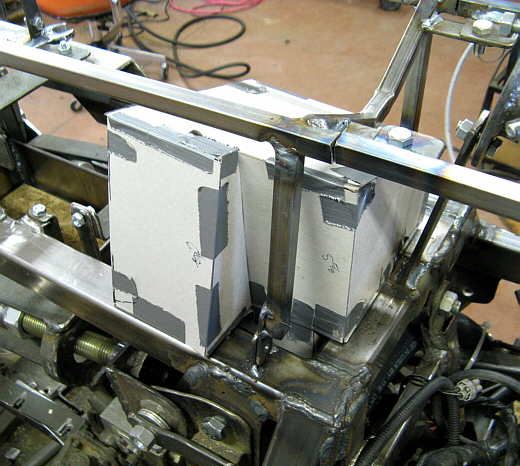
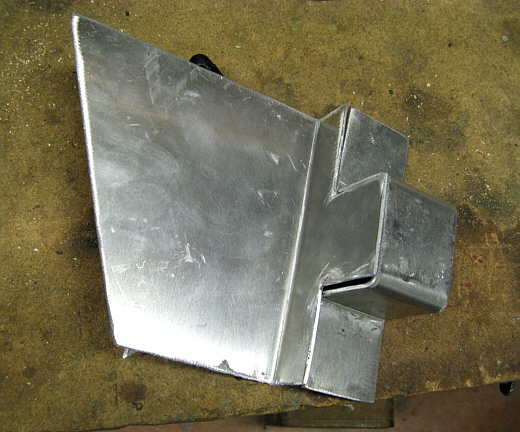
The view from the other side. The flat front side was first intended to be the fill location with a filler neck high on the front of it, but as you will see that changes.
.................. .
.
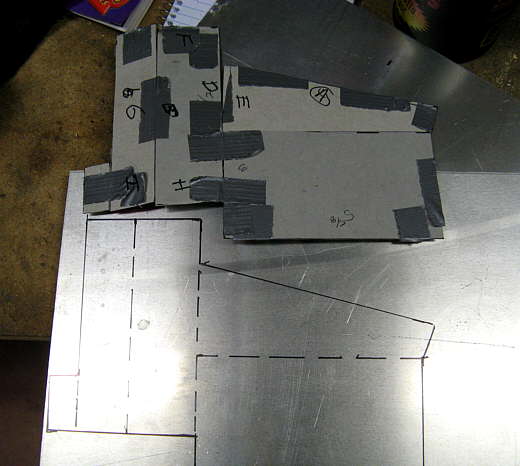
Next the cardboard model was cut up side by side and transferred to some .090 5052 aluminum and cut out usually with the plasma cutter.
.................. .
.
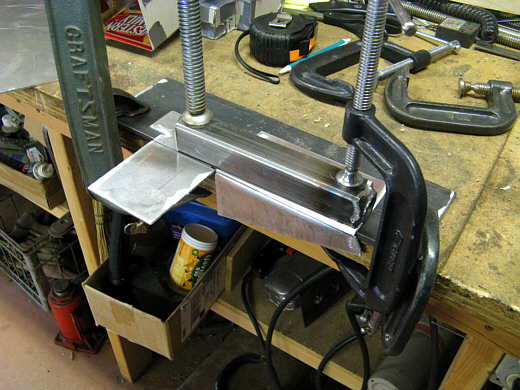
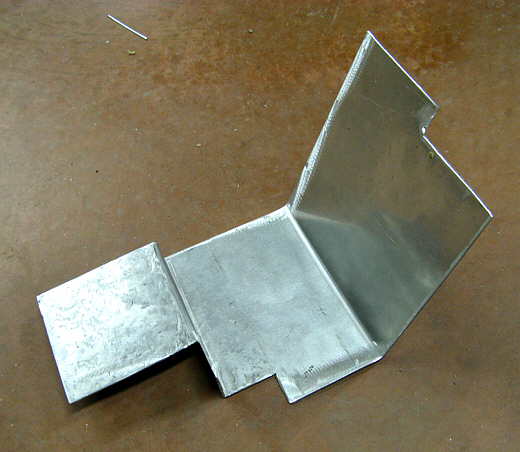
Then the pieces were bent into ..........................
.................. .
.
......................... their final shapes and .............................
.................. .
.
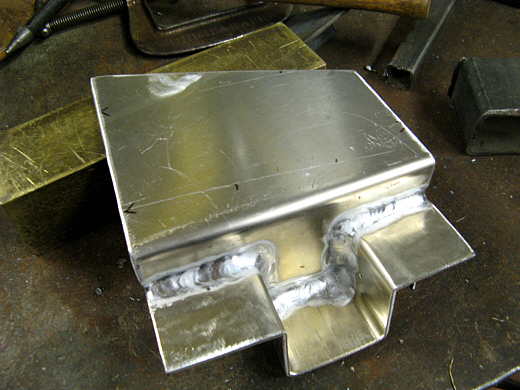
...................pieced together and ........................
.................. .
.
............... then welded.
.................. .
.
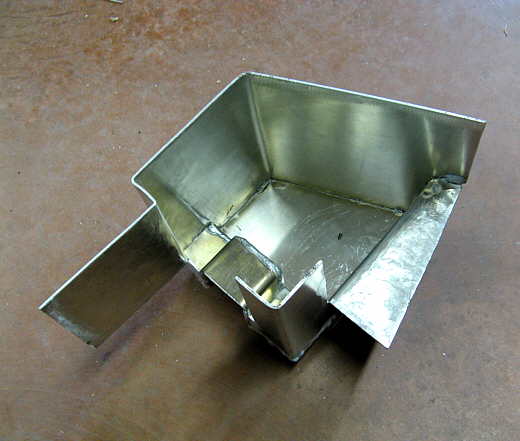
This process was continued...................
.................. .
.
............... piece by piece.
.................. .
.
Part of the way there.
.................. .
.
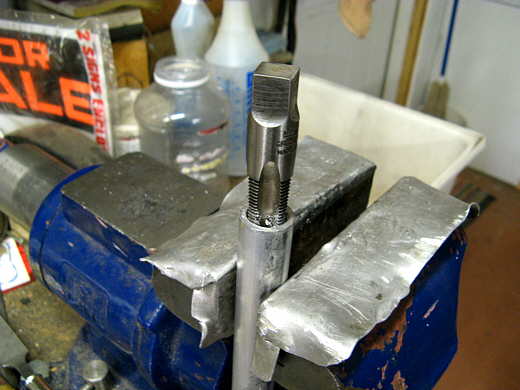
I needed an overflow outlet at the very top of the tank for expansion. I took some aluminum tubing and tapped it for....
.................. .
.
........... a fitting that I can attach a rubber hose to for the overflow line.
.................. .
.
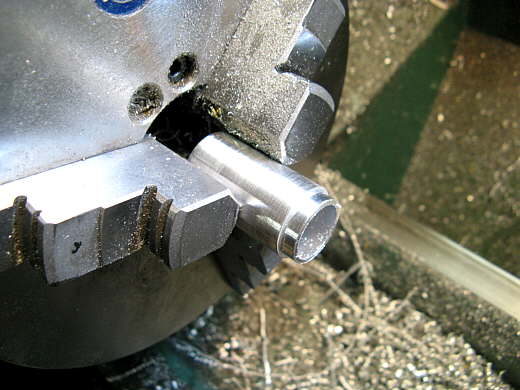
The other end of the tube was turned slightly so that it could be inserted into ................
.................. .
.
................... the side piece and welded from the back side.
.................. .
.
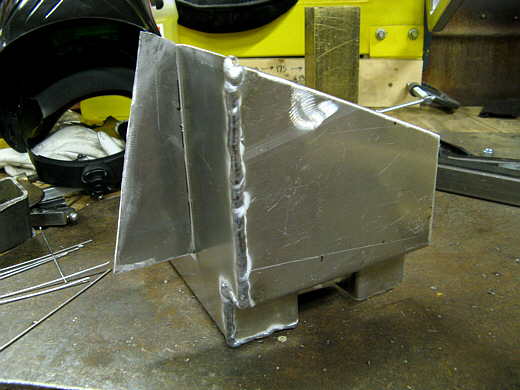
Then the side was piece was added to the tank.
.................. .
.
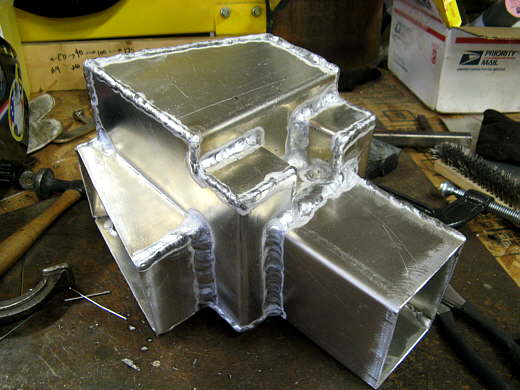
Finally the tank was almost finished except for the bottom and the area where the fill was suppose to be located. I ordered an aluminum filler neck and cap at this point from Full Bore Race Products.
.................. .
.
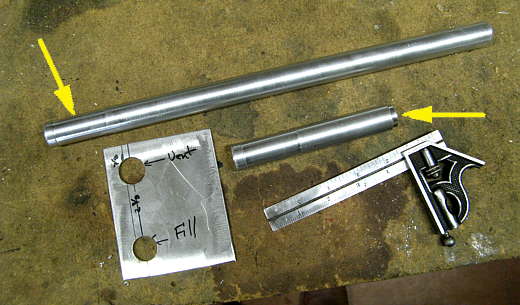
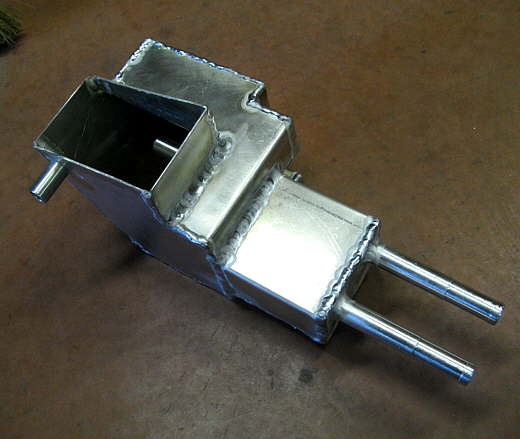
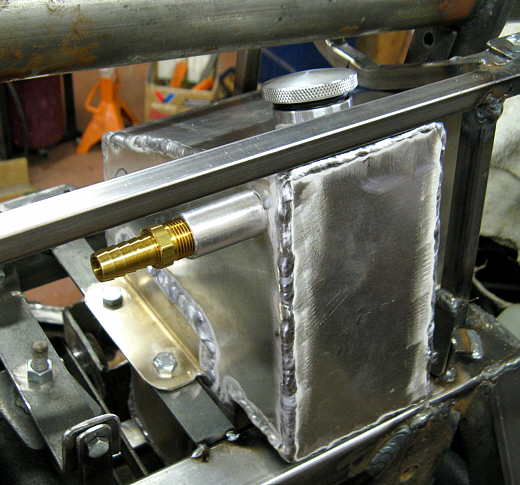
I wanted to have two hoses going from this tank to the main water tanks. One would go from the bottom of this tank to the inlet tank and the other from the outlet tank back up to this tank in such a way that it would be at the top of this tank. That would hopefully prevent the water pump from pulling directly from this tank. To do this I took two different lengths of tubing and turned them on one end (left arrow) so that a hose clamp could hold the rubber hose on and turned the other end of one piece to ease in welding it into the bottom of the tank, shown with the two holes.
.................. .
.
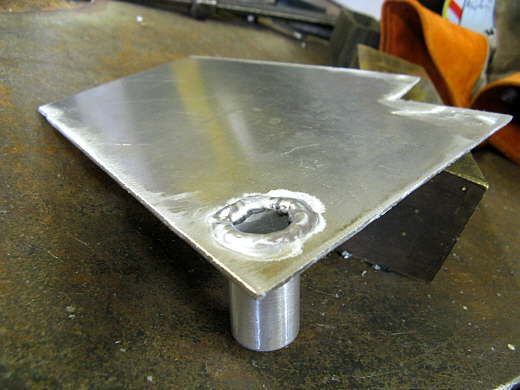
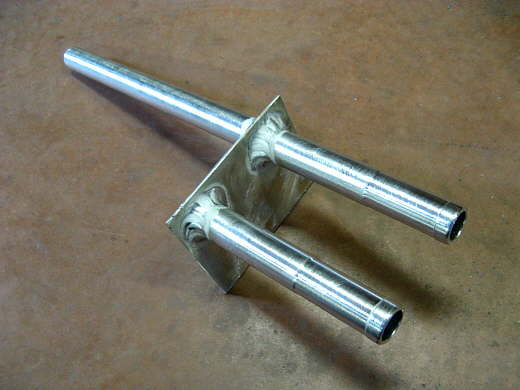
The bottom with the two tubes welded to it.
.................. .
.
And the bottom welded in.
.................. .
.
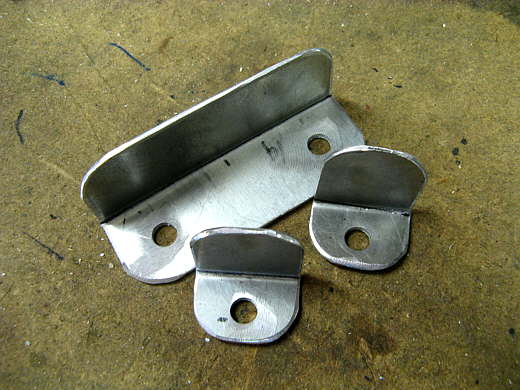
Three brackets were made to hold the tank in place. Also another piece was made and welded to the frame that the tank sits on.
.................. .
.
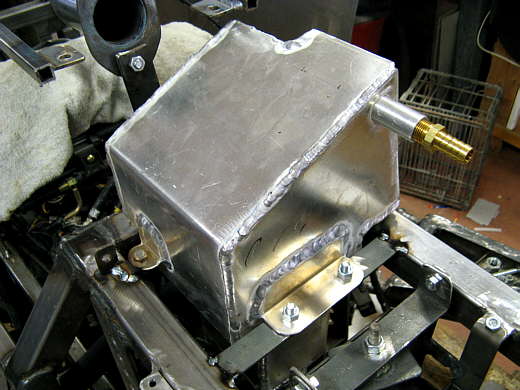
Here the tank is held in place with the tabs welded onto the tank.
.................. .
.
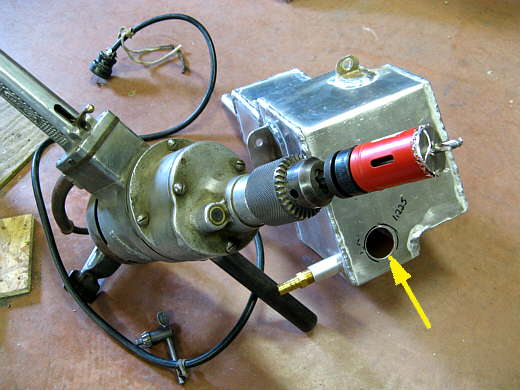
The final piece of the puzzle was to weld in the filler. I moved it to the very top of the tank vs. the front side of the tank (arrow). I used my 1/2 inch drill that came from my dad and I think is from the 20's or 30's to drill a hole in the top and ................
.................. .
.
............ welded the threaded filler bung onto the top.
.................. .
.
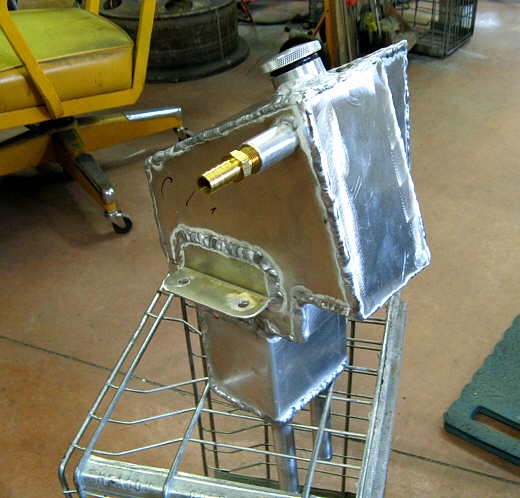
The finished tank out of the car. It holds over 1 gallon and took me probably 12 hours or so to make.
..............................................................Next Page