...Return To Mine & Other Bonneville Car Construction Pages
.Previous Page...............B'ville Car Index Page.........................Next Page
............................-- Cage Additions & Exhaust --
.................. .
.
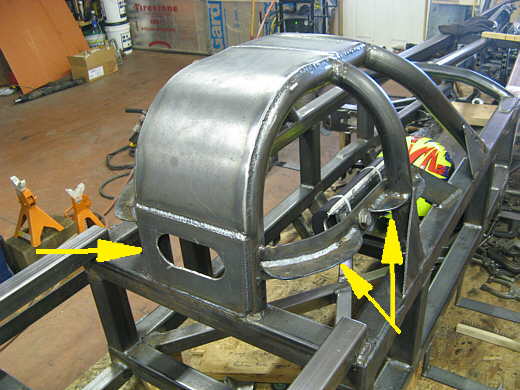
Phil was able to drive over and help on another Sat./Sun., but before he came I reinforced the straps that go around the side of the cage and support the side head restraints (2 right arrows). He then extended the plate over the cage down to the rear cross-member. The window is for access to the seat bolts. This ties the back of the cage into the cross-member.
.................. .
.
He also added gussets to both sides of the cage hoops to tie them to the top frame/cage member as per the rules.
.................. .
.
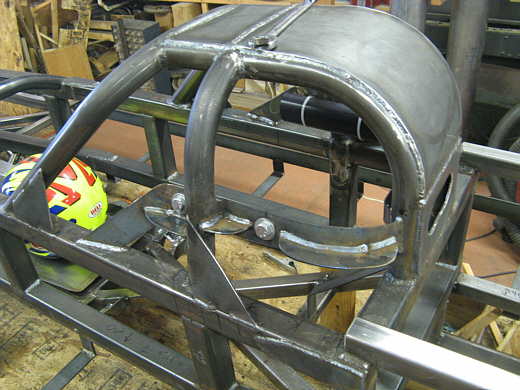
When I made the helmet side restraints the front edges were at 90 degrees to the back at the front of them. Phil........
.................. .
.
...........cut them at 45 degrees and welded plates on them.
.................. .
.
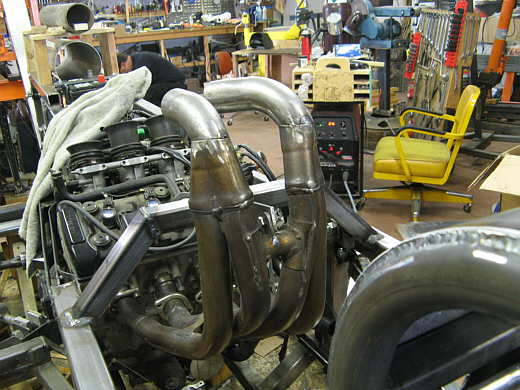
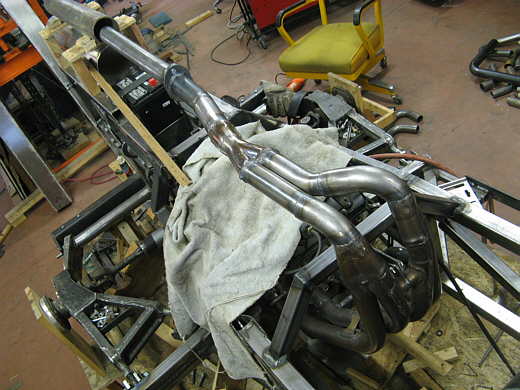
I had the exhaust running under the motor and back near the rear frame cross-member, but running it from that point out the back of the car was presenting a problem. We were fooling around and turned the headers upside down and all of a sudden that was the solution. They were sticking up too high though so we cut them off before they did their final merge into one pipe. Phil then....
.................. .
.
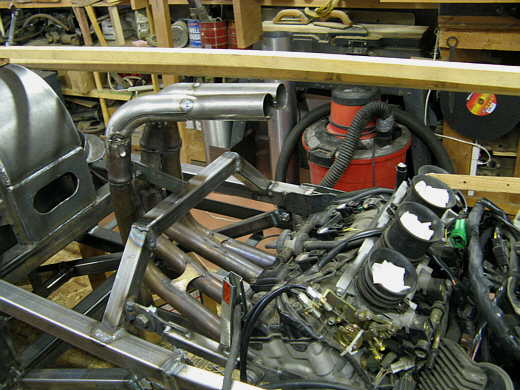
......... started piecing mandrel bends together to get them headed in the right direction and where they would clear the top of the car.
.................. .
.
Once it was determined they were in the right place he would tig weld them.
.................. .
.
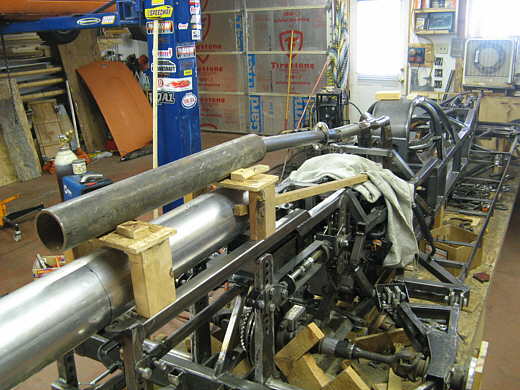
I had run a couple long pieces of wood to represent the top and side of the car body so that the pipes were kept inside of the anticipated body. You can see these above and to the right of the pipes.
.................. .
.
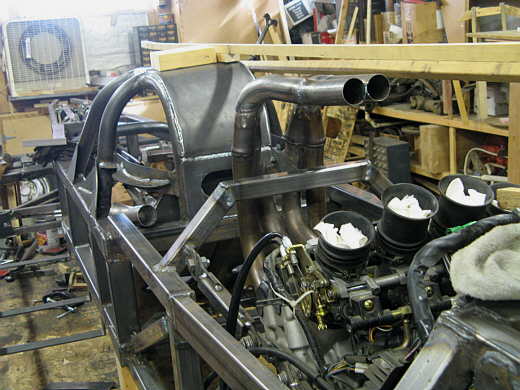
The lower arrow points to the final merge of the original headers. This is now further down the pipes than it was before by a little more than a foot. This will probably change the tuning that was built into the pipes. The top arrow points to a pipe that represents a future tube that the exhaust will run through to keep the heat away from the top chute tube and to help scavenge air out of the car similar to what Mike did with Ack Attack.
.................. .
.
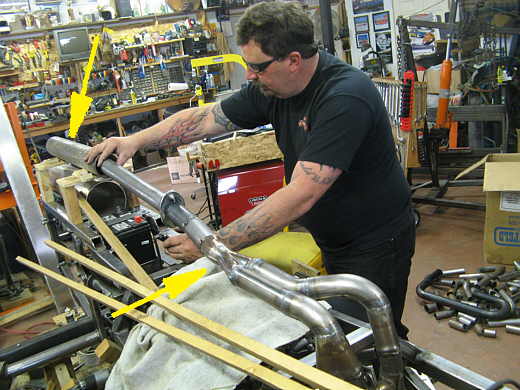
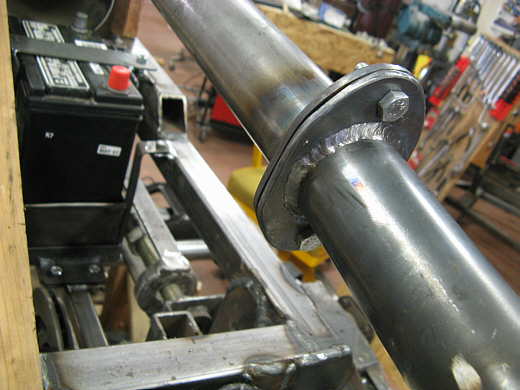
I made two pieces for a flange and Phil welded them to the pipe (nice welds Phil) so that the exhaust pipe can come out in 2 pieces.
.................. .
.
The heavy pipe at the rear is just there for construction duties right now and will be replaces with a much thinner one.
.................. .
.
Another view........................and.....................
.................. .
.
.................. a final view. Phil did a good job on the exhaust. You can see a pile of tubing that he brought with him. He has built a lot of nice headers for customers. You need some get a hold of him. While he was doing the exhaust I was working on the final brackets that will hold the chute lines. They should be on the next page eventually, Sum.
..............................................................Next Page