...Return To Mine & Other Bonneville Car Construction Pages
.Previous Page...............B'ville Car Index Page.........................Next Page
............................................-- 1st Battery Box --
.................. .
.
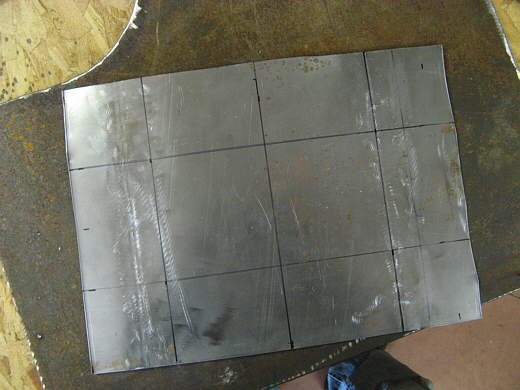
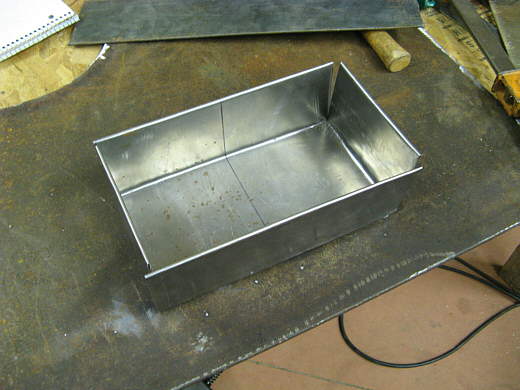
I'm going to run 2 batteries in the car. A larger car type for the motor and the intercooler water pump. Also a smaller motorcycle type for data acquisition. On this page we will make a holder for the larger battery than I bought on a recent trip to Phoenix. I wanted to locate it in front of the chute tubes right over the rear cross-member and between the rear lever arms and spring buckets. I started with a piece of 20 gauge cold rolled steel and laid the box out on the steel.
.................. .
.
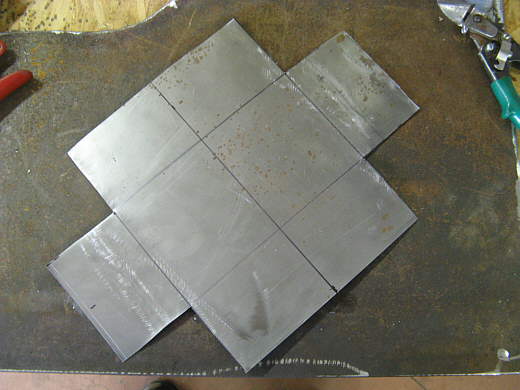
I cut the parts out that wouldn't make a box and kept the rest. I did this with hand tin snips. I cut the original piece out with an electric hand shear.
.................. .
.
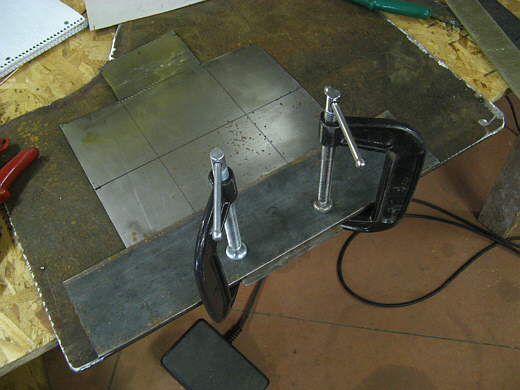
I wanted to roll the edges of the box over so I clamped a piece of strap to the weld table in a manner that the box overhung by about 3/8 of an inch. Then using a hammer I bent the edge down and finally using ...............................
.................. .
.
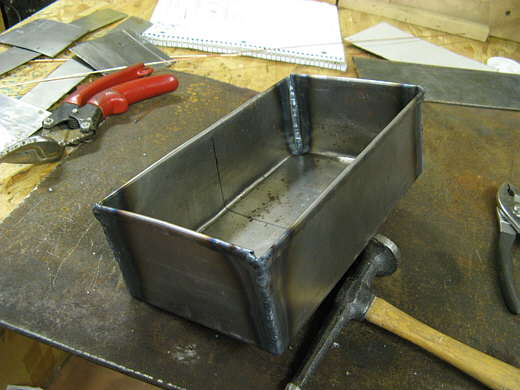
.................... a hammer and dolly bent the edge all the way over. Two sides are finished here and one has been bent to 90 deg. and the last still has to be finished.
.................. .
.
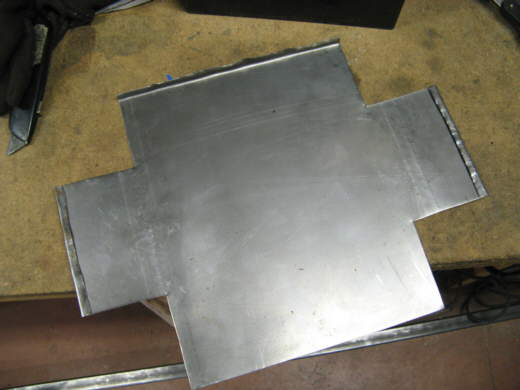
I used my Sheet Metal Brake to start the bends, but since it is not a pan brake I had to finish the bends with a body hammer and dolly.
.................. .
.
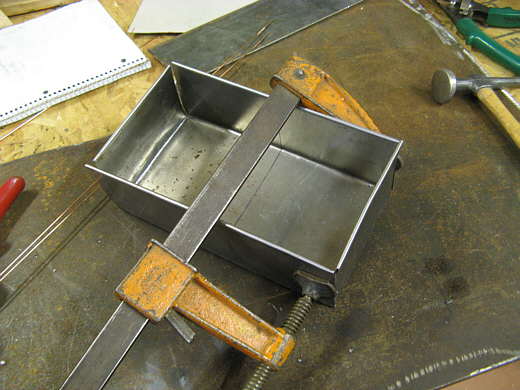
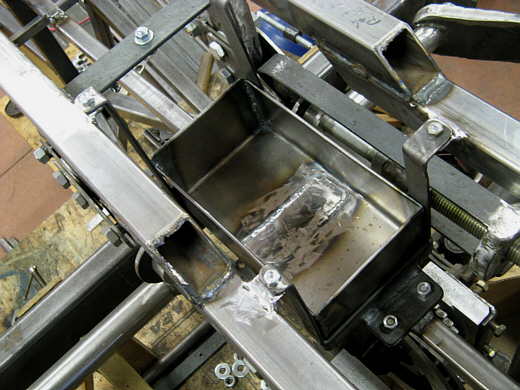
Next the ends were clamped together tightly and.............................
.................. .
.
................................................ welded up.
.................. .
.
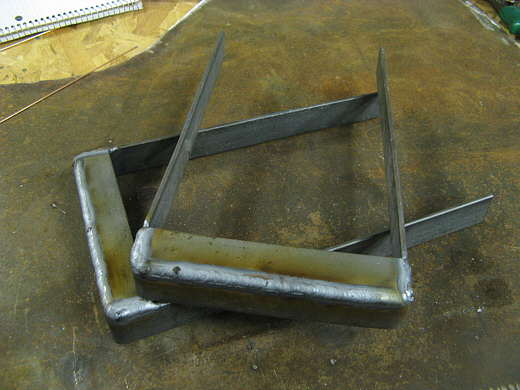
To support the box some strap was bent to a width that wrapped around the bottom and up the sides of the box. Another piece of strap was welded to the ends to capture the box so that it couldn't slide out of the straps.
.................. .
.
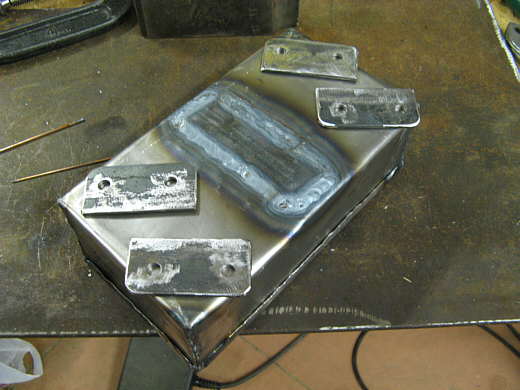
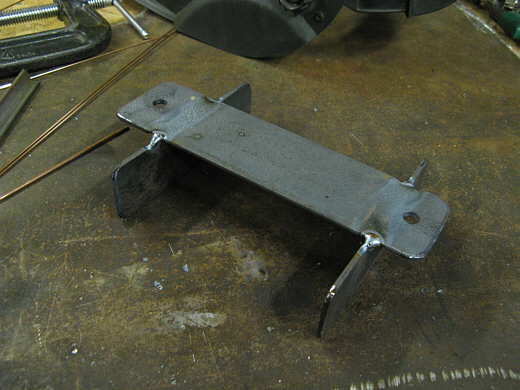
Since the straps in the previous picture were going to hold the ends of the box only another piece of strap was welded to the bottom of the box to support it there when it is installed on top of a frame member. Also 4 tabs were made, all the same. Two to be welded to the support straps and two to the frame below the other two.
.................. .
.
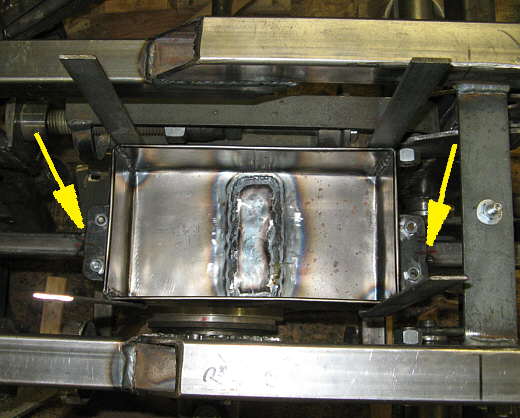
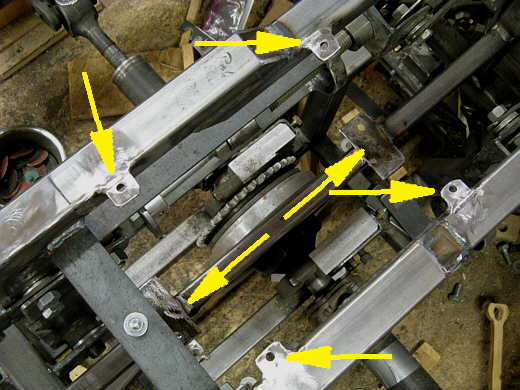
Here the box and end straps are resting on the 1 X 1 frame member that goes to the chute pull bar. The arrows point to the tabs. Once in position the bottom tabs were tacked to the frame member and the top tabs were tacked to the end straps.
.................. .
.
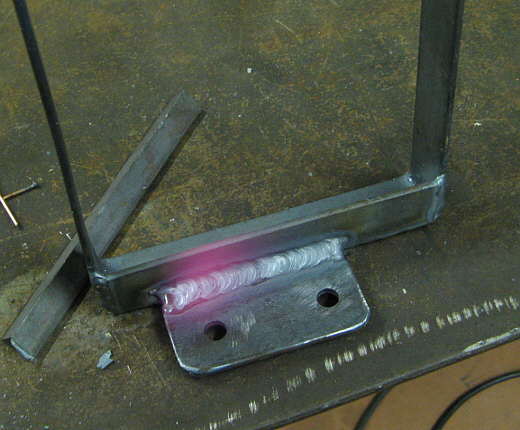
The end straps were then removed and I finish welded the tabs to them. As you can see this one was just welded.
.................. .
.
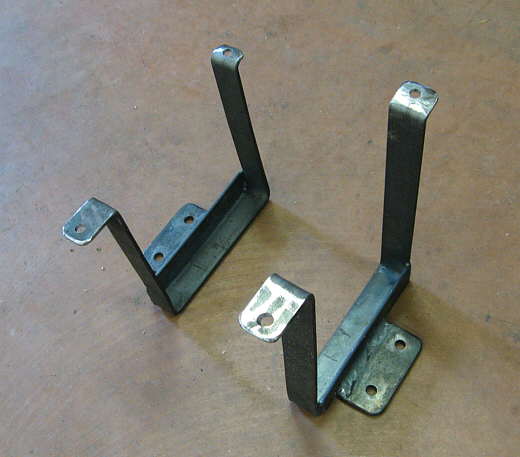
The end straps were then bent over at the right height to position themselves by the top frame members and were also drilled.
.................. .
.
The four outer arrows point to tabs that were welded to the two top frame members and which the end straps will attach to. The middle arrows point to the tabs that were welded to the middle frame member and where the taps on the end straps will attach.
.................. .
.
Here the end straps are bolted into place. The box just sets in there, but can't slide in any direction.
.................. .
.
Finally a top hold-down for the battery was made.
.................. .
.
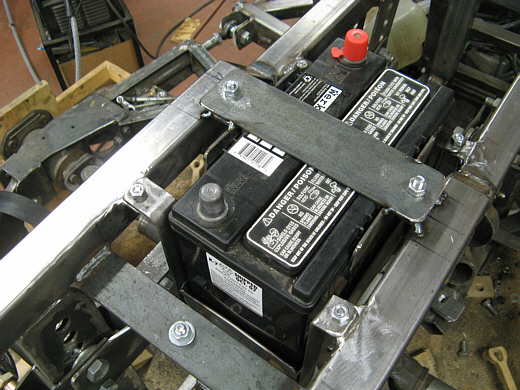
The batter in position. I put a 1/2 inch thick piece of wafer board under the battery and will put a rubber pad under the top hold-down later. Well this is just a means to hold a battery, but probably took about 4 hours of construction time. I still have to make the smaller one that will most likely sit right in front of this one.
..............................................................Next Page