...Return To Mine & Other Bonneville Car Construction Pages
.Previous Page...............B'ville Car Index Page.........................Next Page
.......................... A Good Tip and a Little Progress
................. .
.
On the last page I showed how I made the brackets for the radius arms with the mill by moving both the x and y feeds at the same time on the table. This resulted in the close to proper shape, which I still had to grind to the final shape.
Next I got an e-mail from Peter Jack telling me how to do this a lot easier:
"If you rotate the vise 18 degrees all your cuts will be parallel to the axis and you only have to move one handle at a time. If you cut close, then use a cutter with the same radius as your tubing corners for the finish cut there's no finishing other than deburring."
Now why didn't I think of that in the first place :-( Thanks Pete!!! The Internet and you guys helping me long distance has made this project more enjoyable and a greater learning experience.
................. .
.
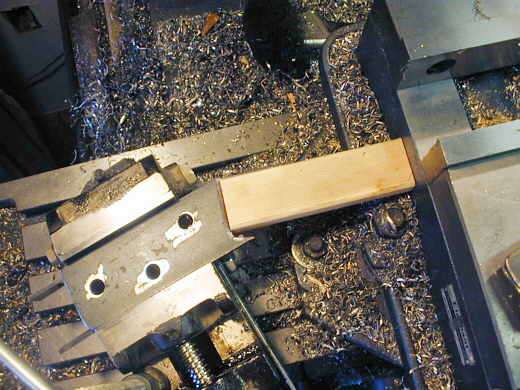
Here you can see my main vise on the right, which will swivel to any angle, but then it takes me awhile to index it so the jaws are parallel to the table. To avoid doing that I used another smaller vise that came with the mill. I clamped it to the table at an angle and found that angle from one of the completed brackets I had already made on the last page. I just used a piece of wood to align the face of the previous cut parallel with the side of the main vise. A little crude, but this piece gets welded on to the axle and doesn't demand utmost precision.
................................. ....................
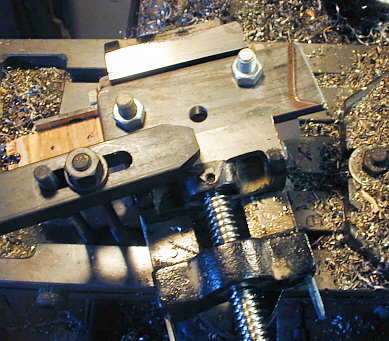
Not that the vise was angled correctly I put my two new brackets in the vise. I had already drilled them, so I used bolts to position them together and they are sitting on top of "parallels". I had also scribed a line for the cut using the other already made bracket. Just a note: Instead of messing with the machinist "bluing dye" I find I can usually mark the area with a magic marker and scribe on that A lot quicker and less messy.
.................. .
.
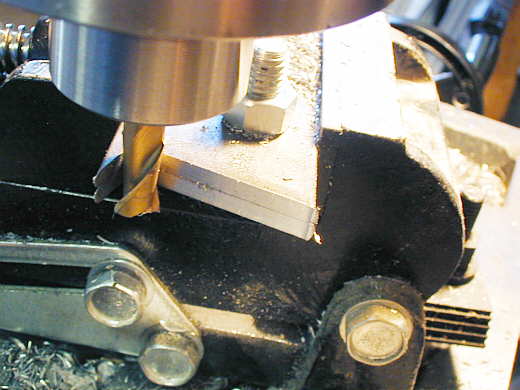
I took Pete's advise and used an end mill that had close to the right diameter to make my radius in the corner. Now just using my two feeds, one at a time I got nice clean straight cuts right where I needed them.
.................................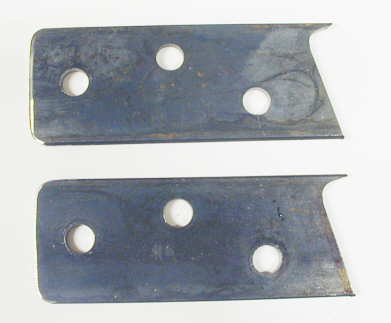
Here are the pieces right out of the vise with no grinding necessary (compare them to the first picture on this page). Thanks again Pete.
...................
I took the first two brackets I had made and clamped them to one end of my radius arm and drilled my attachment holes in the end of the arm. For the other arm I took the brackets before I machined the angled ends and drill the brackets and the arms at the same time and then machined the brackets in the picture above.
...................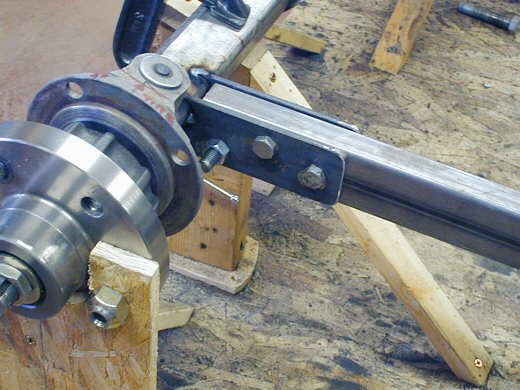
Here are the brackets just tacked onto the axle with the radius arm attached.
I will also weld on a top piece to tie the two brackets together and it will go up onto the axle and tie this all
together and do the same for the bottom.
..................................................................Next Page