...Return To Mine & Other Bonneville Car Construction Pages
.Previous Page...............B'ville Car Index Page.........................Next Page
........................................... Front Axles --- Part II
...................... .
.
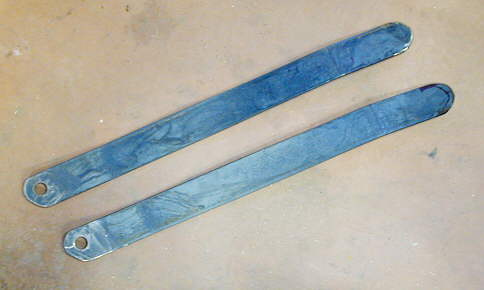
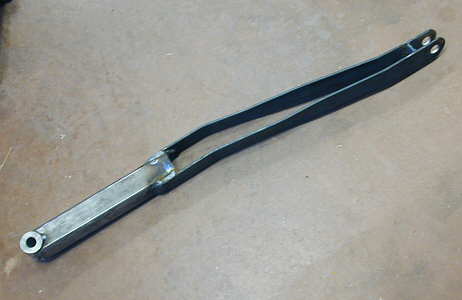
On this page we will finish one of the front axles (left side). I started by cutting and drilling holes in these two pieces of 3/16 X 2 strap. The hole end will go to the heim joint and the other end will be welded to the short axle stubs that I made on the last page.
.................. .
.
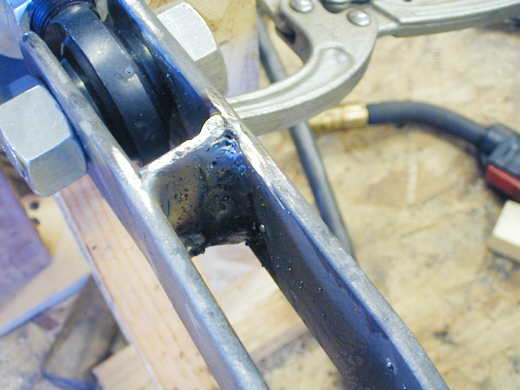
Here I have bent the pieces into shape and have them bolted to the heim on one end and the axle stub on the other end (2 arrows). The bends accomplish the offset to get past the other axle (yet to be made) and the bends also twist the axle from the 18 degree angle at the stub axle to vertical at the heim joint.
.................. ....................
I welded in a cross piece at the heim joint end.
.................. .
.
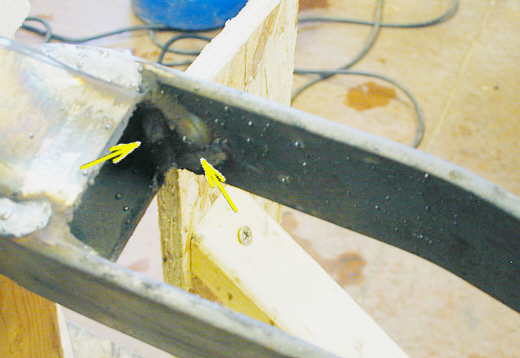
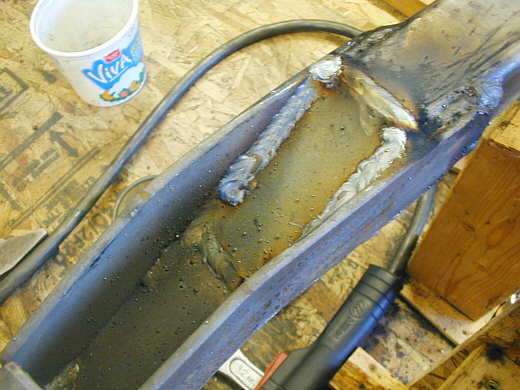
After having a stress related failure on my teardrop tongue I have tried not to weld straight up and down at joints where a load will go across the joint. I cut a triangular piece (hard to see between the arrows) and beveled the edges to improve the weld and placed it at the vertical edge of the square tubing. I then welded it to the end of the square tubing (left arrow). Then I finished by welding the other two sides of the triangle to the 3/16 inch strap. Now I have "V" shaped welded area at the strap/square tubing junction vs. a straight vertical one.
..................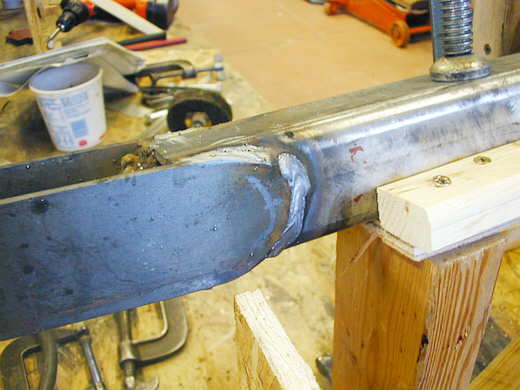
By rounding the end of the strap I also avoided a single vertical weld at this junction also.
...........................
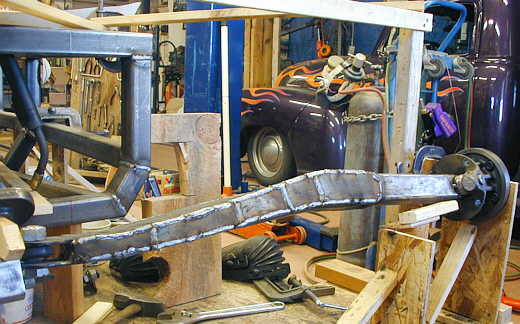
The axle with the two vertical sides in place.
....................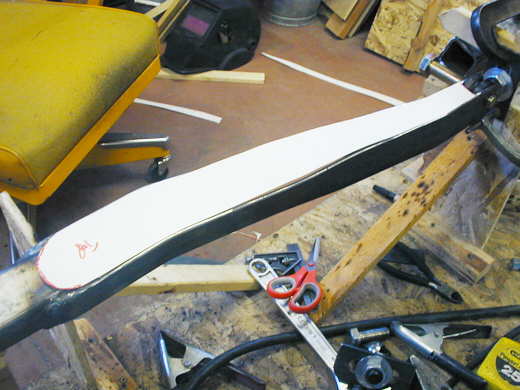
I next made a paper pattern of the piece I would need to cut for the top of the axle.
....................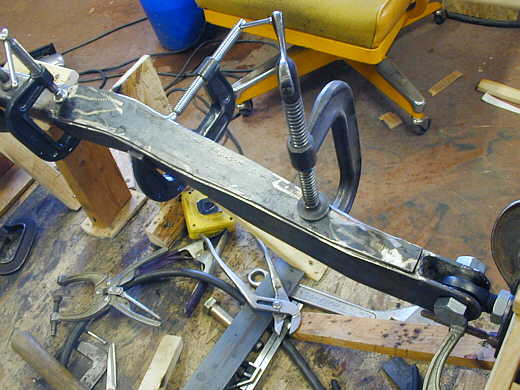
After cutting the piece close to size with my cutting torch I finished it up with the grinder until I was satisfied. The top and bottom pieces won't carry the loads that the sides will see so I've made them out of 1/8 inch strap. They will stiffen the side pieces so they can carry the load without twisting. This top piece was 3 inches wide when I started.
...........................
At this point the top and sides are done. I skipped around and welded 2-3 inch sections at a time.
...................
I rotated the axle on the hub so it was upside down and started on the bottom. Here again I'm working on spreading the load at the junction of the straps and the square tubing. I cut a piece of strap and inserted it into the axle at an angle and welded across where it meet the square tubing (top in picture). Then down the sides and across the bottom of the channel (actually I jumped around with these welds). This created a diagonal junction in this area. I had also stitch welded the insides of the channel where the top piece meet the side pieces.
...................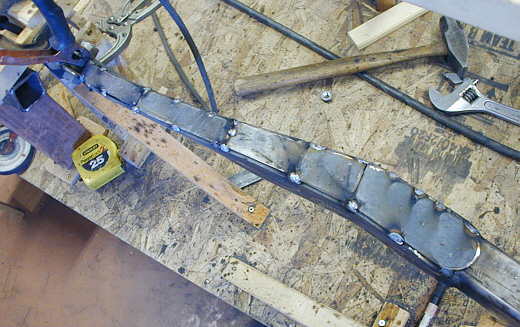
Instead of using one piece for the bottom of the axle like I had done on the top I cut multiple pieces out of different widths of 1/8 inch strap. I ground them all at a bevel where they butted up to each other. As I installed each piece I would tack it into place and go to the next.
...................
At this point all of the bottom of the axle is welded together. The axle is rotated here 90 degrees from it's proper location for welding purposes. The welded section you see will be rotated back so it faces the ground. Well the good news is I got this one finished last week, but the bad news is I was hoping to have both of them done. Hopefully by next week now.
..................................................................Next Page