--- The Stude's 2013 Changes Page 18 --- --- Radiator In-A-Box -- Part VI --- |
Since this radiator-in-a-box is right next to the headers we wanted to put some heat shields on it to maximize its performance.
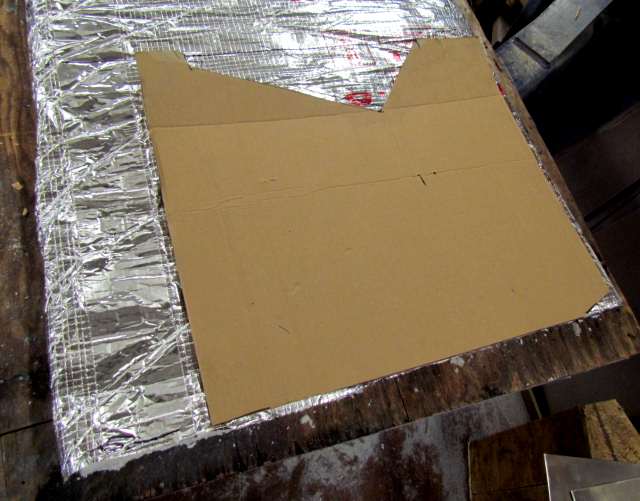
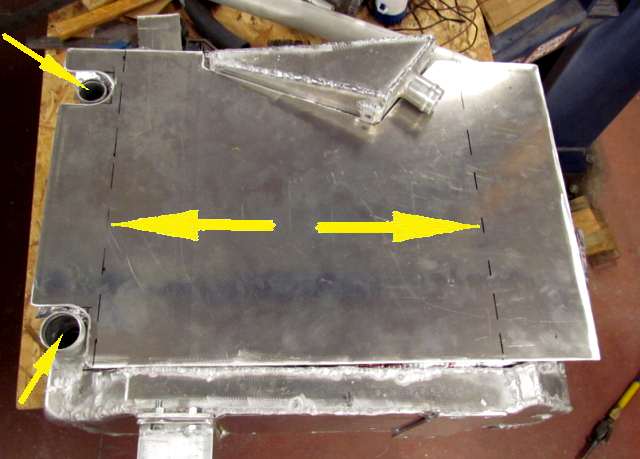
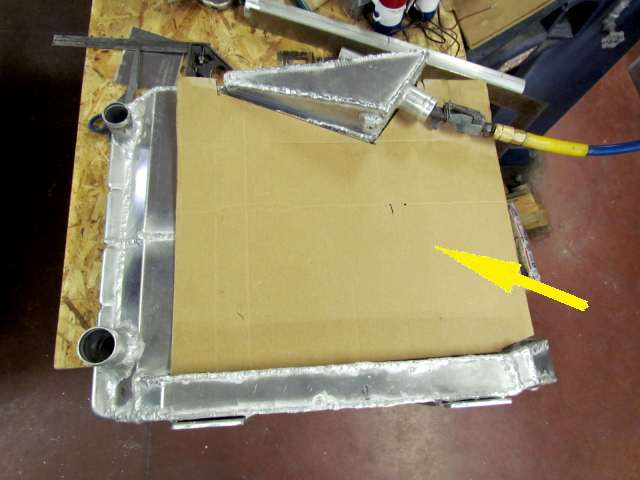
I took one of the pieces of cardboard that came with the radiator that protected its tubes/fins and cut it to fit the side of the box and clear the outlet area.
It was then used as a pattern to cut out some...
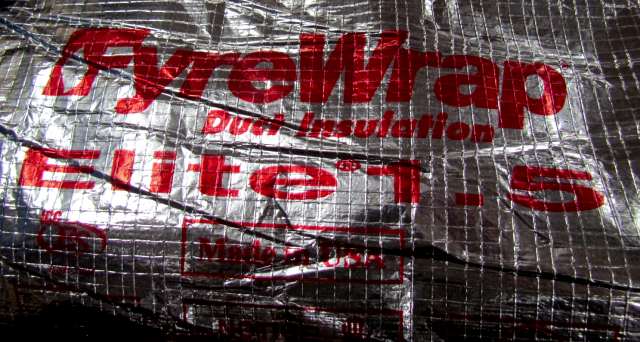
FyreWrap Elite 1.5 high temperature insulation. This material is used to wrap duct work and pipes and other items in high temperature environments. The company also has other blanket type and bulkhead type materials that could be used. Darryl Ward who has helped with the car and the lettering on the car had some of this left over from work that had been done on his restaurant and donated it to Hooley. The core has a temperature fire rating of 2300 degrees F. The outer foil isn't that high but it won't support combustion. We also will use this on the intercooler ice water tank since it sits next to the headers on the driver side.
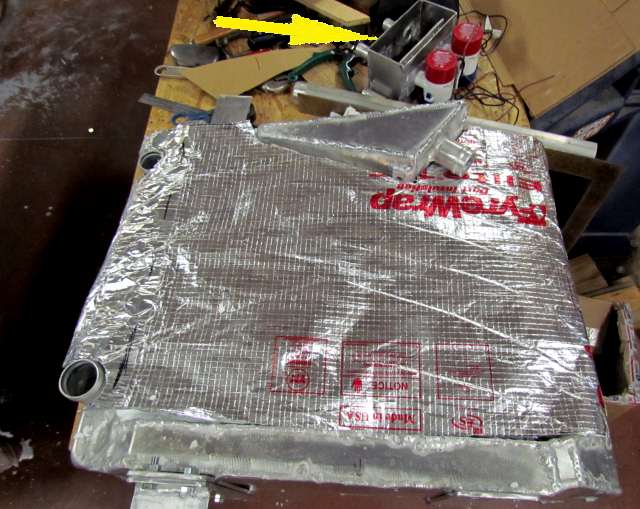
Above the FyreWrap has been trimmed to fit the tank side and the radiator inlet/outlet area also. The arrow points to the two bilge pumps for the intercooler ice water tank.
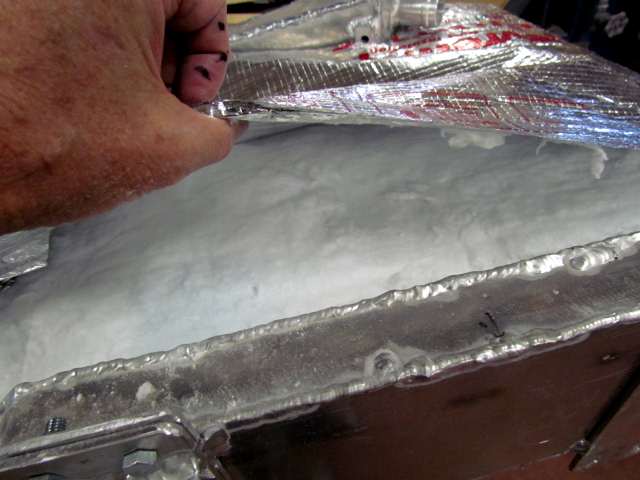
The FyreWrap will compress some but not a lot. I could compress the 1 1/2 thickness to a little over 1 inch but that was all. I talked to one of their reps and she said that unlike fiberglass this material didn't loose a lot of its insulations qualities by compressing it. Still it was too thick at the box outlet and would present a problem putting the hose on there.
To help there the foil was lifted and a layer of the insulation was removed over the whole piece. You can do that pretty easily. If you have to buy the material you might just want to look at one of their thinner products to begin with, but since this was free we worked with what we had and thanks Daryle as this isn't a real cheap product.
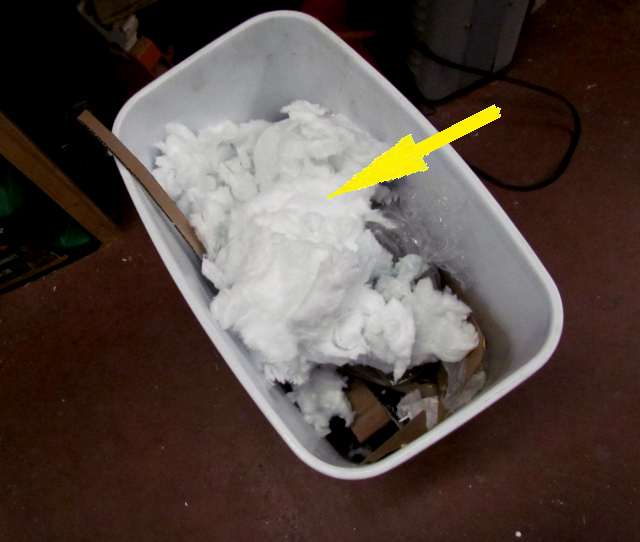
Above you can see the material that was removed. It is wadded up in the picture but removes in layers pretty easily.
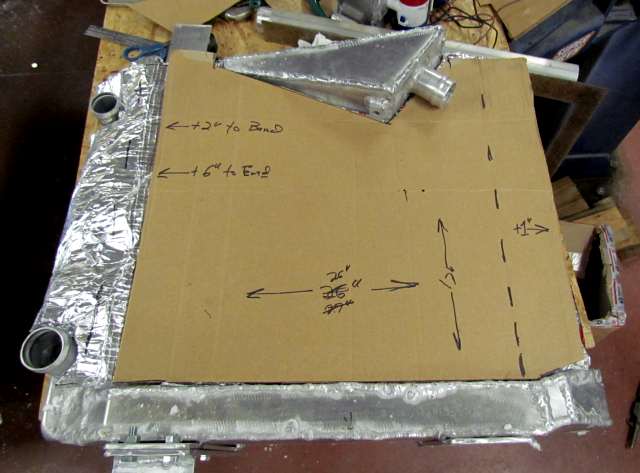
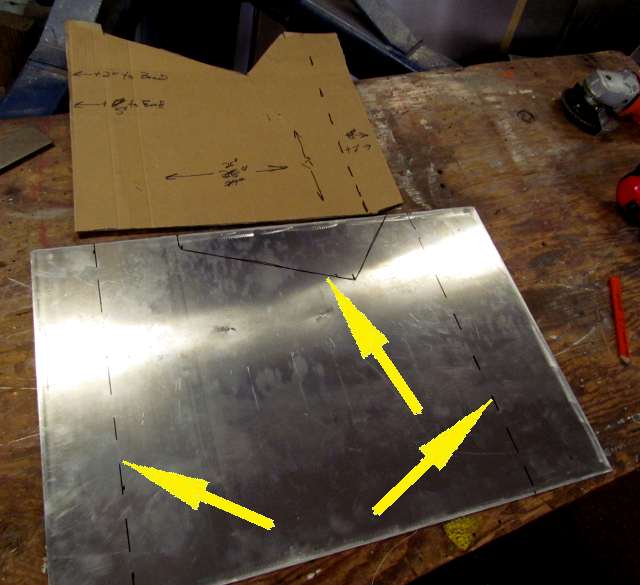
Next the cardboard was used to make a pattern for some .090 5052 aluminum to cover the FyreWrap and hold it in place. The piece needed to be wider so that it could wrap around the sides of the box to some extent. The added width was noted along with were the bends should be.
A piece of the 5052 was cut with the plasma cutter to the outer dimensions.
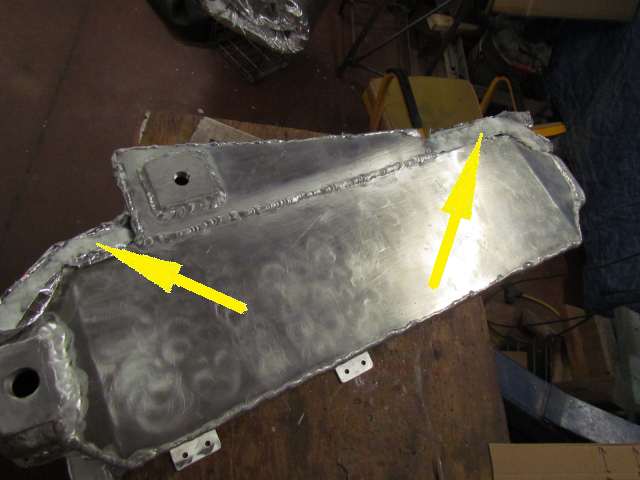
The .090 5052 was also used for the rest of the box. 5052 has good corrosion properties and I thought that would be good considering the environment the car runs in.
The bend and cut lines were marked off and...
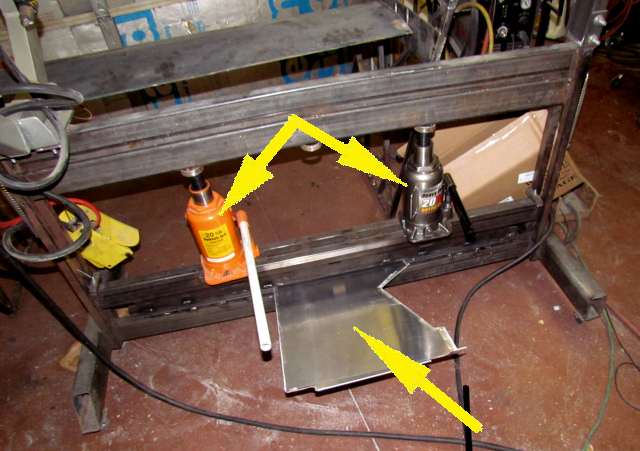
The panel was cut (along with the areas around the radiator inlet/outlet) and after a trial fit the ....
... panel was bent in the press brake. Note I have two bottle jacks on it now. A friend bent the top of the brake and also the lower part trying to bend too thick of a piece with the single center jack. I straighted the bottom back out, but noticed that when I bent the pieces for the box I was close to bending the bottom pieces again with the wider pieces of .090. The second jack eliminated all of that. I think I would need three jacks to bend a full 4 foot piece.
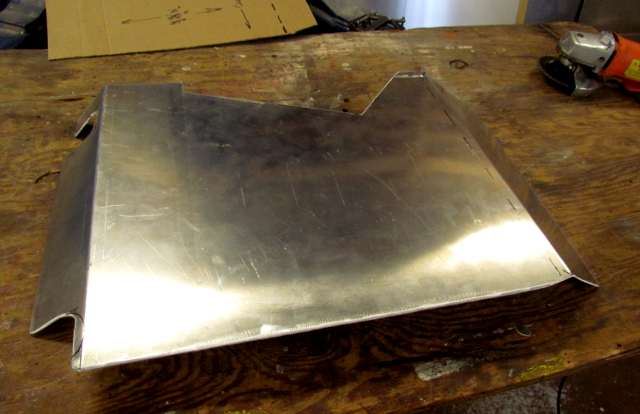
With the bends in place the...
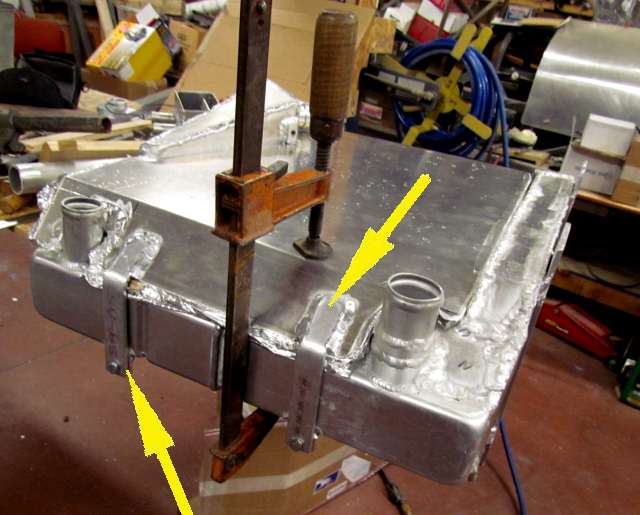
... panel was clamped to the side of the tank for a fit with the FyreWrap under it. I felt good about the clearance for the box outlet.
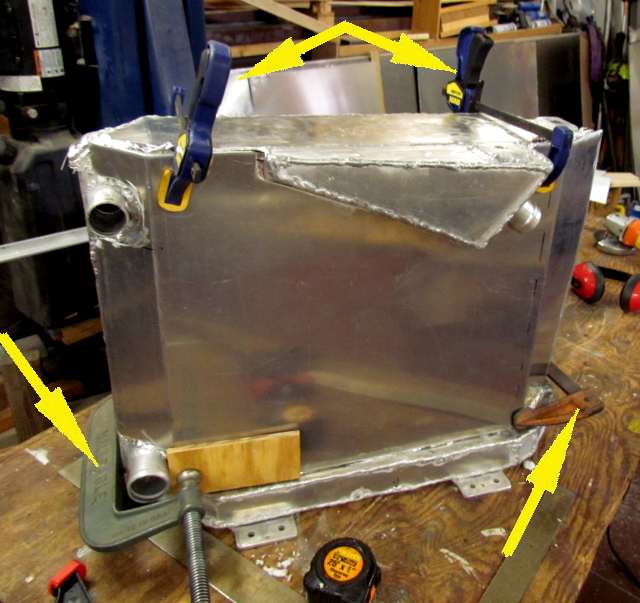
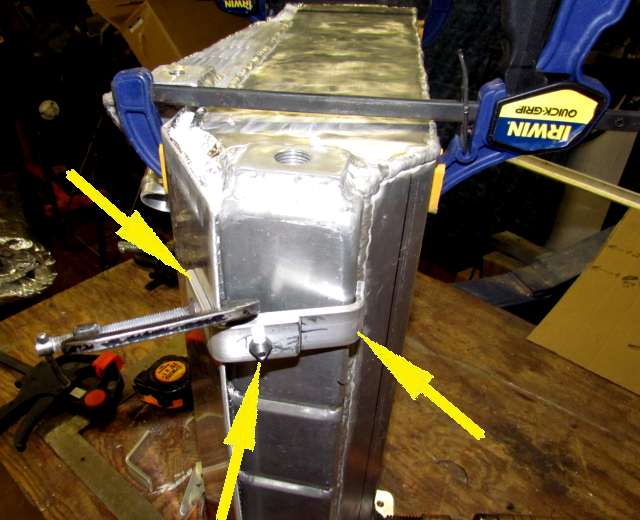
With the FyreWrap compressed mounting brackets were made and welded onto the panel and the box on both ends. The mounts were.....
... made slightly different on each end. To mount or remove this panel it will need to be compressed.
The arrows point to the compressed FyreWrap. Next up will be some 'air-gap' heat shields.