--- The Stude's 2013 Changes Page 16 --- --- Radiator In-A-Box -- Part IV --- |
Next up was finishing the water inlet passage to the bottom of the box.
Sides for the passage were welded into place and ...
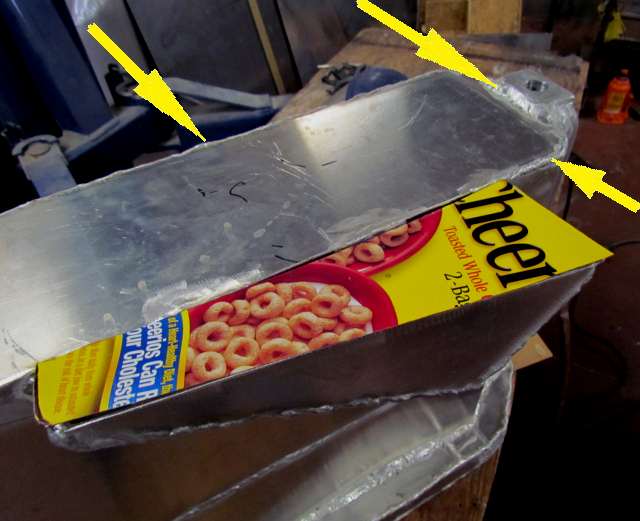
... patterns from cereal boxes were made and ...
... transfered to aluminum and cut out and welded into place.
This was continued to the end of the passage to the left above.
Then the top pieces were cut and welded into place.
Without the top on the box at this point I decide to run water in and see how it worked. I put a Rule 1100 bilge pump into a large plastic trash container. I put a hole in the bottom of the trash container and had the pump inside with the spigot outside and ran a garden hose into the trash container and filled it and tried to keep it filled. Then a 1 1/4 inch hose went from the pump to the bottom of the box and was turned on.
The water entered the box on the one side and and through the radiator and up the other side and then crossed back over before spilling over the top of the box. The garden hose on high couldn't keep up with the pump and it was pumping about 15 gallons a minute. As I've mentioned before we will be using an even larger pump, the Meziere that we used before.
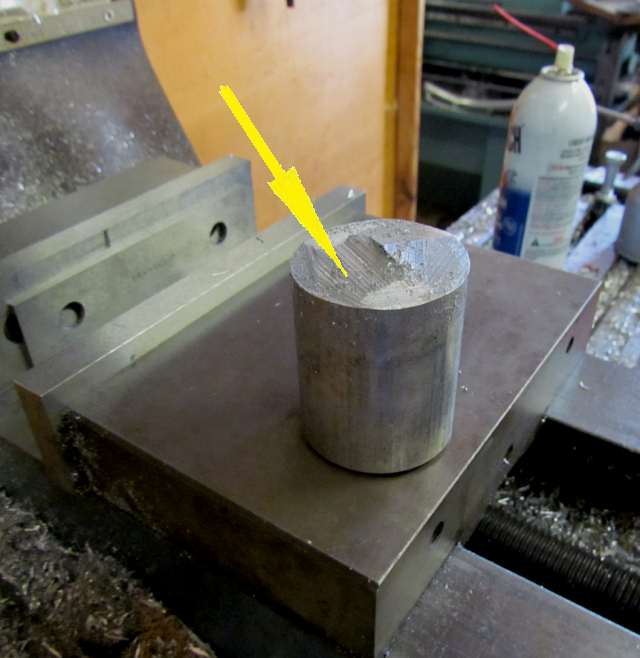
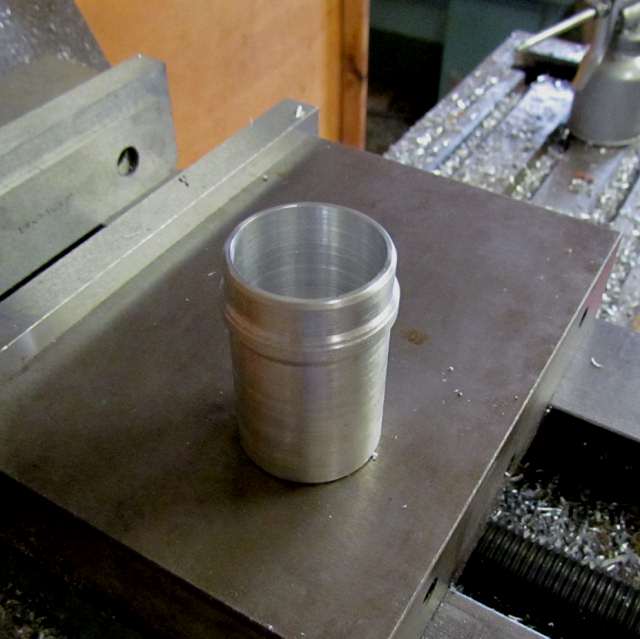
I needed a 1 1/2 inch outlet spigot from the box and didn't have any tubing that size so had to take a piece of 2 inch solid round bar and ....
... turn one on the lathe. That took about an hour....faster than odering one and having it shipped.
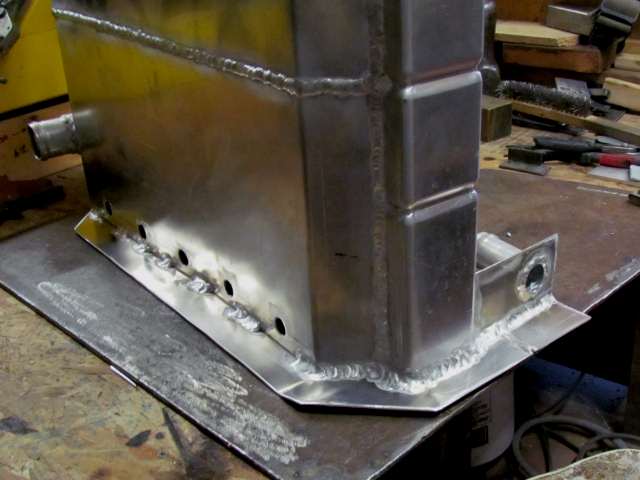
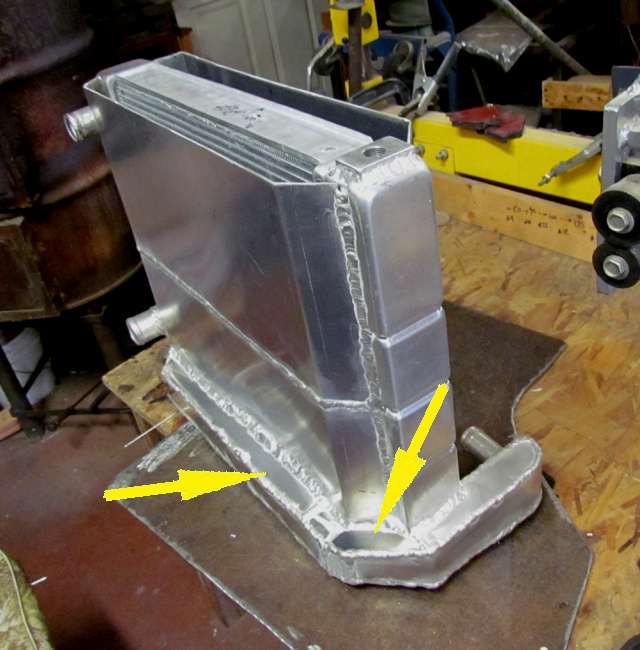
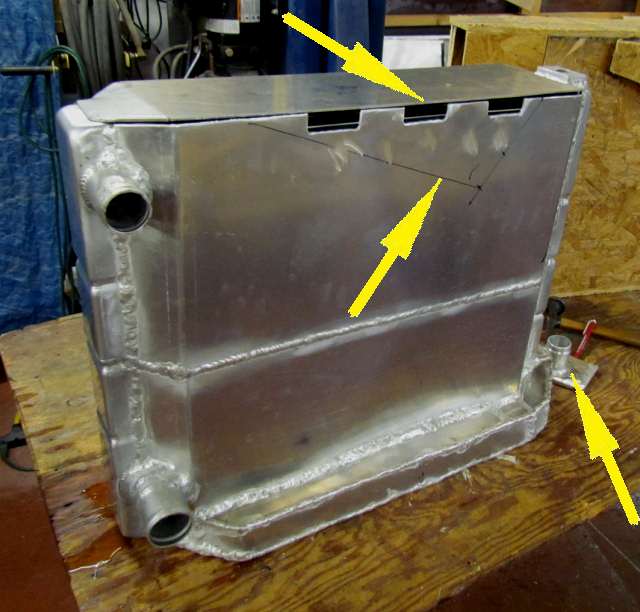
One think I had forgot to do in my rush to weld the box sides on was to put outlet holes so that water could flow out of the box. I did this with the side welded in place, top arrow. The middle arrow points to where the outlet compartment will sit and the bottom arrow to the outlet I had made.
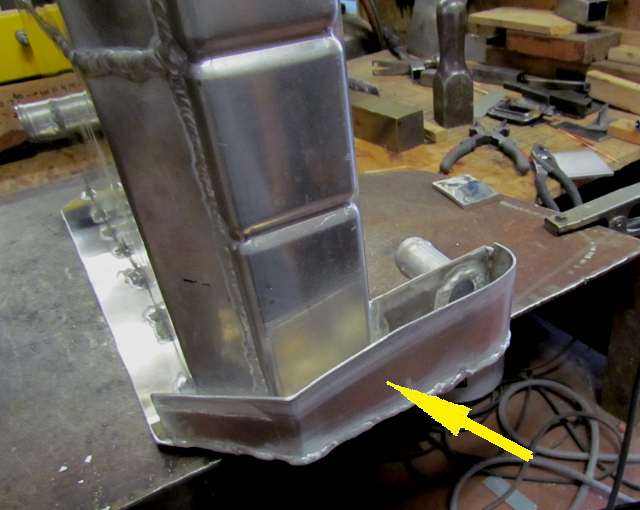
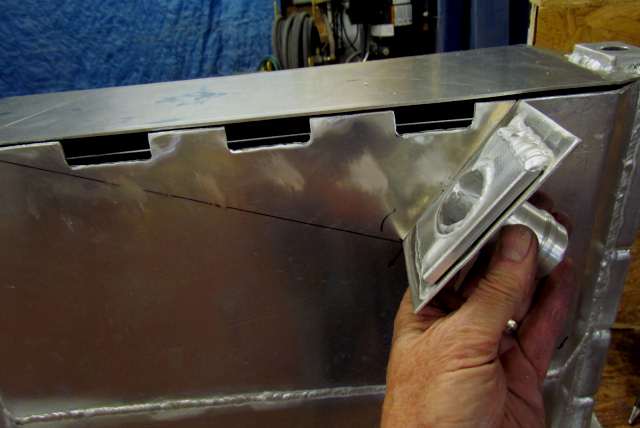
Here the outlet is held in place as a test to see if I still liked this approach.
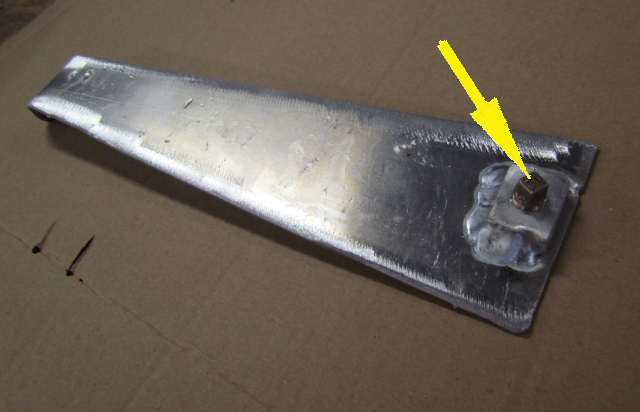
Above is the bottom of the compartment with a threaded 1/8th inch brass pipe plug in place so that the small compartment could be drained if so desired.
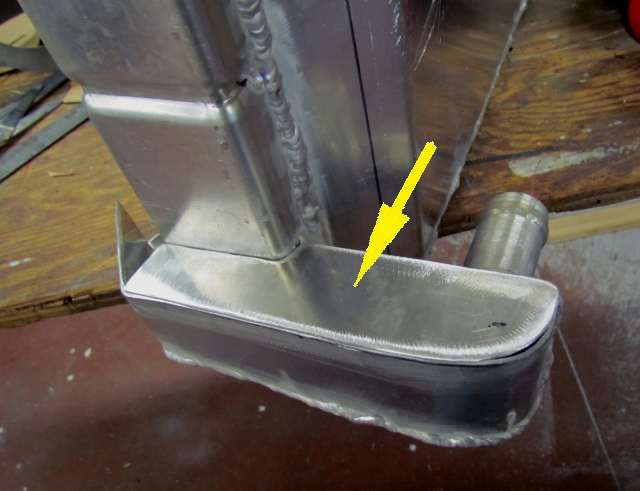
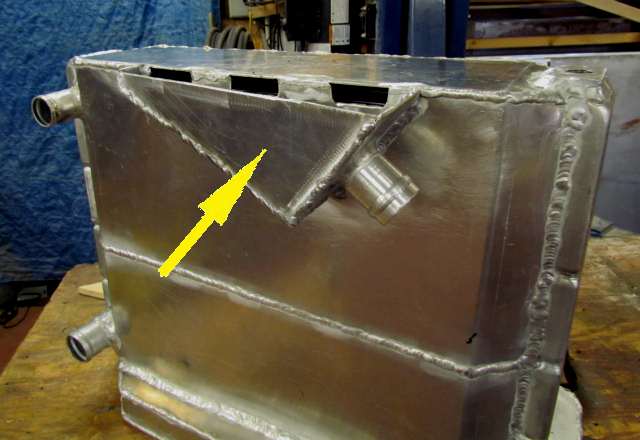
The bottom was welded onto the side of the box and also the side to the outlet compartment.
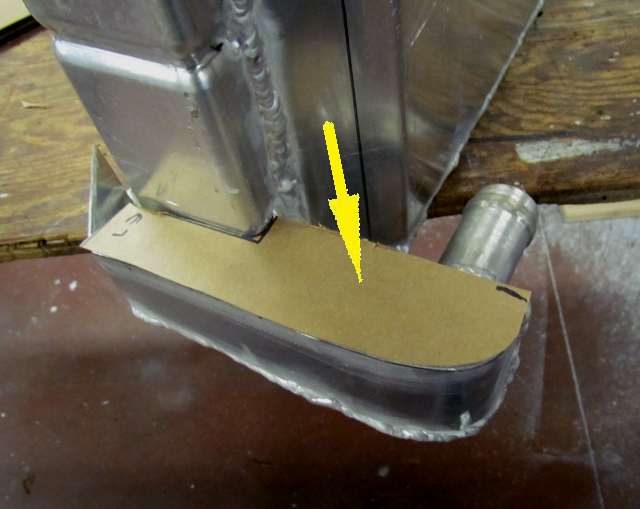
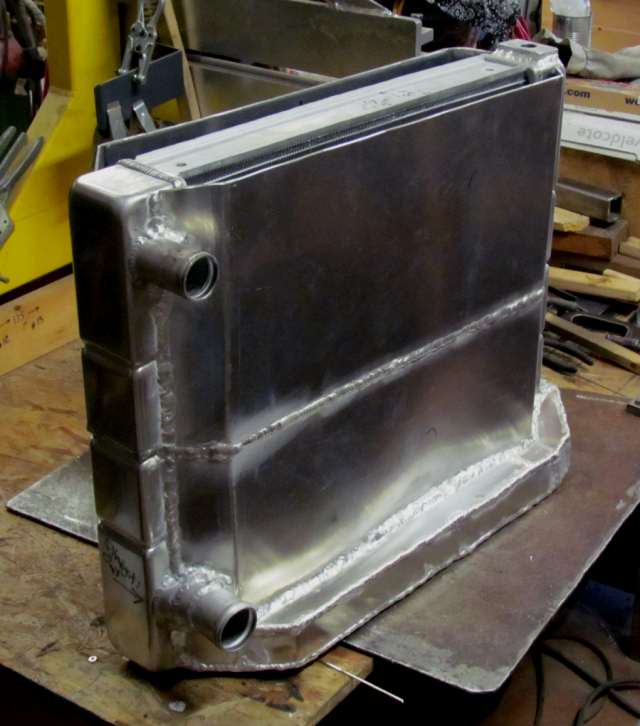
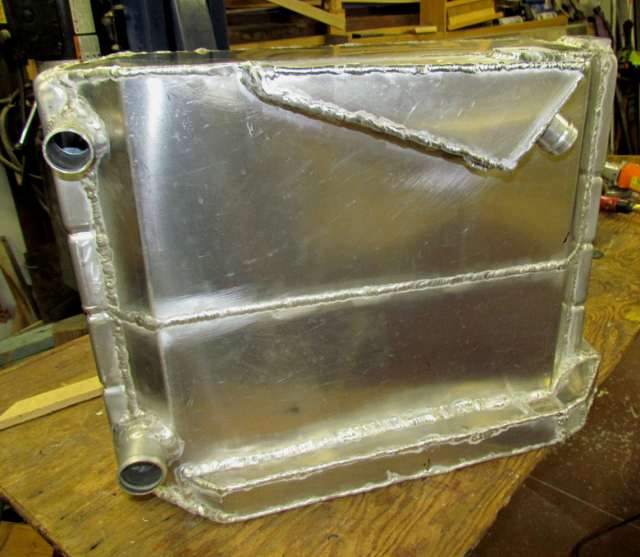
A pattern was made, again from a cereal box, for the top. Also you can see, arrows, where at this point the top of the box has been welded on to the sides and the radiator end tanks.
The box ready for another water testing. I had 4-5 small leaks that would either seep or slowly drip out. I chased them for a couple hours but finally got them sealed.
To see a youtube video of the test go ( HERE ).
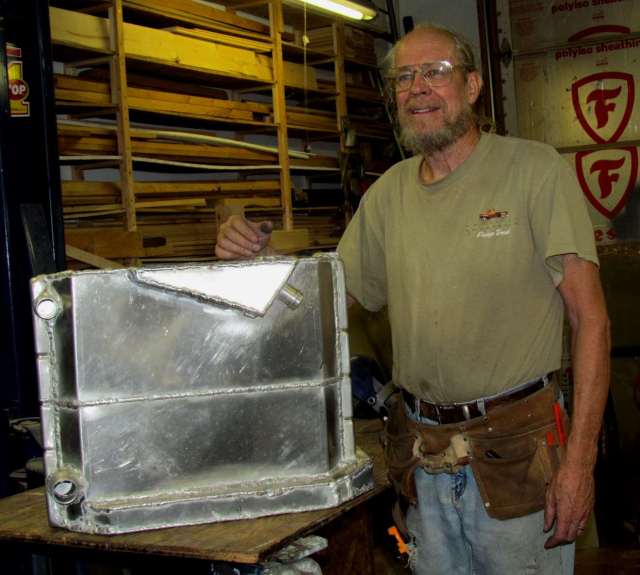
Ruth's picture of the rad-in-a-box and yours truly. It isn't that large but weighs about 30 lbs. at this point. I'm happy with the results, just wish I could lay down those really pretty welding beads.....maybe someday.
Next mounting brackets will be made along with insulation and heat shields,
Sum