--- The Stude's 2013 Changes Page 14 --- --- Radiator In-A-Box -- Part II --- |
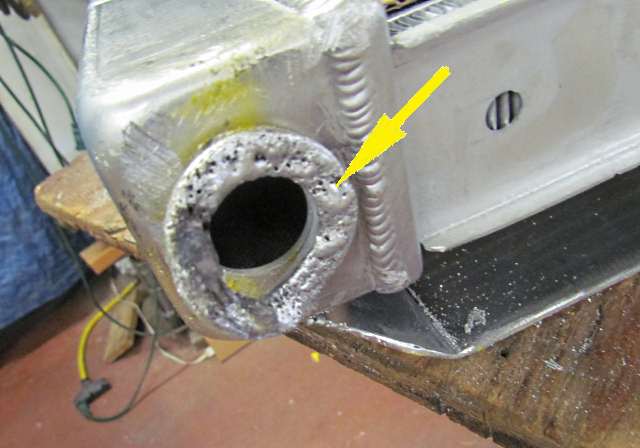
I wanted to raise the radiator fill up a ways so that it would ease the making and welding of the top cap piece of the box so I cut it off and made a spacer to move it up.
Well when I went to weld the pieces back together....
.... it didn't go so well. The filler was made out of some kind of pot aluminum and just would not weld. After wasting time on that I....
....took a hacksaw and cut what was left of it off flush with the side tank and ...
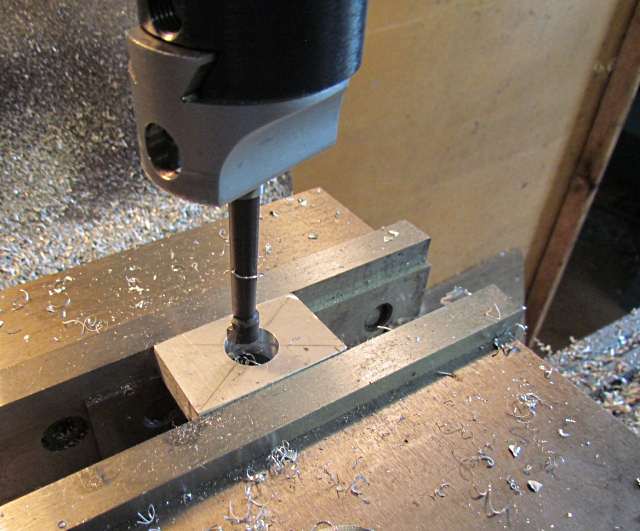
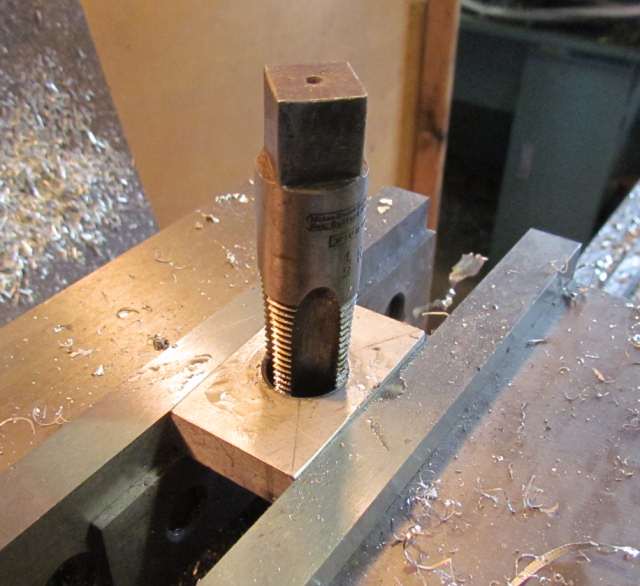
... took a piece of aluminum and drilled it and then bored it so that....
... it could be tapped with a 1/2 inch tapered pipe thread.
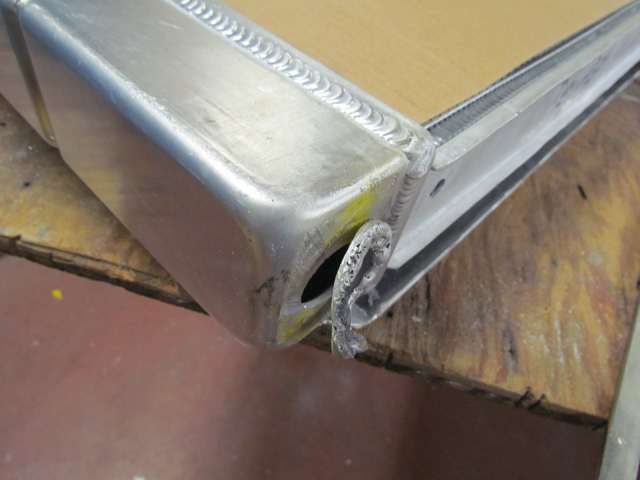
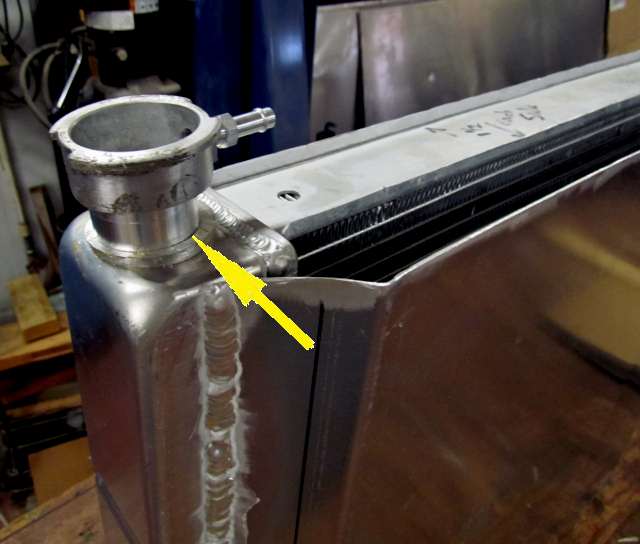
The new piece was placed in place and ...
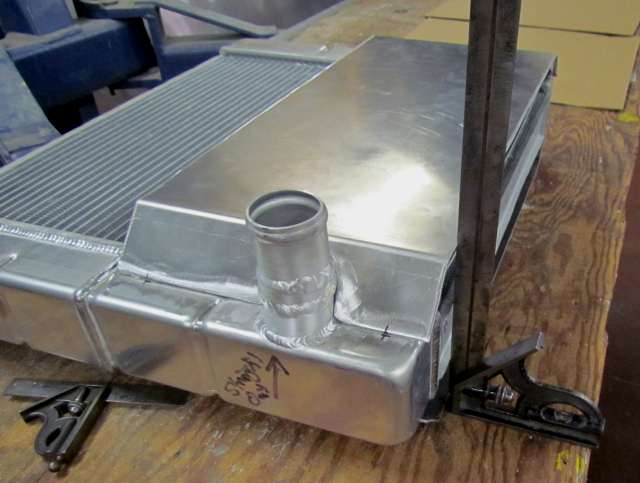
.... welded on the top of the tank. We can fill the block and tank at the block but this will let us bleed the tank to remove any air that would be above the tank inlet that is below the top of the tank. With that taken care of I moved on to making panels to cover the other side of the radiator.
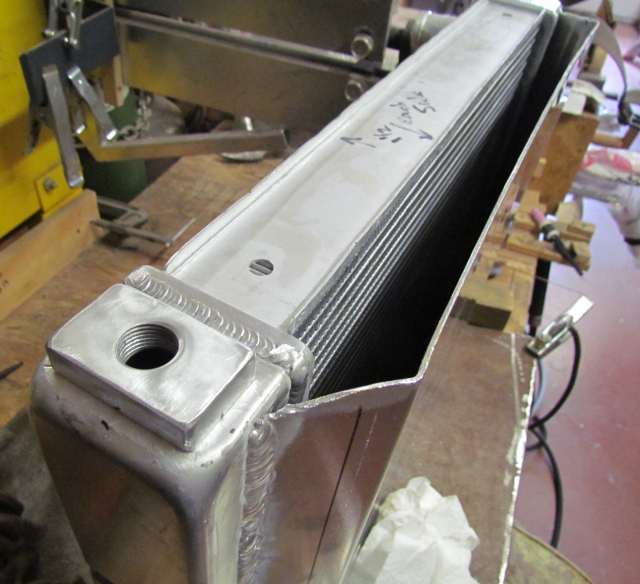
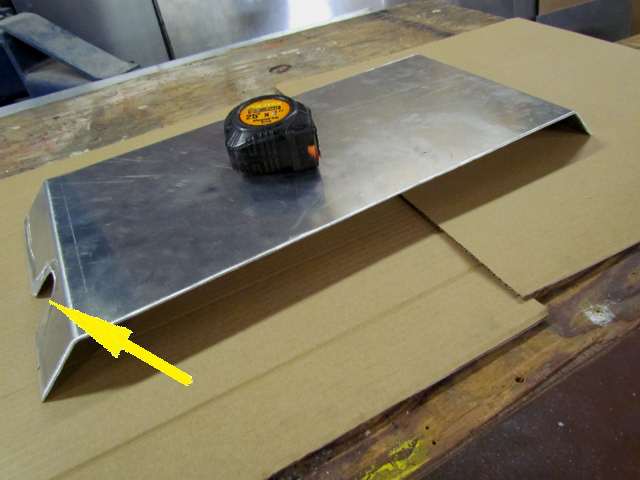
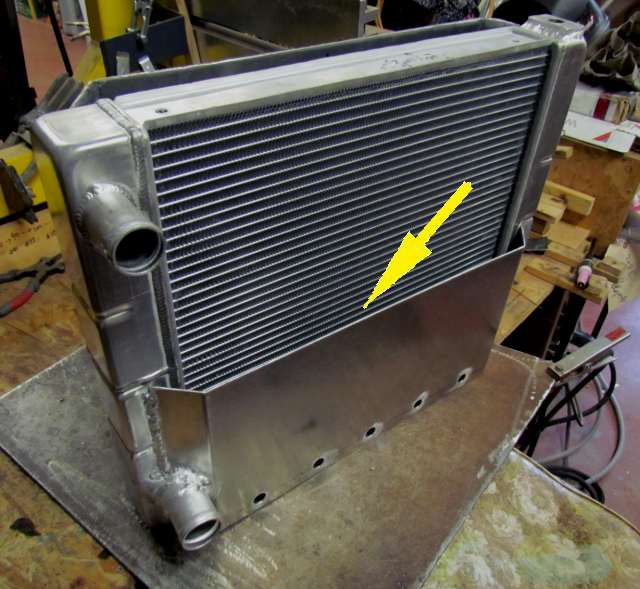
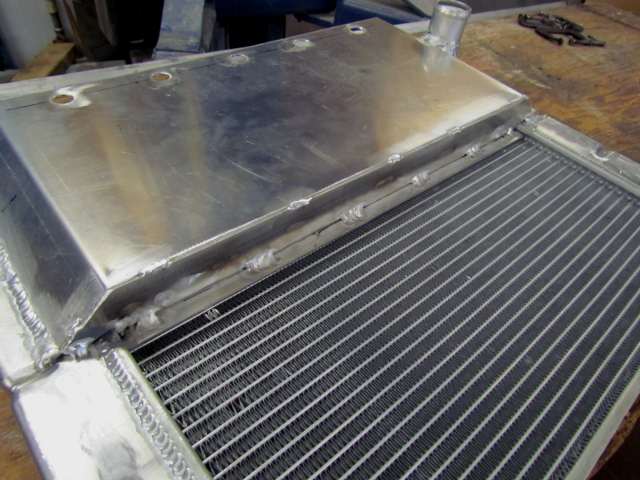
This side needed to have two pieces made since the box on this side of the radiator is divided into an upper and lower section for the water flow. Another piece was bent and was slotted on the one side, arrow, to allow it ......
.... to clear around the bottom radiator outlet. Again care is taken to make sure this side, the other side and the bottom of the radiator are all on the same plane so that water is forced through the radiator and not under it or later over it to the other side.
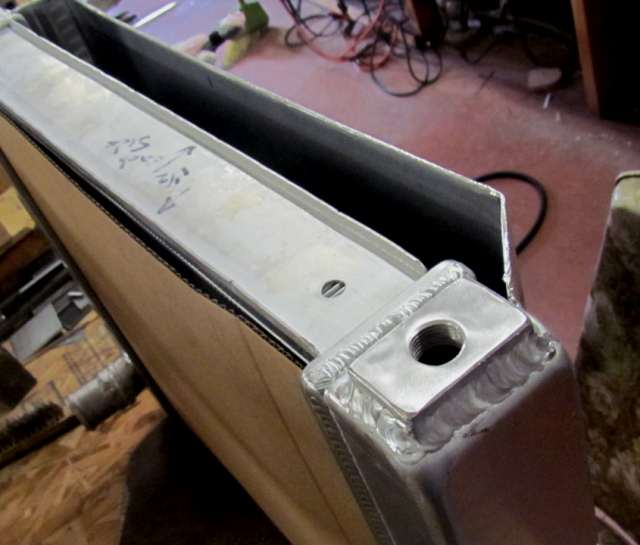
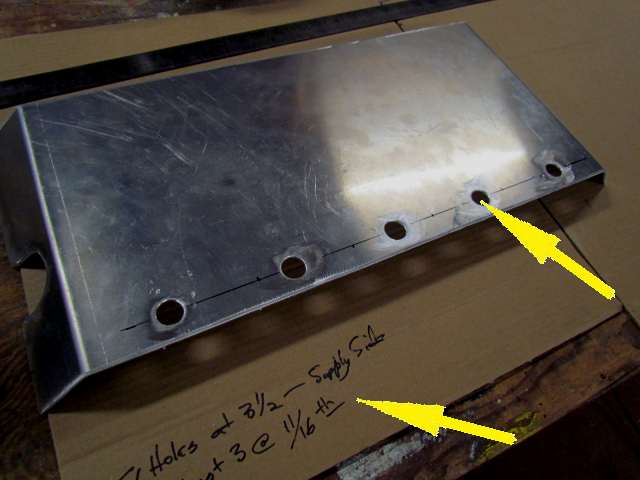
Cooling water is also going to enter the box on this side at the bottom of the box so I put in 5 holes that were around 11/16th in diameter. The water will enter from the right side above so I made the holes on the left side a little larger hoping that flow will go that way also. All of this will clear up with later pictures.
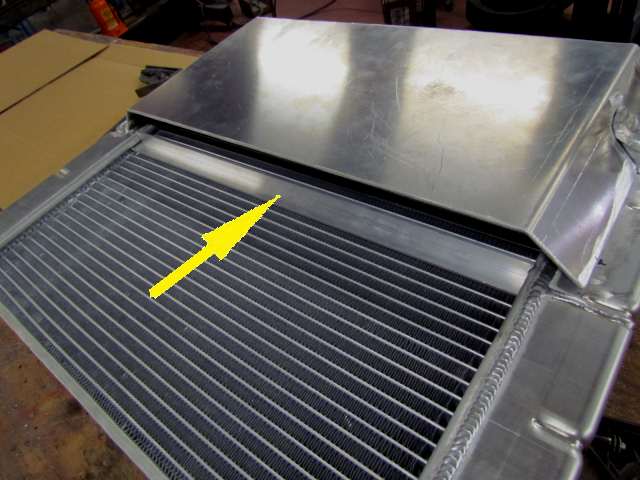
After a final trial fit....
... the piece was welded into position. Next up is blocking the area where the arrow is so that water will enter at the bottom and be forced to flow through the radiator to the other side of the box.
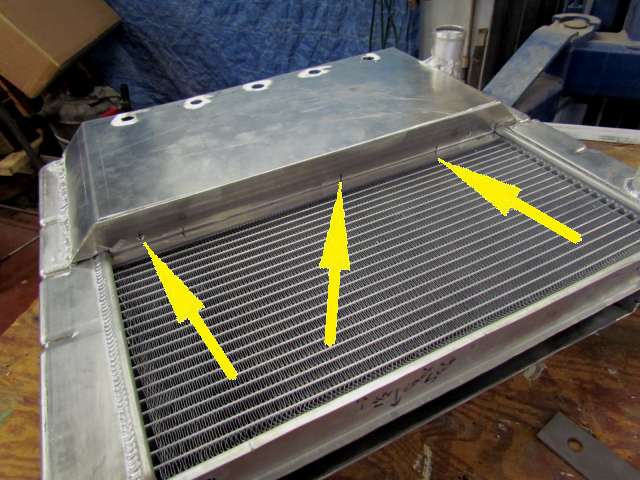
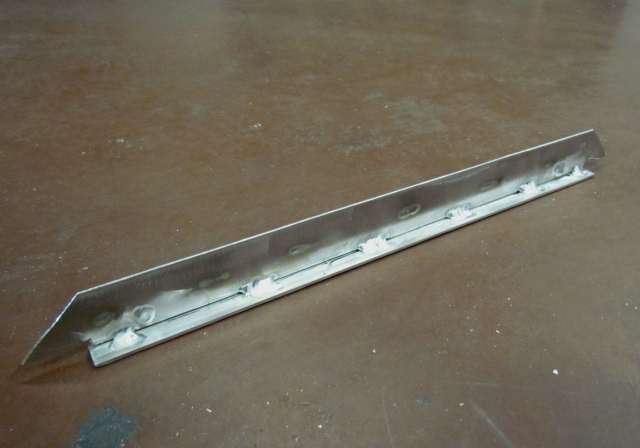
The piece of aluminum angle that I had made at the start was placed on the radiator at the point where it is divided (note the weld in the side tank to the right where that tank is blocked off forcing the water in the radiator to the other side tank.
The angle provides a flat surface on the tank tubes/fins and the other leg makes it possible to ...
... add another piece that will fill the rest of the opening. The other filler doesn't quite rest on the angle so I had to mark it so that I knew where to weld the two together. Ruth stuck her hand in and under the plate that was in place and held the angle in place. I had drilled two holes in the filler piece at both ends. I took a marker and marked those holes, left arrow. That gave us height and then marked some other lines, other arrows, with the marker so that the pieces would position horizontally with each other. With that done we removed the two pieces and ....
.... welded them together.
Finally the divider was placed back on the radiator and welded into place. Next....the rest of the box on this side.