.....
.................
I started the final forms by using 2 X 6's around the perimeter of the slab. In the picture above the area above the board is the main slab. The area where the garden hose is will be poured separately later and will be the sunroom.
.................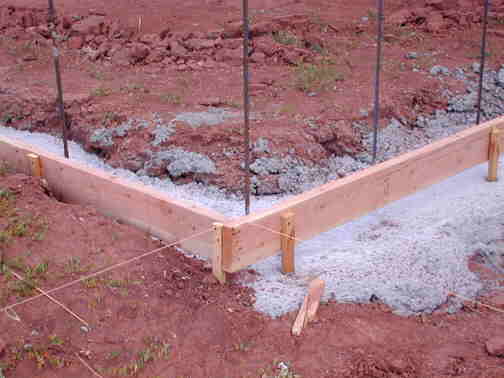
Here you can see how the lines from the batter boards square the corners and also mark where the outside of the slab is. They also give me the correct elevation for the forms. I use the stakes that I placed in the concrete stem walls to hold the boards to the correct height (right up to the string). I had to shim some of the boards a little to get them to line right up with the string. Make sure the stakes in the concrete are not placed in too far. It is easier to work with them if they are a little out from where they need to be. You can also see why they were place 1 1/2 inches out from the final slab side to allow for the 2 X 6 form boards width.
.................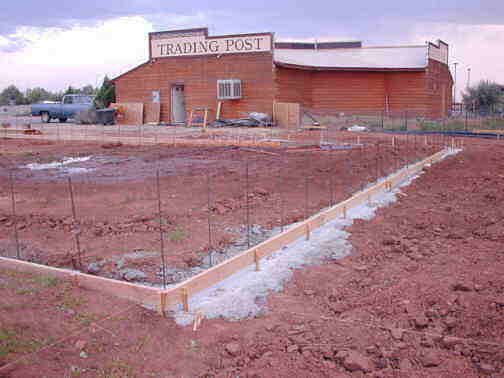
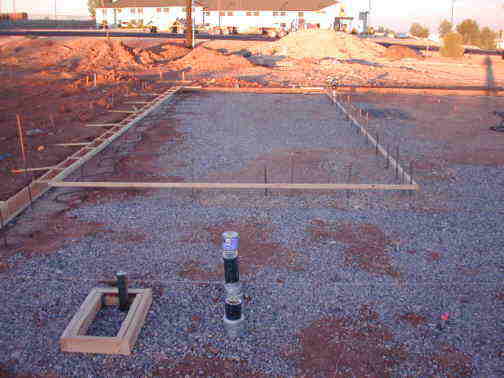
I continued the same procedure all the way around the slab perimeter. The slab will be 40' X 60' plus the part that will be poured later for the sunroom
.................
.................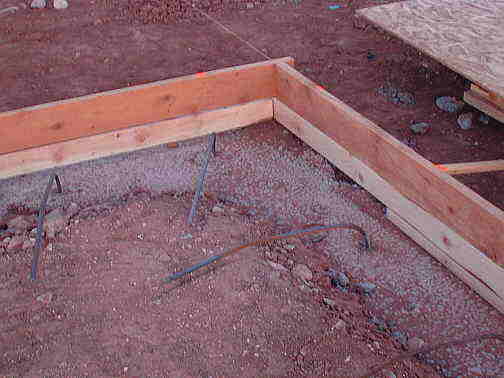
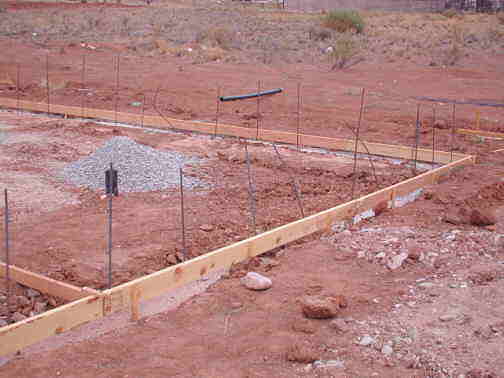
Here you can see where I added boards under the 2 X 6 top form board to fill in the bottom so that the cement wouldn't flow out under the forms. You can also see how the re-bar that was placed in the stem walls has been bent over and will tie the slab to the stem walls.
.................
The whole area inside of the forms had to be brought to level. I had to remove dirt in some areas and add gravel in others to bring the whole area to 3 1/2 inches below the tops of the forms. This was a lot of hand work and wheel barrow work.
I strung strings from one side of the slab to the other about 10 feet apart and then used a 2 X 4 under the strings to get the whole area to the right height by either removing or filling as I went.
After the whole area was flat I rented a compactor to once more compact the area before the cement pour. Months prior to building I had the site graded to near the level I wanted the slab at. I then wetted it more than once and had driven my Jeep over it numerous times one tire width at a time so it was already well compacted. Normally if you level the area to 3 1/2 inches below the final slab height and then compact it you will be close to a 4 inch slab thickness, which is what I wanted in this case.
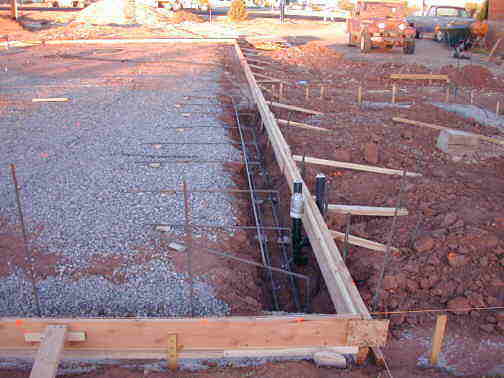
You can also see extra support boards going from the form boards outward. They have holes in them at the end and are staked into the ground. They will keep the forms from bowing out when the cement is poured. The other stakes I placed in the concrete will hold the form boards to the correct height, but aren't strong enough by themselves to hold against the weight of the concrete.
.................
In the picture above you can see where I made a form around where the tub/shower will be so there won't be concrete there. Also you should wrap all the pipes that will have concrete around them with something pliable and thick to allow for later expansion and contraction of the concrete slab.
The large rectangular area in the picture above will be a separate garage area in the shop. I wanted to be able to wash in this area and not have the water run under the walls, so I dropped the floor in this area by 1 1/2 inches. That is the purpose of the 2 X 2's that appear to be "floating" in the picture above and below. Concrete will be poured to the top in the wall areas and in all the rest of the slab. In the rectangular part the concrete will be held to the bottom of the 2 X 2 to make the floor lower in that area.
The steel stakes that hold the 2 X 2's up in the middle of the slab will be pulled shortly after the concrete is poured and the areas have been screeded flat. This will give a finished floor without the stake holes showing.
.................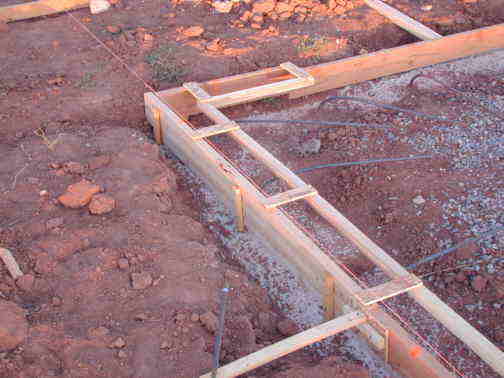
I made spacers to hold the 2 X 2's out to the correct place so that the exterior walls in this area will be the same height as the rest of the building. At the top of the picture where the 2 X 2's stop will be the opening for the garage door going outside.
.................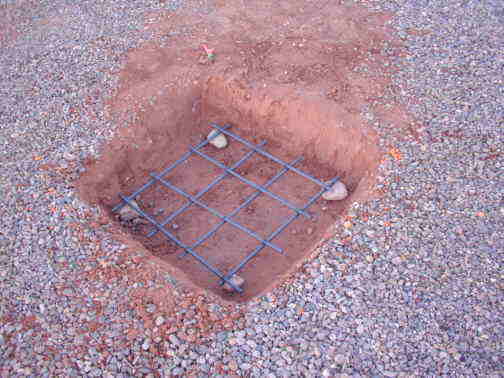
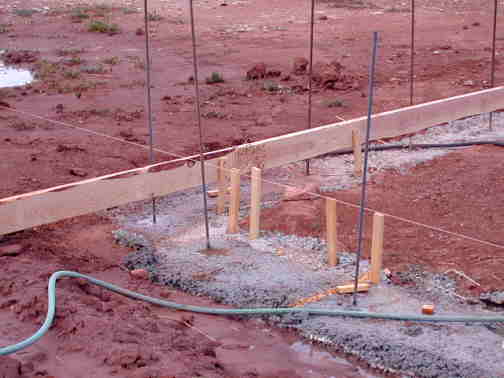
The house will have some large 8 X 12 beams held up by 8 X 8 posts, so I reinforced the areas where the posts will be.
.................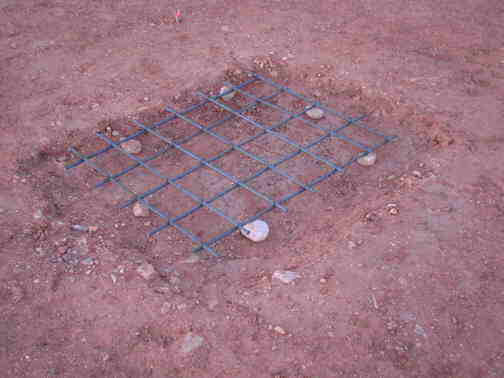
I want to have a car lift in the shop, so I reinforced the areas where the lift bases will be also.
.................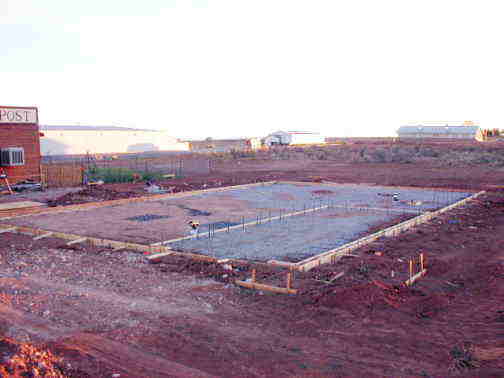
Well after a lot of hard work I'm ready for a crew to come in and pour the main slab.
..........................................................................Next Page
.................