.....
.................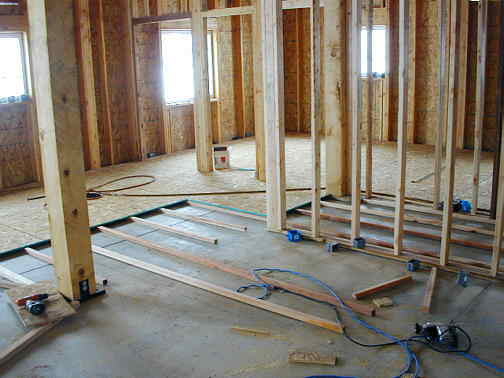
We want a vinyl tile floor in the living area of the house except for the sun room, which will be colored concrete and ceramic tile. We like the ease of sweeping and mopping this type of floor with throw rugs in different areas. This isn't for everyone, but with 3 dogs we didn't want carpets.
The tile floor could have been laid directly on the concrete slab, but we decided to put in a sub-floor for the tile. This will make for a better floor in the long run.
.................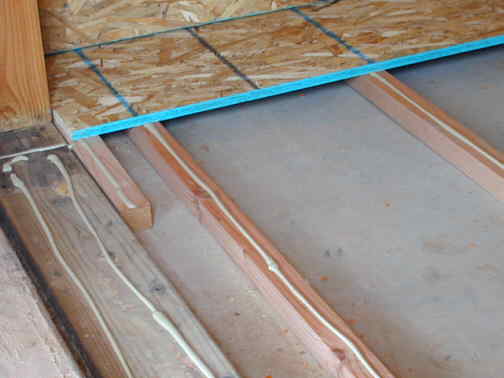
The building code were we are requires either redwood or pressure treated wood any time you have wood in contact with concrete. Since we didn't have access to the pressure treated wood we used redwood. It isn't too expensive where we are as a 2X6X12 foot is about $10.
I ripped 2X6X12's into 3 pieces with my radial arm saw. This gave me pieces that were about 1 3/4 wide by 1 1/2 inches by 12 feet. I cut some in half lengthwise so they were staggered under the wafer board. I spaced them on 16 inch centers with the 1 1/2 inch side vertical. This kept all the heights uniform. I then ran beads of "Liquid Nails" down them with my caulk gun and used #6 nails in my nail gun to nail the 5/8 inch wafer board to the furring strips of redwood.
.................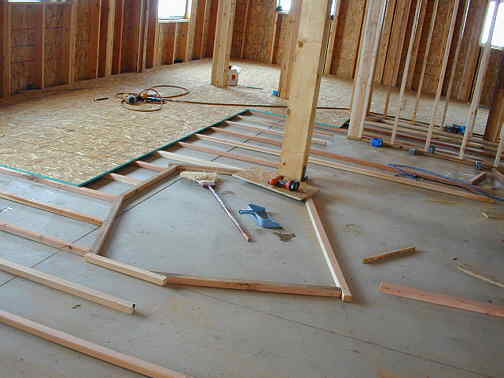
The irregular shaped area in the picture above and below is where the wood burning stove will set. I have ceramic tile that will go on top of the slab in that area later. This will cut down on any fire hazard created by heat under the stove.
The area to the right of where the stove will sit is the kitchen. There will be an island work counter to the right of the stove with a ceramic heat shield between the stove and the counter.
.................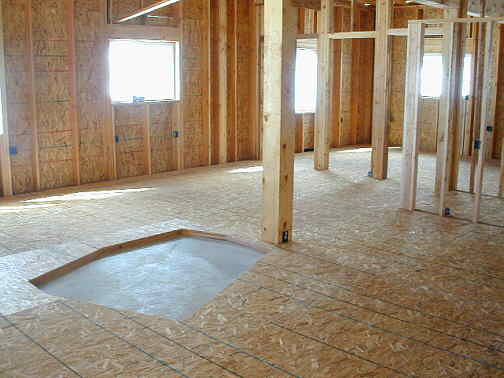
Here we see the finished floor. It took me 3 days to get the sub-floor down and it covers 960 sq. ft.
Next I will finish framing in the closets and the wall between the bedroom and bathroom. These walls will be perpendicular to the sub-floor furring strips and will be on top of the sub floor. All the walls that were parallel to the strips were put in place before the sub-floor for strength purposes.
About the last thing I will do to finish the inside of the house will be to come back and put 1/2 inch particle board down over this sub-floor. I'll then seal it. This will leave a nice flat surface to put the adhesive backed floor tiles on.
..........................................................................Next Page
.................