.Our MacGregor Index Page.....Mac 26S Rigging Mods Index Page.........
....................... Previous Page...................................... Next Page If There Is One
=======================================================
....................................--- Double Anchor Rollers Part I ---
=======================================================
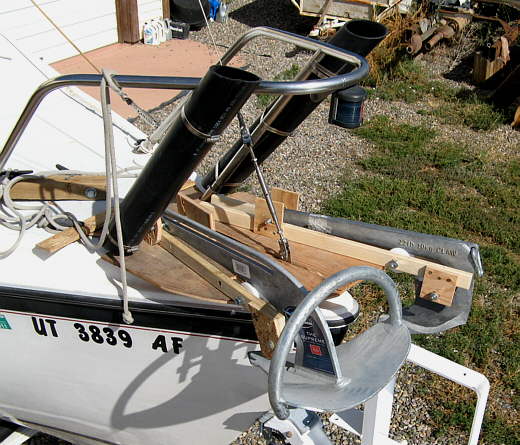
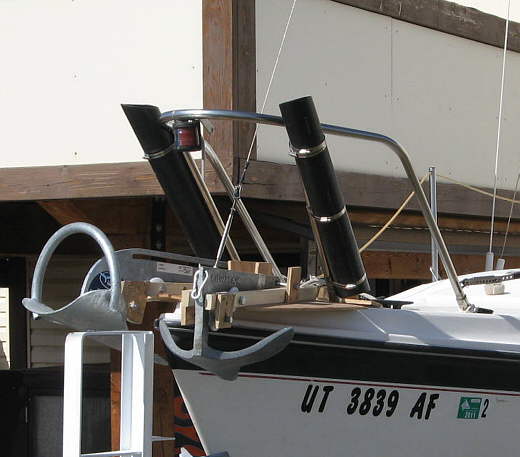
I was tired of putting the anchors over the side and retrieving them with the rode/chain dragging on the boat and the whole deal getting harder as I was getting older. Also we tend to use heavier anchors than most and the weight of the 22 lb. claw and 25 lb. Manson Supreme along with the chain was not easy to deal with leaning over the side of the boat.
..................
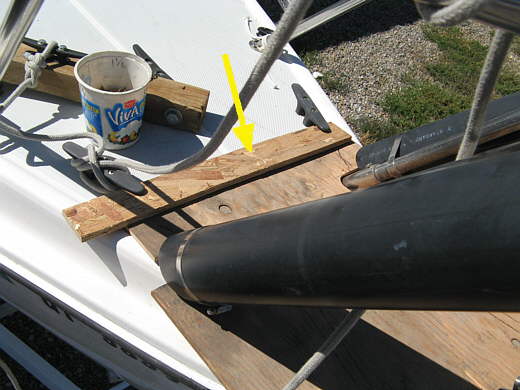
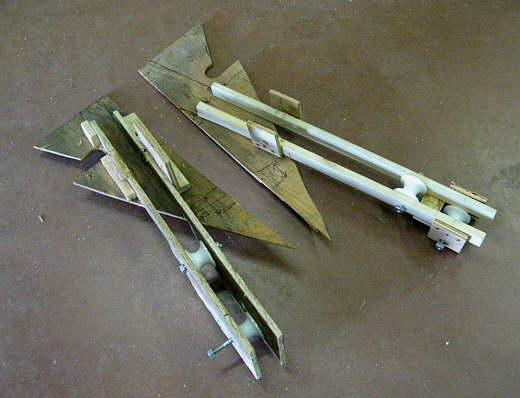
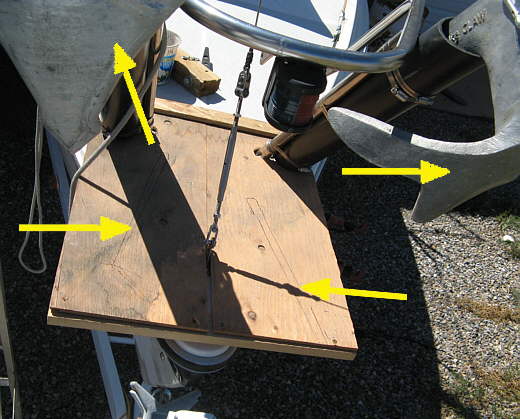
The anchors are different enough that I wanted one side of the double bow roller (which will be called DBR for the rest of this) to fit the claw and the other to fit the Manson, arrows. I started mocking the whole thing up with a piece of scrap plywood.
..................
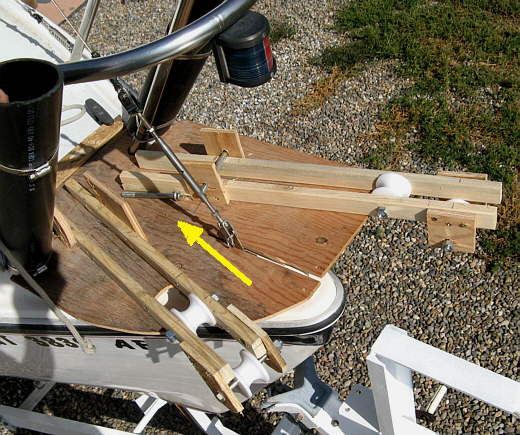
I could attach and detach it easy with the second piece of plywood that I jammed in between the one and the underside of the side cleats on the bow.
..................
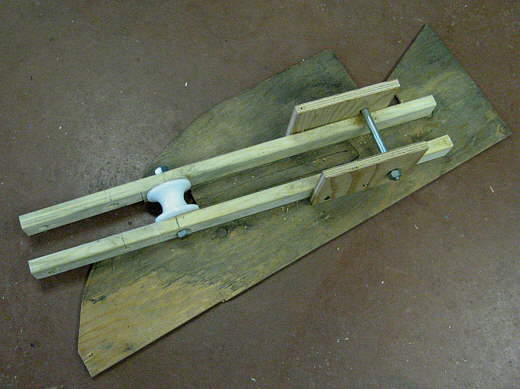
I started with the rollers I bought and put some side arms on for them and experimented with...
..................
... different lengths out to the rollers and different locations for the...
..................
.... the rollers until I liked how the anchors fit/rode and ...
..................
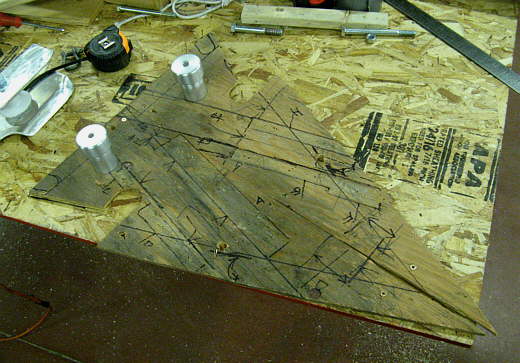
... how easily they would deploy and retrieve. The double rollers on the end help in the deployment and retrieving.
..................
Above is the final stage of the wood prototype.
..................
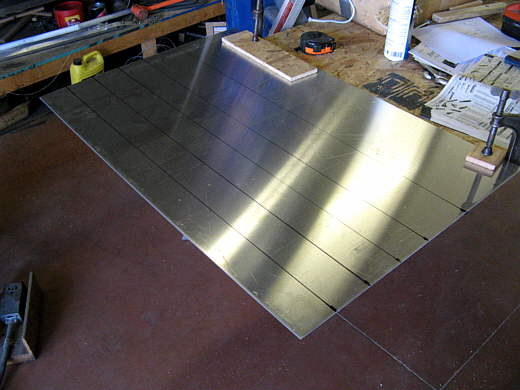
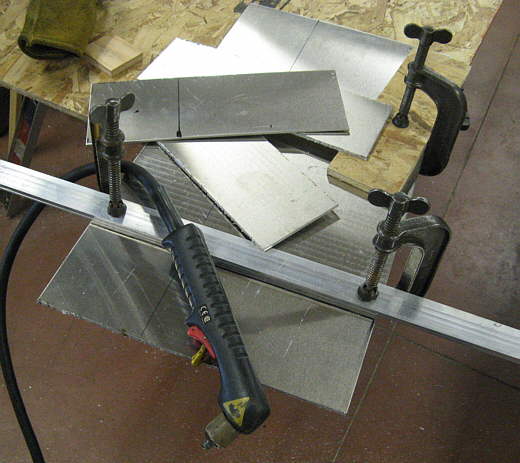
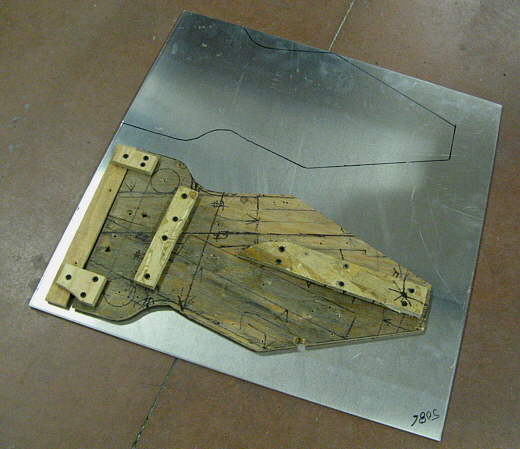
I started first with the side arms and marked off some pieces on a sheet of 0.125" 5086 aluminum as it has has excellent corrosion resistance.
..................
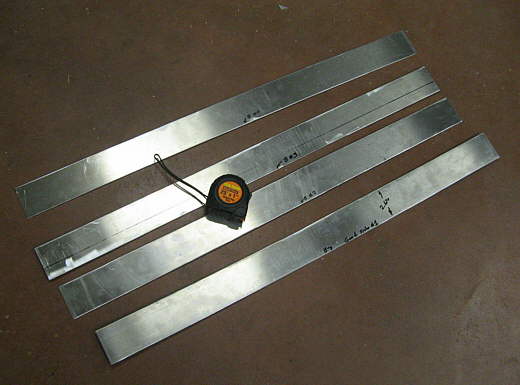
The arms and other pieces were cut.....
..................
.... with a plasma cutter. Here I'm cutting the additional pieces that will go at the front bottoms of the arms.
..................
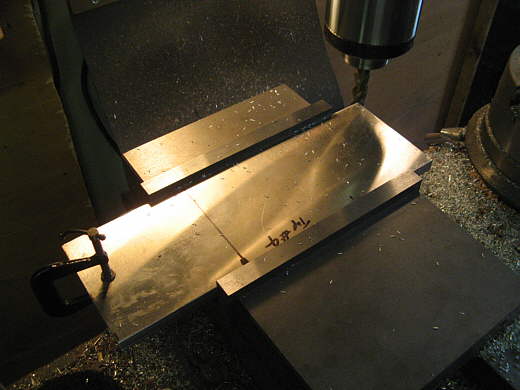
I squared some of the cuts up with the mill.
..................
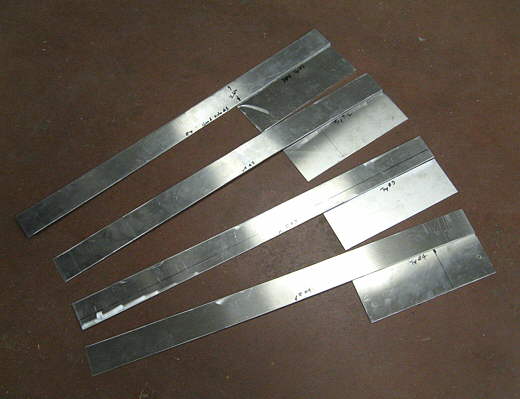
Here are the parts that make up the arms.
..................
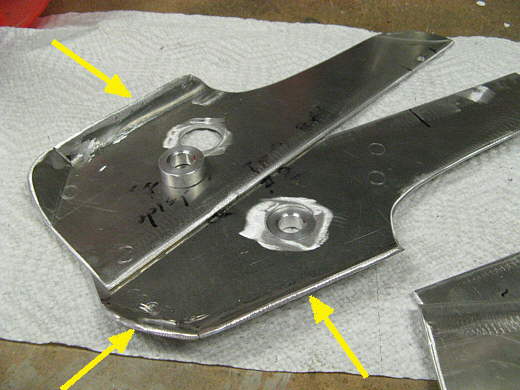
I drew in the final shape. The dotted lines are 'fold' lines and the round areas are for bushings for the rollers.
..................
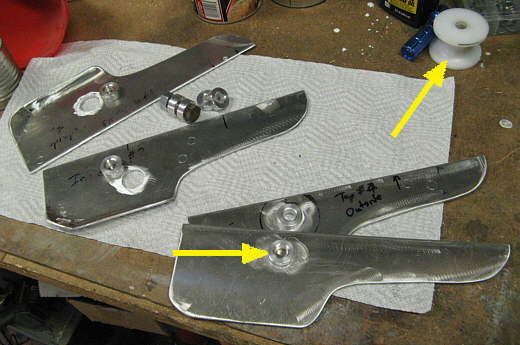
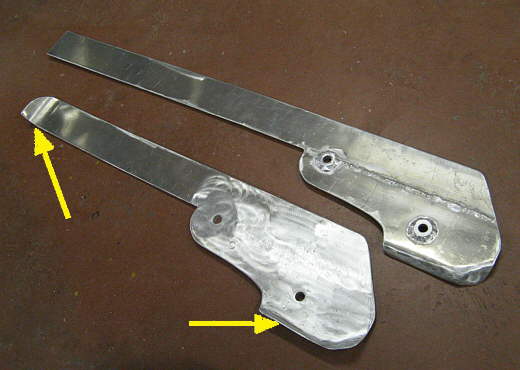
The pieces were cut our and reinforcing bushings were made, bottom arrow, for the rollers, top right arrow.
..................
The bends were put in so that the anchor rode would not wear on the front if we sat on anchor with the rode left in the roller vs. being moved to a bow side cleat. To make the bends I had to make a relief cut which...
..................
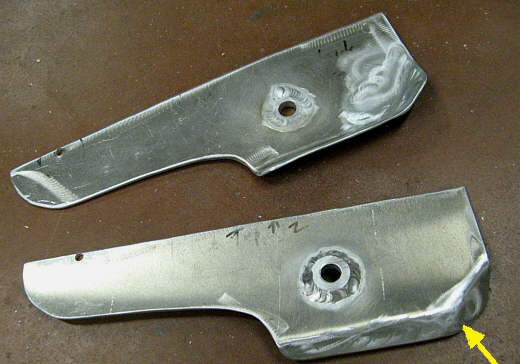
... was then welded shut, bottom right arrow. Also the bushings were welded into the pieces at this point.
..................
A finished bottom front arm.
..................
... These pieces were different on the side for the claw vs. the Manson as the shanks on the two anchors are not the same.
..................
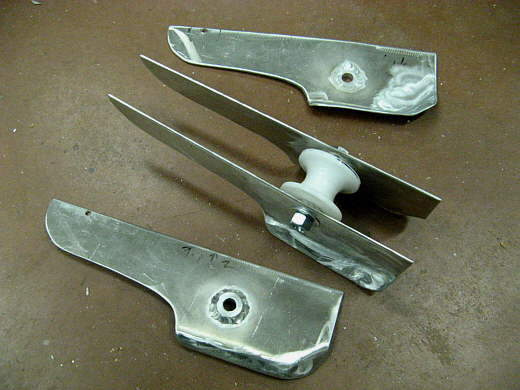
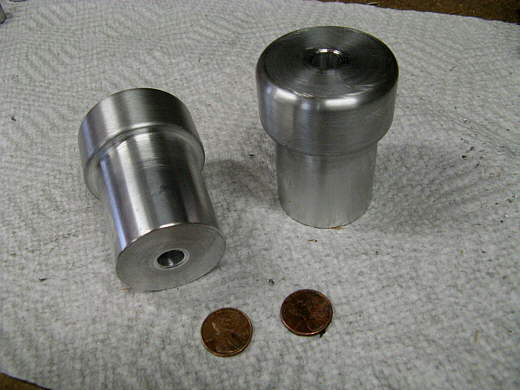
These posts were then machined next. You will see later how these add a lot of flexibility...
..................
.. how you can run the rodes depending on anchoring conditions.
..................
Once the plywood pattern was finalize it was used to trace the bottom of the bow roller assembly.
..................
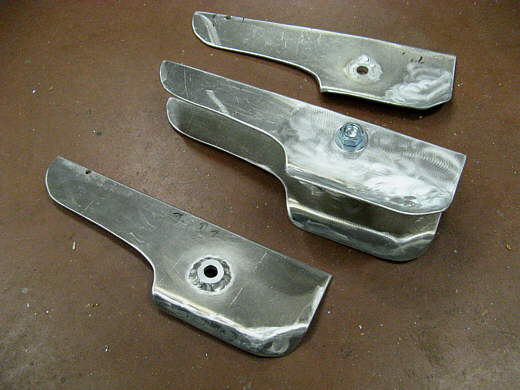
The bottom fronts for the arms were now welded to the tops and finished off on the ends and bottoms.
=======================================================
.................................................................................. Next Page If There Is One