...........................................................--- Cockpit Cushions Part II ---
Here are some pictures of making the covers for the cushions. This our first attempt at making covers, so they could be better, but we are very happy with them and have the knowledge that we made them ourselves.
At this point I was finishing some odds and ends on the boat getting it ready to leave for Florida and we were already a couple weeks late in departure. I tried to help Ruth were I could. I did the lay-out and cut the material and marked it where it needed to be sewn and actually sewed a couple times, but had to take some of that back out.
Ruth sewed these on the new Sailrite machine, but they could of been sewn on the older singer that we had bought. If you are interested in buying that machine it is still for sale at the time I'm writing this (1-3-11) for $200 plus shipping. It is a good machine and Ruth could of done all of these projects on it, but since she was going to be doing so much now and in the future we bought the newer machine with more features.
.......
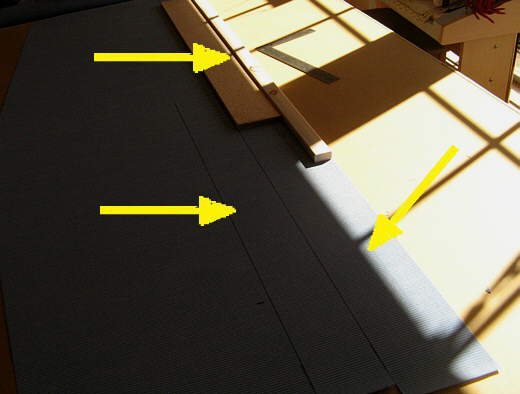
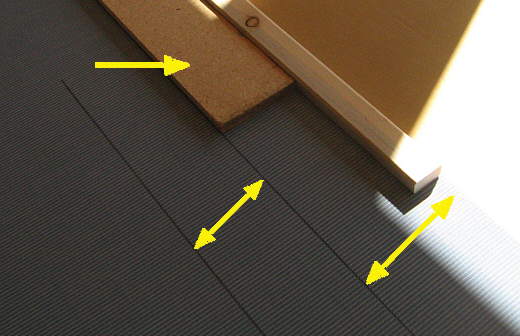
I cut the strips that would make up the sides of the cushions along the top of the dryfast material we used (see next page) and the tops and bottoms below the strips. This maximized the use of the material. The strips were two different widths. The back side (right arrow) where the zipper was to be installed was 1 1/2 inch wider than the sides and front side (left arrow). Sorry I didn't get pictures of installing the zipper in this piece, but due to the way you do it the piece has to be wider to start with.
.......
To cut the narrower strips (bottom left arrow) I cut a piece of particle board (top left arrow) the width of the narrower strips. To mark the wider ones (bottom right arrow) I laid a piece of 1 X 2 (1 1/2 inches wide) against the outside edge of the dryfast and then held the particle board against it and made a line on the material with a magic marker. Then I held the particle board by itself against that line and marked the narrow strip off and then cut along the lines with scissors and cut those pieces to length.
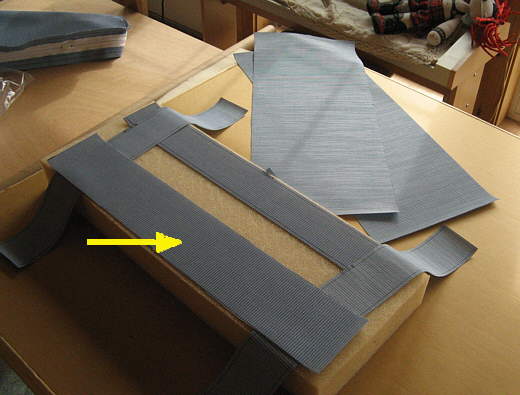
For most of the cushions there were two strips, one for the back with the zipper and another that started at the zipper and covered one end of it and then wrapped around the end, the front, the other end, and then around the back and covered the other end of the zipper. The zipper when closed slides under these ends. We made the cushions very similar to the originals and used them as a guide on how to make a cushion.
.......
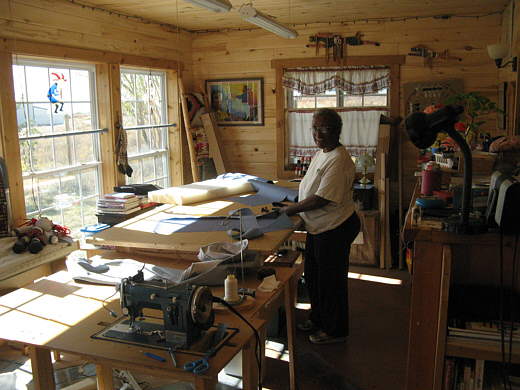
Here Ruth is at work.
.......
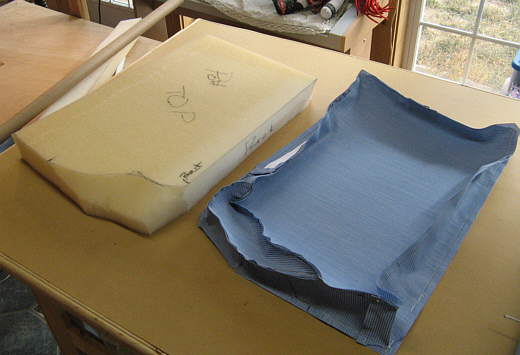
Here you can see the pieces required to make one of the back cushions. Ignore the extra strips although we did use more than 2 on a couple of the cushions to conserve material due to the way we were cutting it out of the bolt. The arrow points to the one that will get the zipper in it.
.......
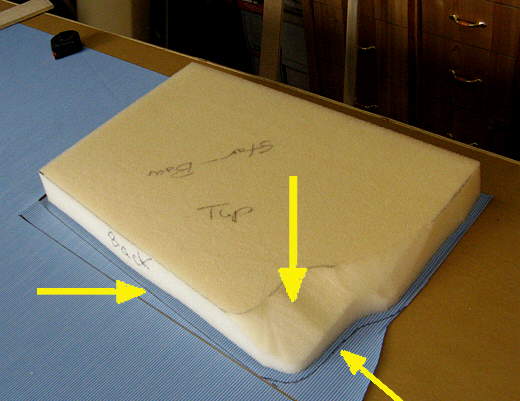
Here I'm marking (bottom 2 arrows) a line around the material and leaving 1/2 inch for the hem where the bottom is sewn to the sides. Some people don't leave the hem and then stuff the cushion in the cover for a tighter compressed fit. Since the dryfast is pretty stiff we didn't do that, but did sew inside of the 1/2 inch a little (1/8th inch) to still get a tight fit. If we were to do it over with the dryfast we would do the same. For a softer foam we would cut almost right at the cushion.
The middle arrow points to the tapered area that was only on the front bottom cushions.
.......
It is there to make using the traveler controls easier where the lines exit the cleats on the ends of the traveler.
.......
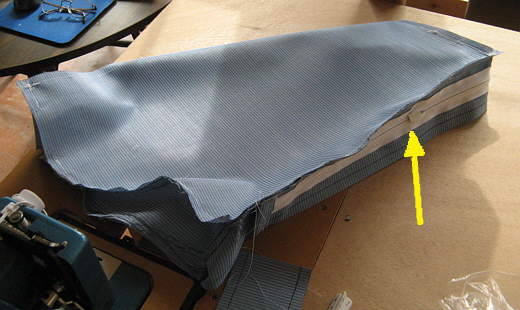
Above the cover is sewn together on the hems. You can pin it and sew it or we read about stapling it together on the hems and then sewing it and then pulling the staples out. That worked pretty well.
.......
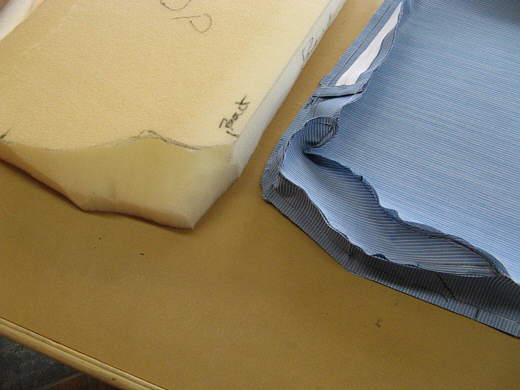
A close up of the tapered corner. These were a little bit of a pain, but not real bad and they came out pretty well (see next page). I made patterns of these sections using pattern material that is a clear poly stuff you can get from Sailrite and others.
.......
The above picture does show the zipper sewn in. We used Sailrite's #102214 YKK Continuous Zipper Chain - Coil and #102217 Single Pull Sliders. Of course at this point the cushion is inside out and has to be turned so that all of this is inside and then stuff the cushion and zip it up and you are done. It took Ruth and I about 3 days to make them with her spending a lot more time on them than I did.
We used Sailrite's video to see how to install a zipper and looked at their cushion one, but just copied the original ones.