..................
..........................................--- Fitted Bottom Sheet for V-Berth ---
Do you hate having to deal with the bedding for the V-Berth. Tired of climbing up in there and trying to get the bedding around the foot of the bed and dealing will all of that access material. I'm sure someone else must of done this, but if you haven't seen it before on this page and the next I'll detail what we did.The real plus is that now the bedding goes on while I'm standing up in the forward cabin at the bed and not on it. The key to doing this is dividing the mattress into 3 sections. We covered that ( HERE ) on the preceding page. So now let's deal with the sheets and top blankets....
..............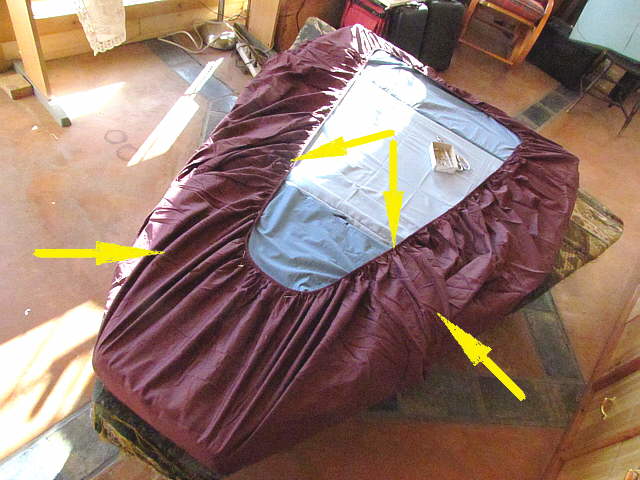
The first step to fit the bottom sheet is to use a fitted sheet with the elastic band. Position the perimeter of the bottom with the elastic band inside of the 3 mattress sections like above and pin it there. Don't worry about all of the extra material at this point just position the band like above in from the sides and both ends, more on the foot end.
..............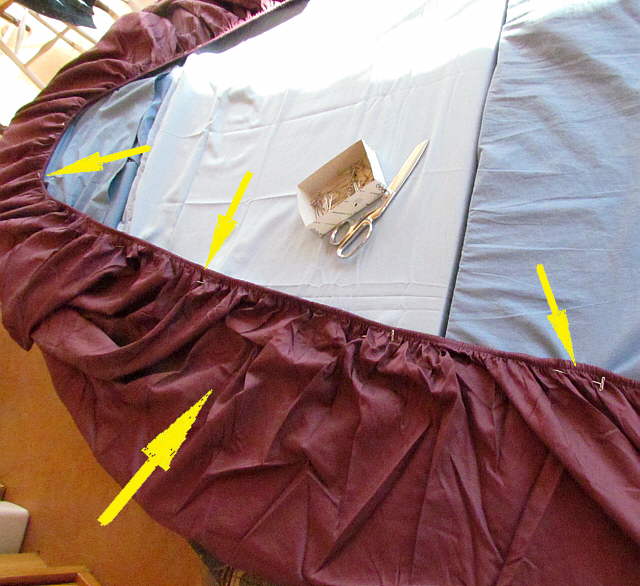
The 3 top arrows point to some of the "T-pins" used that we bought from Sailrite. The large bottom arrow points to the extra sheet that will be cut out.
..............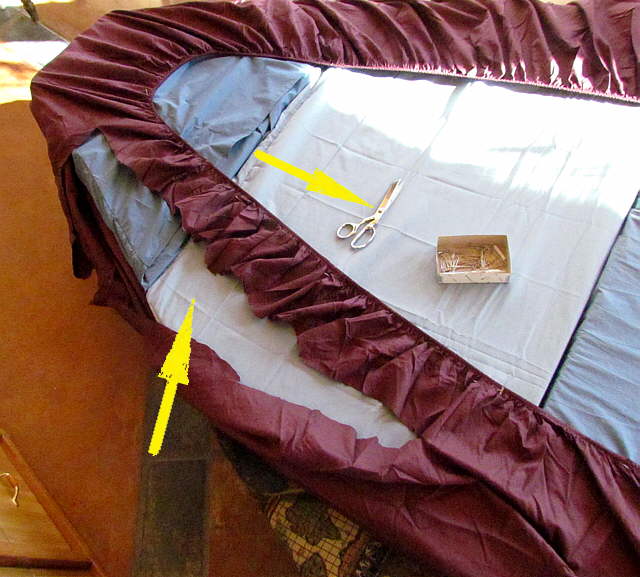
Above we have started cutting out the excess material. Pull the sheet tight so that it is smooth on what is the bottom of the mattress as shown above (actually the top of the mattress in use).
..............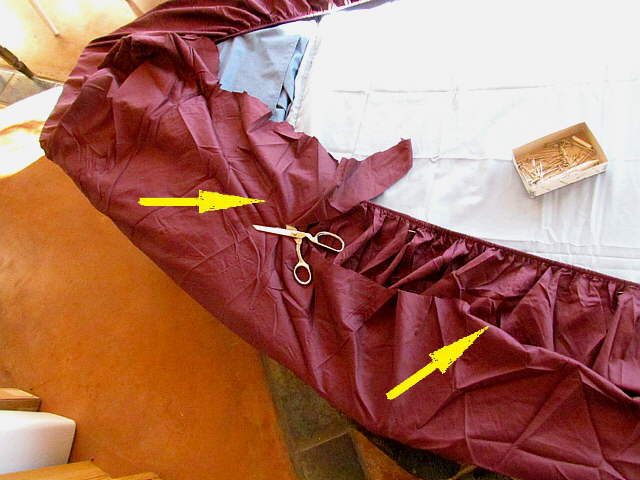
Pull it up and around the sides bringing the excess up to where you can cut it out. Leave enough to go over the material that has the elastic band in it, bottom arrow.
..............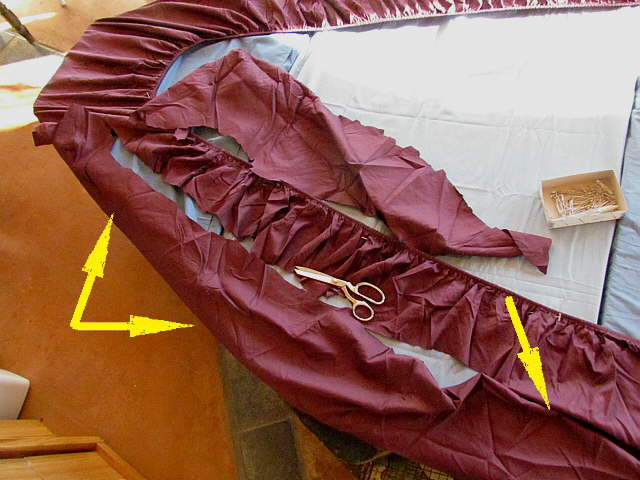
Pull it up an cut until you have it nice and smooth on the other side of the mattress and on the sides, 2 left arrows.
..............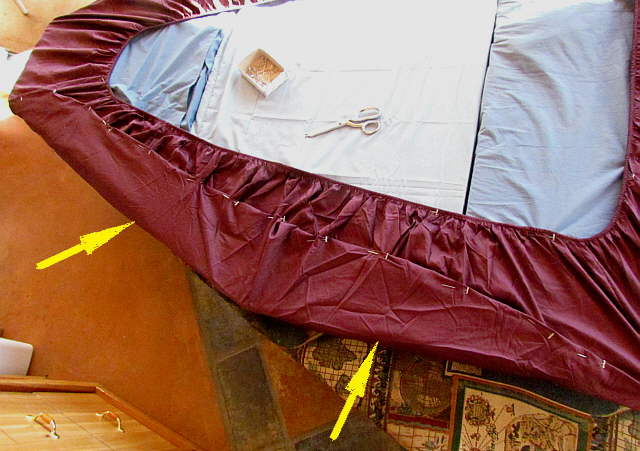
Then hem the one side of the cut over and pin it to the other side.
..............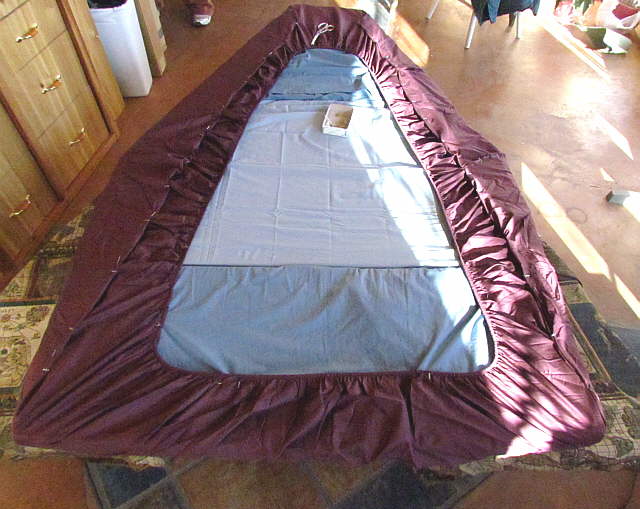
Above it has been pinned all along the parts that were removed and also hemmed down into the corners to take up slack material there.
..............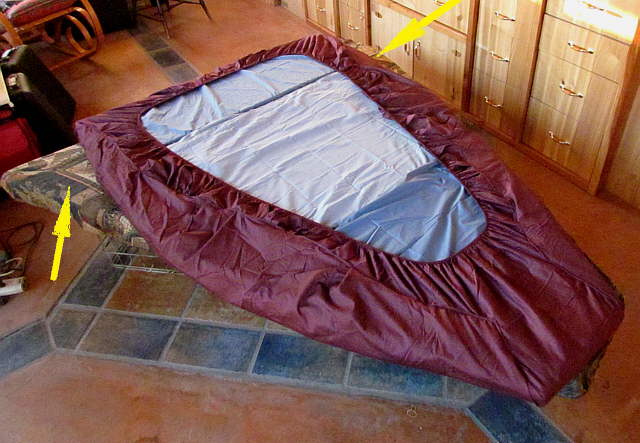
Next take it to the sewing machine and sew all of the hems...
..............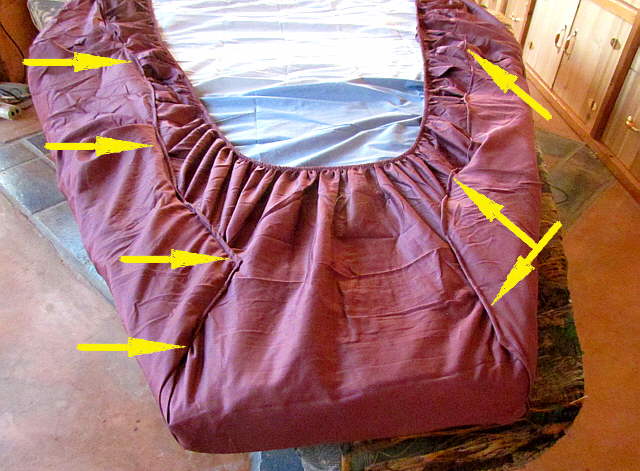
.... and you are done.
..............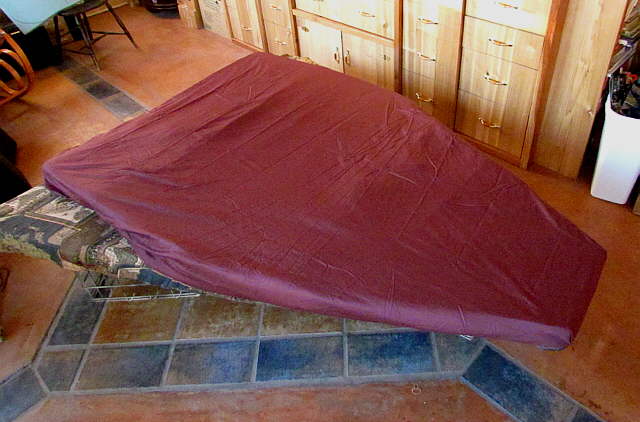
You now have bottom sheet that can be pulled over the 3 mattress sections. First though we will make a modified top sheet as it will actually go on the mattress first before the bottom sheet. Confusing? It won't be by the end of the next page, but first one last detail...
..............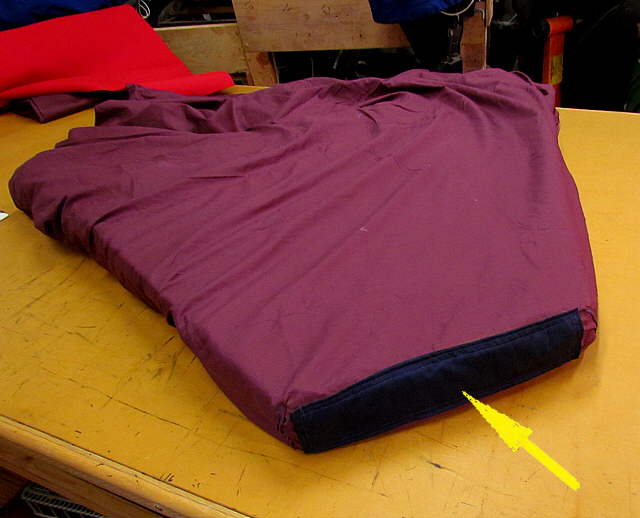
... and that is we sewed a contrasting piece of material on the foot of the sheet.
..............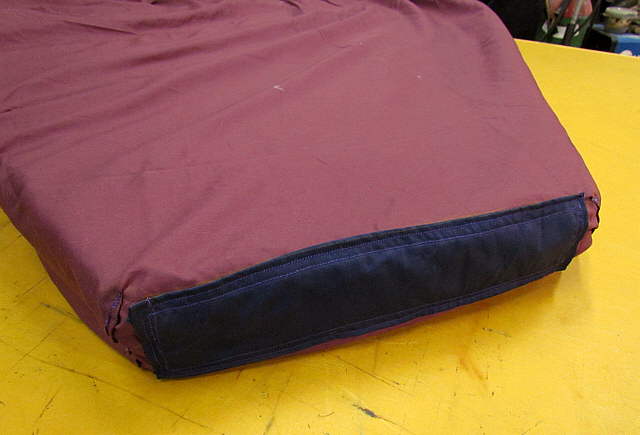
It has only one purpose and that is to identify quickly where the foot of the sheet actually is. If the sheet has been washed and stored and you take it out it can be confusing where the foot actually is, but not with this piece in place. Take a few minutes and add it and you will thank yourself later.