--- The Stude's 2013 Changes Page 7 --- --- Carb Hat and Riser --- |
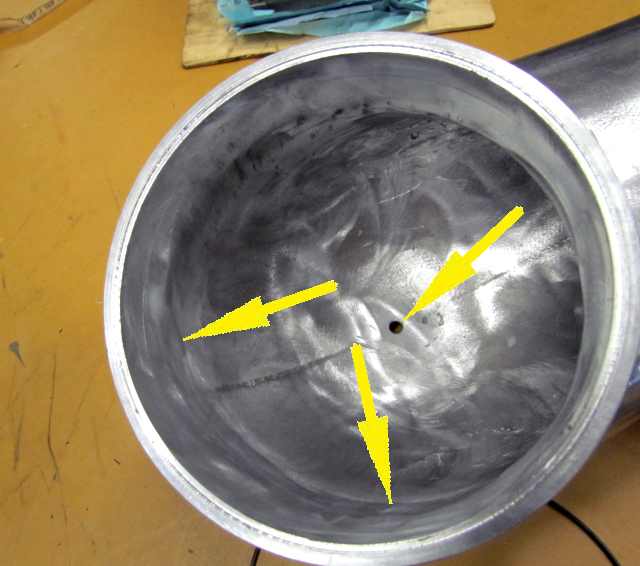
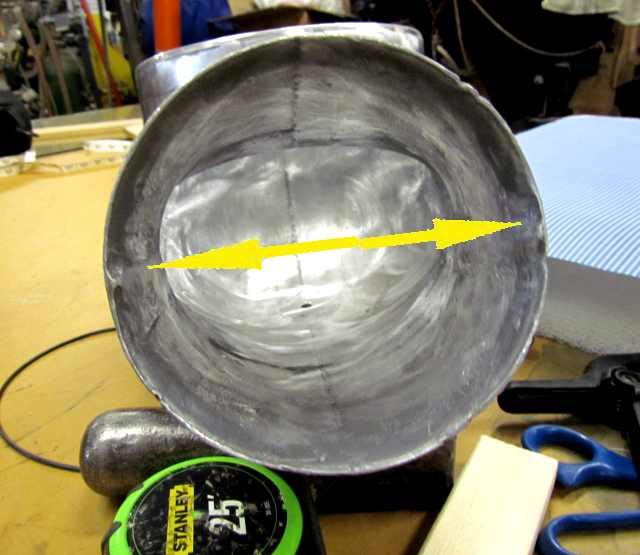
Our carb hat came from Sparky (Bill Smith) but was manufactured by Extreme Velocity. Sparky and Gordon, who owns Extreme Velocity, suggested some changes to it. The hat had a divider ...
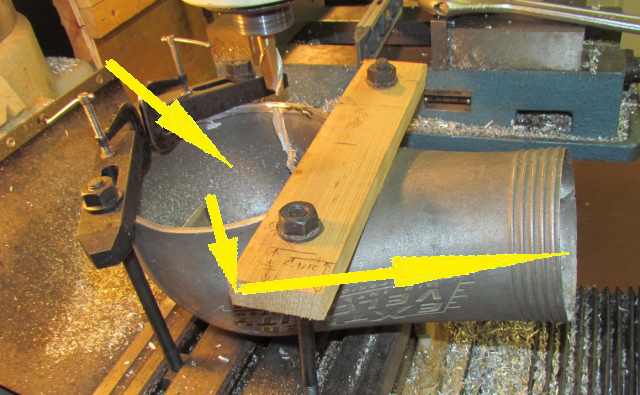
...that divided the interior of the hat from the mouth (right side above) into two separate paths for the air to take. It was suggested that for our blow through application that the divider, represented by the arrows above, be taken out. This proved to be a bear of a job. The good new is that Gordon sells these now with the choice of the divider or without the divider.
I was able to mill a little of the divider out of both ends, but not much as the mill ran into the hat.
I resorted to then cutting it with a long blade in the sawzall and then breaking piceces off bit by bit with a cresent wrench. That still left the pieces along the walls.
Above you can see progress being made removing the divider. After the main part of the divider was removed then it was had work with a grider and a die grinder and that went pretty slow. Just order the hat without the divider if you get one. Also this hat wasn't polished and that is also an option for not much more money. Give Gordon a call at Extreme Velocity.
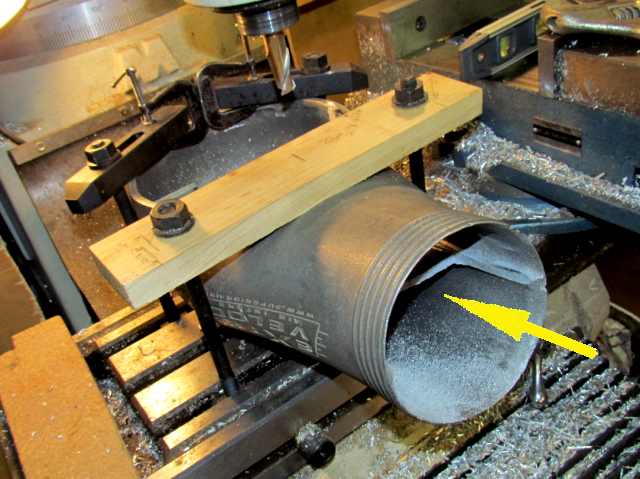
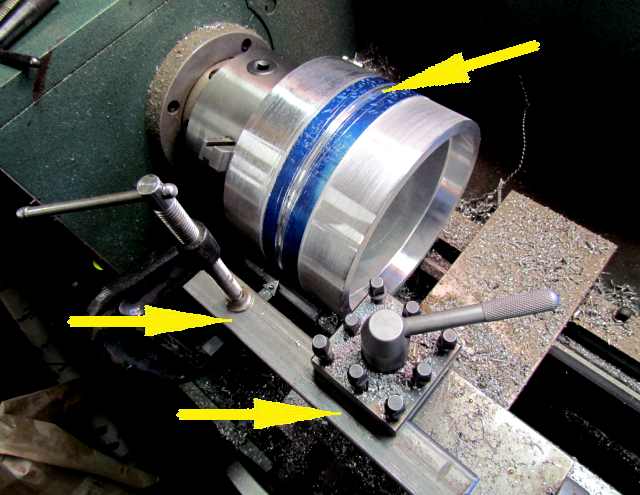
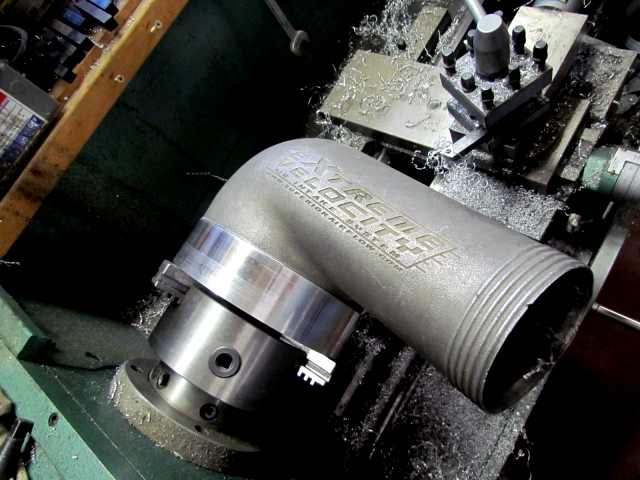
The other recommendation for our application was to raise the hat a couple inches or more off the top of the carb, a Dominator in our case. This helps the air flow into the carb. Sparky had found a large diameter aluminum pipe, shown in the lathe above. It needed to be cut in half for a spacer for us and for Sparky's lakester as he is running a blow-thru with a hat also. It also had to be machined to go on the carb and into the hat.
The lathe is a large lathe, but the tool rest wouldn't go past the pipe so a piece of rectangular tubing was clamped in the rest and the cutting tool clamped to the tubing. It worked fine but the cuts weren't aggressive.
At this point we have two pieces, one for Hooley and one for Sparky, but they still need to be machineded.
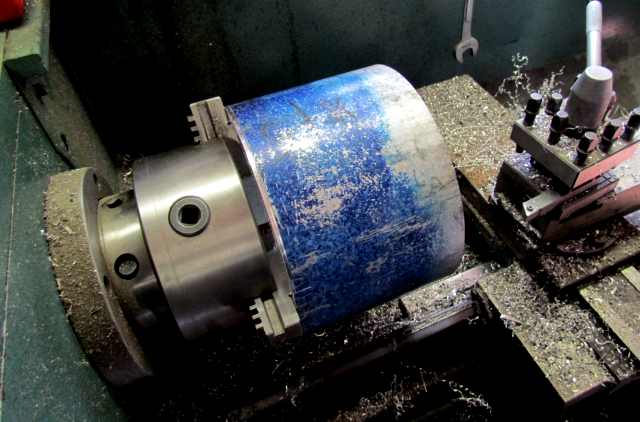
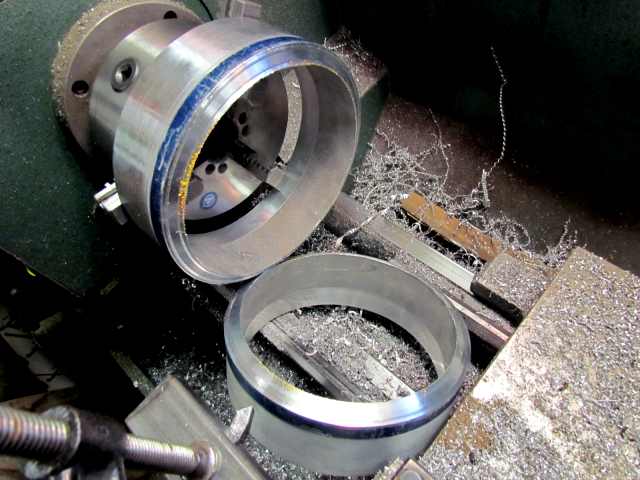
Pipe isn't machined to any real tolerance so the first step was to bore the inside and turn the inside to a starting place where the piece was round and the interior was parallel to the exterior surface. I stopped at this stage for Sparky's adapter and sent it to him so that they could make sure the next steps were machined for their hat and their carb.
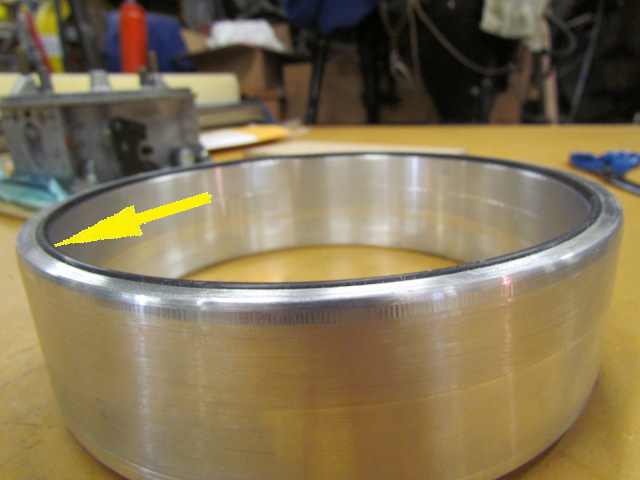
Next one end was machined in a manner so that the hat ...
.... would slide on. This hat is huge.
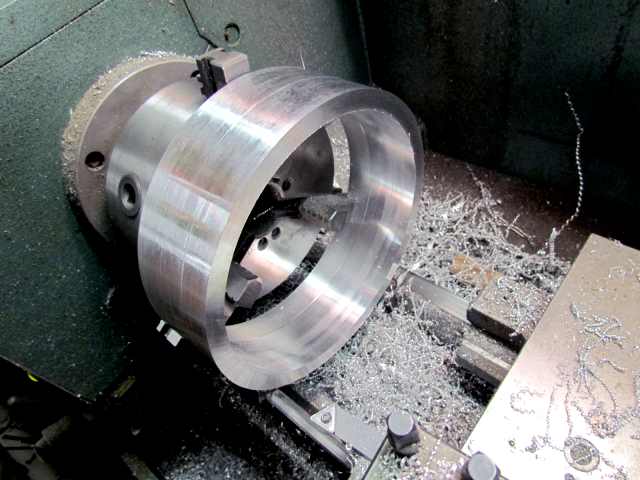
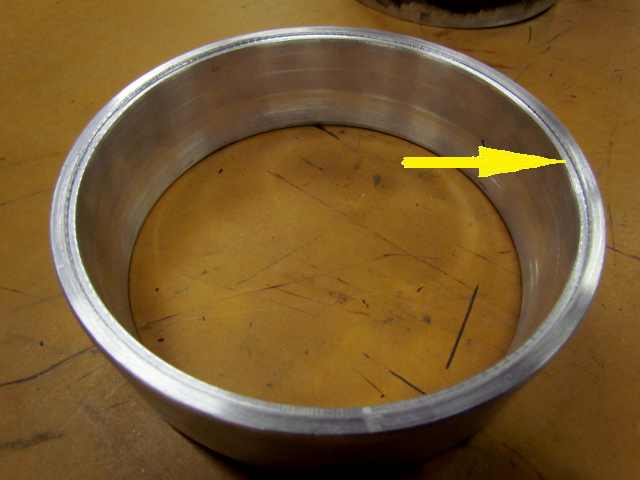
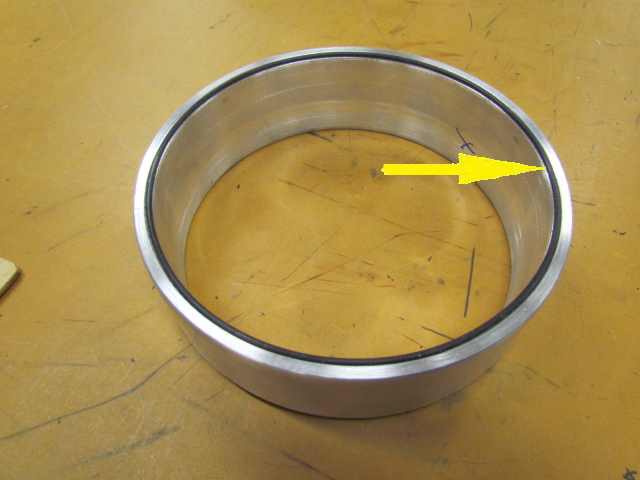
The hat just slides on the the interior of the adapter is bored out so that the lip is very thin so as to not cause a ledge inside that could 'trip' the air and more work was done on that area latter.
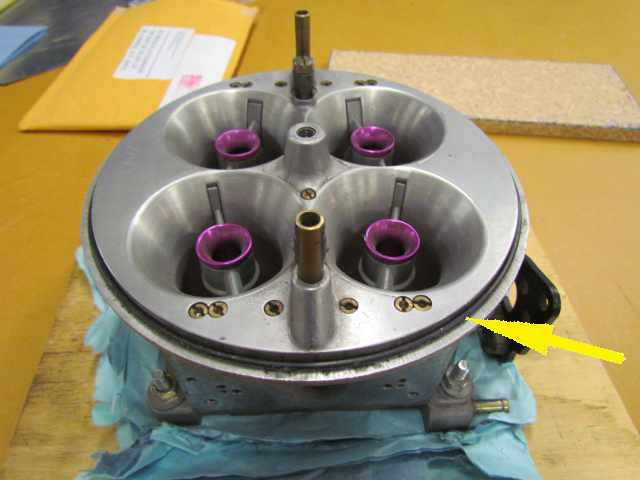
The inside was bored out to the point that it would just slide onto the dominator body that Hooley had sent to me.
Next a small shelf was machined into the carb end where an O-Ring will sit to seal the riser/hat to the carb. This was machined so as to just slighly crush the O-Ring when the parts were pulled together.
Above you can see the O-Ring that I think was .090 in diameter. You can order extras with the hat.
Here it is sitting on the shelf, but normally you put it on the carb first.
You can see above the degree that it will be crushed and the reason for the close fit needed on the adapter to the carb.
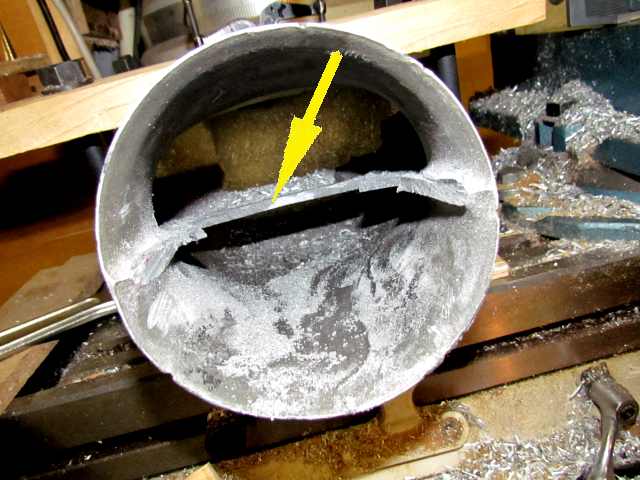
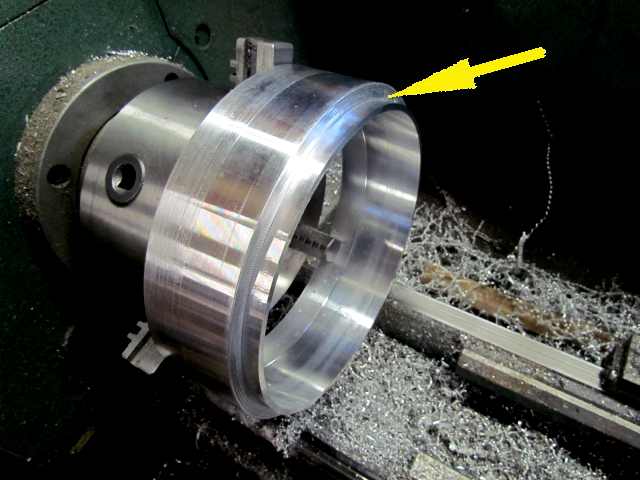
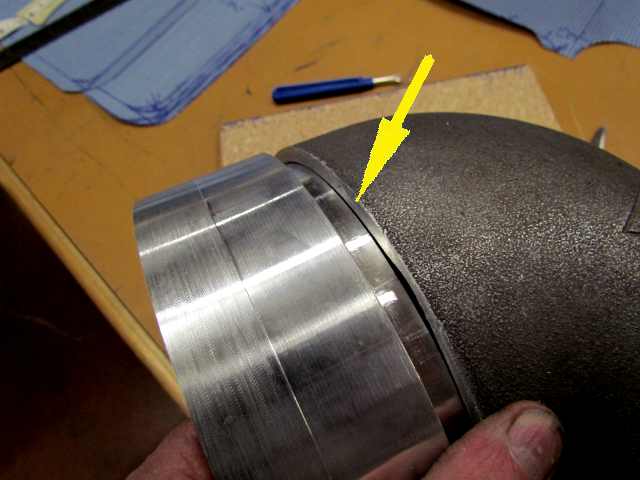
The arrow points to what is now left of the lip that slides into the hat.
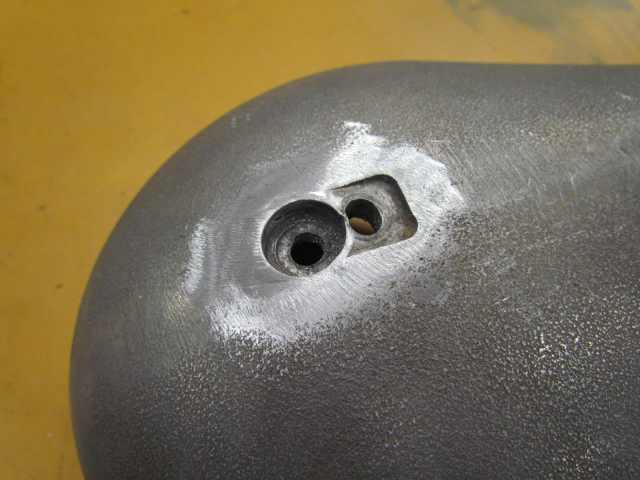
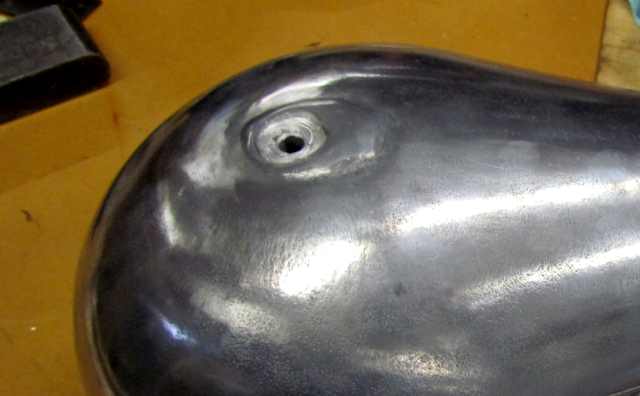
This hat had been used and there were two holes in it for a carb stud and the aluminum was a little fractured in this area so that needed repair.
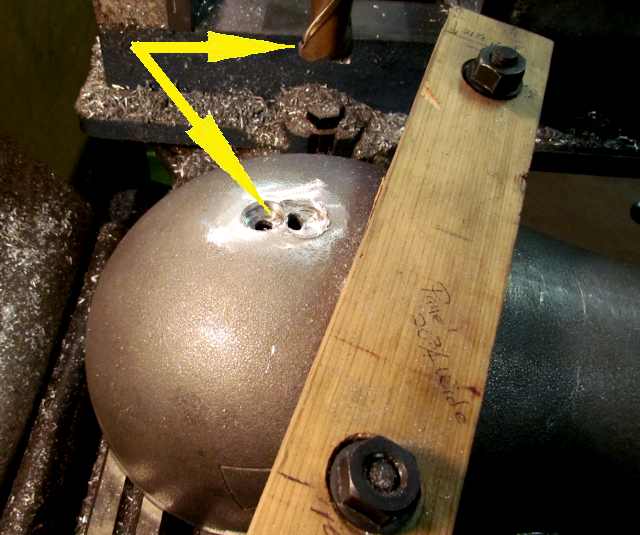
To make a clean weld the area was hogged out some with the mill and .......
......with a die grinder and ....
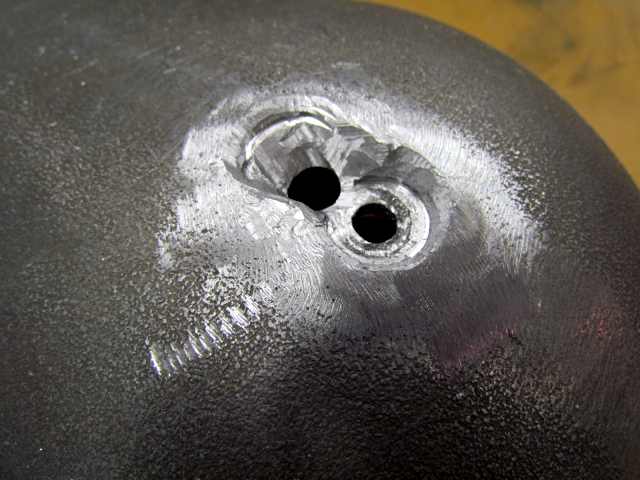
Then welded shut on the outside and redrilled from the inside and ...
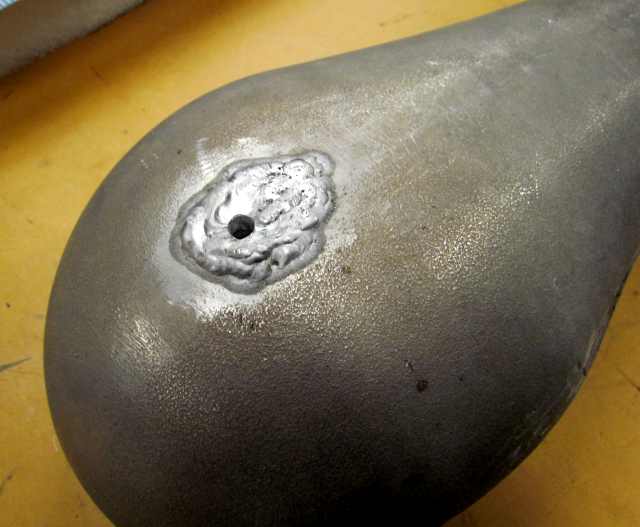
... then welded up on the inside and drilled from the outside. Next it was counter bored for a flat washer.
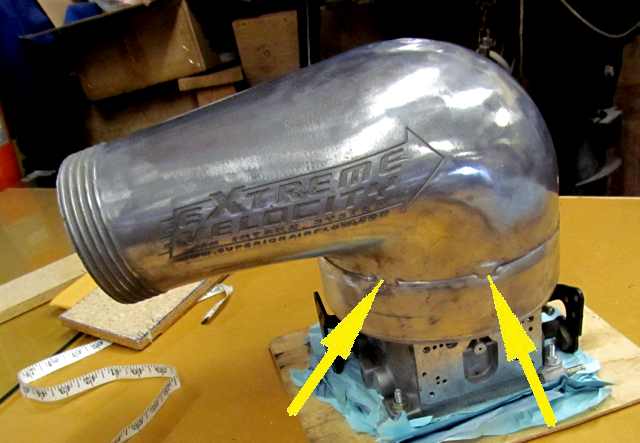
The hat was also polished up a little bit. Gordon said to put about 4 -6 tack welds around the joint between the riser and the hat. That was done and....
..... later when Doug Lee got the hat to weld four hold-down tabs on it (left arrow) they welded the complete seam, right arrow. If you do this make sure you don't warp something in this step that could result in a bad fit between the hat, the O-Ring and the carb top.
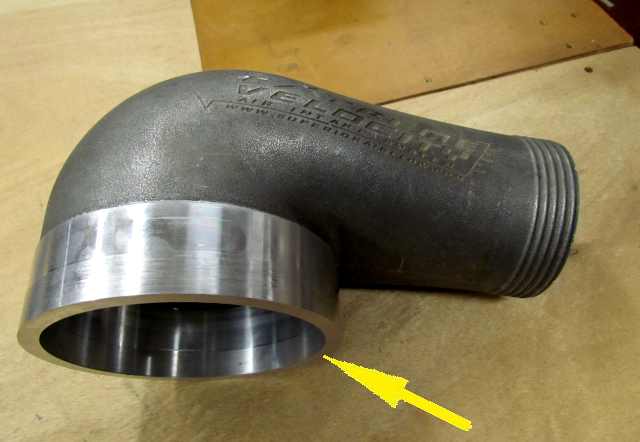
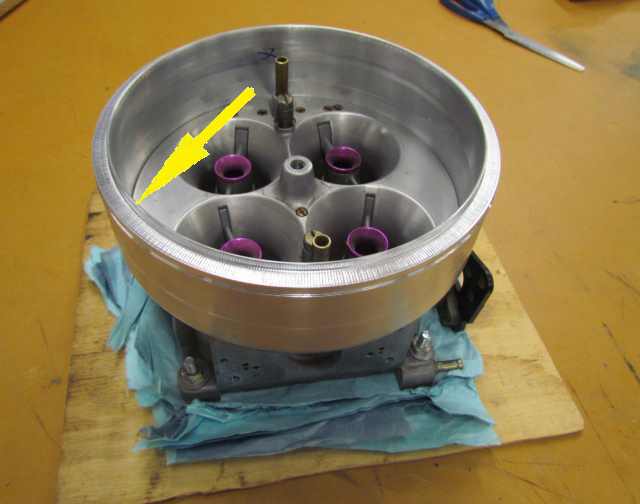
Next the thin ledge where the riser connected to the hat was blended into the hat's interior. You can also see that the divider is now completely gone from the riser end and....
.... the mouth of the hat.
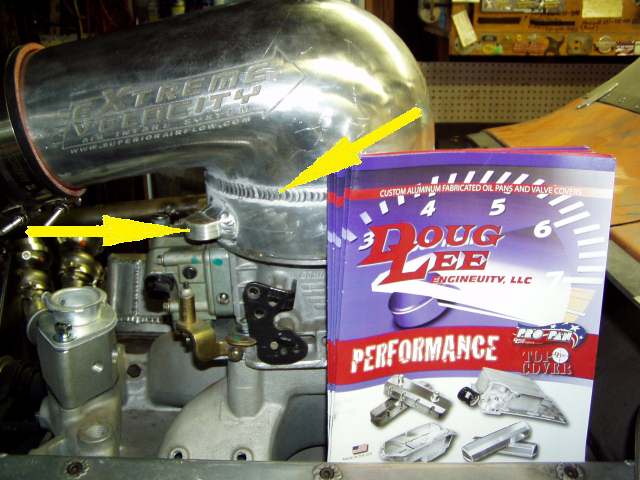
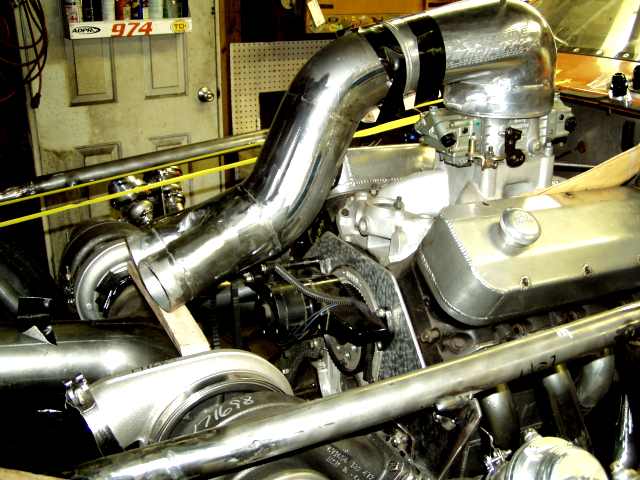
Here Hooley has fitted the hat and the plumbing to it on top of the big block,
Sum