This information on the 43430 gun is from Douglas Cox. Thanks Doug and if anyone else has any information on this gun they would like to share please e-mail me.
................................
I have used my 43430 2 or 3 times and it works GREAT (setup and used as per Sumner's instructions on the old gun -- previous page). I needed to paint some old car parts and I used a thinned High Gloss Rustoliem@ paint. The mixture was not the same either time. That is, I just "eye-balled" the thinning. The air pressure was close, but again not exactly as before, after all these were just old car parts that needed painting. Well, the bottom line is that I was totally amazed each time I used the gun. Someone would really have to be out in left field to mess up a paint job using this gun !!!! I sprayed many, many parts and used very little paint. The coats went on smooth, even, and uniform. I only had one run and I knowingly did that to get paint behind a joint. I did not have any "orange peel" nor sags.
Clean-up was a Snap....again I was surprised. I expected the paint cup to
be stained black, but it looked like new after clean-up. I don't think they will ever be on sale again, but they
are well
worth the $65 they are selling for now.
In regards to my air compressor, I am using about the same as you with a 20 gal. tank (mine is a 5 hp. single stage with a 60 gal tank--Sum). I know that Harbor Freight states that you need 9.5-14.8 CFM, but I am getting great results even with the compressor 'kicking in' a lot. So far the largest thing that I have painted is a car frame. With two coats, it was a full cup job, and still no runs, sags, drips or orange peel.
................................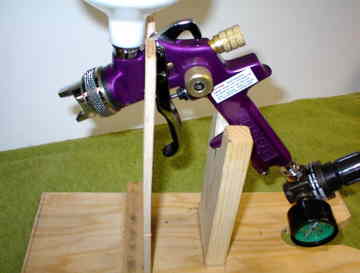
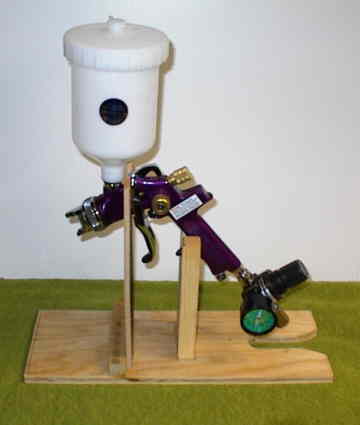
As a side bar, I made a gun holder from several pieces of 1/4 inch plywood. Two pieces of plywood have a "U" shaped notch in them and fixed to a one foot piece of 1X6. The notches are about 1 inch wide and about 2 inches deep. The gun rest in the front piece of plywood which is taller of the two, just behind the nozzle and in front of the trigger. The second piece of plywood (shorter) also attaches to the 1X6 and the gun's lower finger guard/rest sets in it's notch. The gun is cradled in an upright position and filling the paint cup is very easy this way.
...............................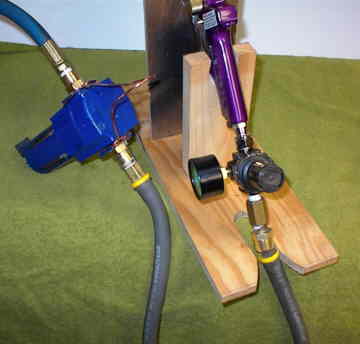
I also installed a water filter and a 2 foot extension air hose at the gun end. I made a wire loop for the water filter that hooks to my belt. I am able to walk around, paint and ensure that I have dry air to the gun.
Doug
..............Return To Previous Page.......................................Next Page
Return to Sumner's Home Page ....................................... Return to Tech Info Index