...............................................Return to Metal Working Index
...................................Harmonic Balancer Motor Rotator
......................................................Cam Installing Handle.....
...........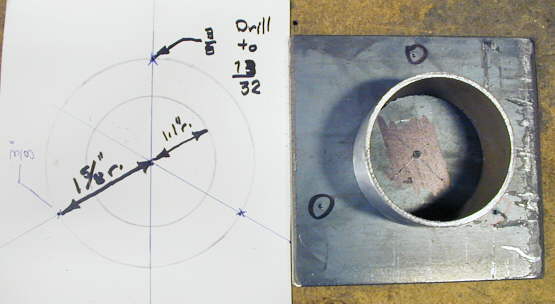
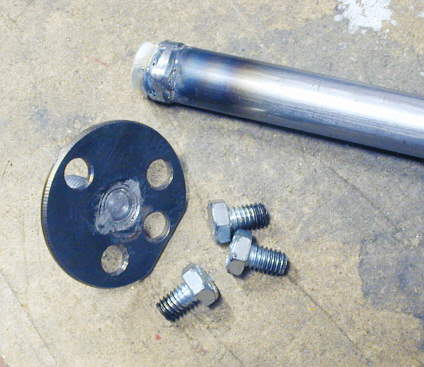
I was putting together a Chevy 383 and wanted to have a way to rotate the motor with the harmonic balancer on the front. I've had to do this before and always used the center bolt, but have never felt good about that especially if the motor was hard to turn over. The balancer has 3 bolt holes in it and I took the measurement of those and laid them out on a piece of 3/16 strap I had. I need to cut the center out to clear the center balancer bolt and raise that section for clearance. That is what the piece of pipe is representing.
.....................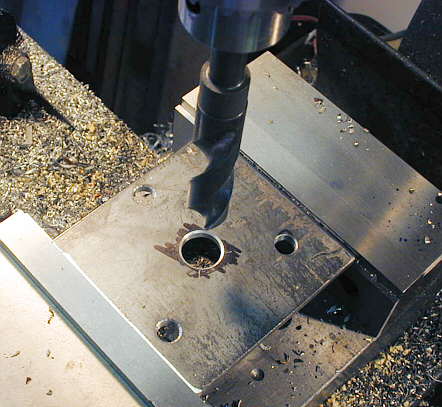
I next drilled the three holes with the mill and put a 3/4 inch hole in the center.
.....................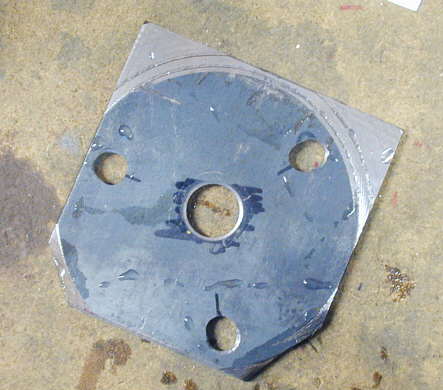
I put a cut off 3/4 inch bolt in the center hole (see next picture) and put the plate in the lathe and cut it to get the circle I was after. This gave me a reference so that I could cut most of the corners off (see bottom two corners) with the chop saw and just saved time in the lathe removing that metal. After the picture I cut the top two corners off also.
............................
Then I chucked it back into the lathe and turned it to a circle (minus the two flats where my piece wasn't wide enough. Somehow I had miscalculated the three holes and had to elongate them some for alignment. This is a non-critical piece safety wise, so I just made the change instead of starting over.
.....................
Next I grabbed the piece by the outside and turned the inside out.....
..........................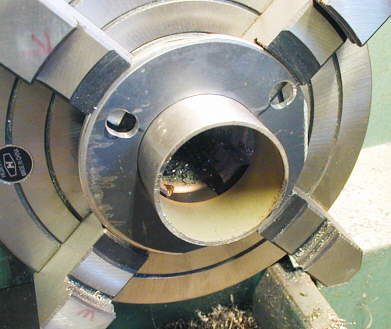
....just large enough for the piece of pipe to slip in. I then welded the pipe to the other piece. Now all I needed was a piece for the top of the pipe and a way to turn the finished piece.
........................
I took a smaller piece of strap and followed the same procedure.....
.........................
...as above to end up with a round piece with a 3/4 inch hole in the center to cap off the pipe.
...............................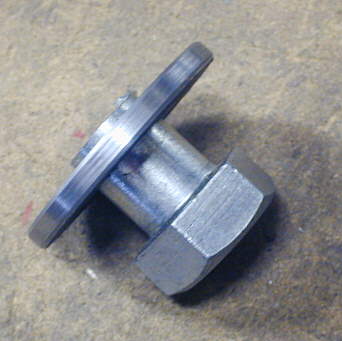
I cut off a 3/4 inch bolt and...........
...........................
.........welded it in the smaller round piece I had just made.
.......................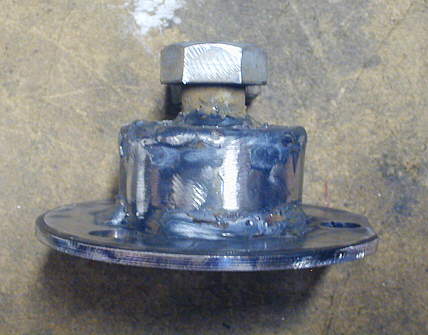
I then welded that to the first part of the assembly I had made.
.........................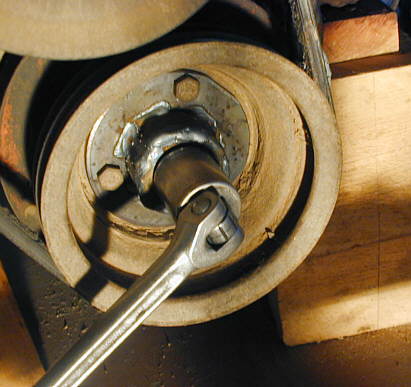
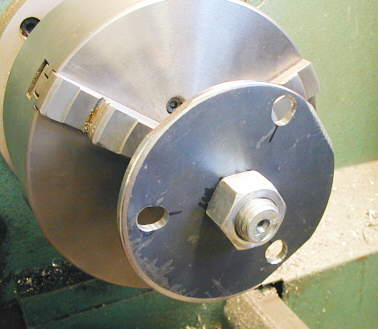
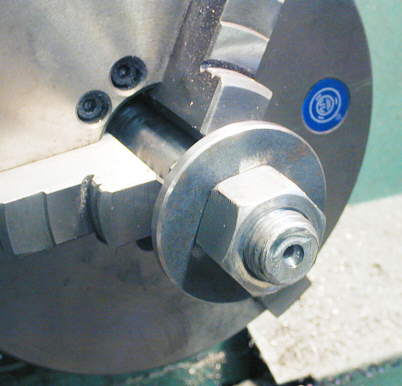
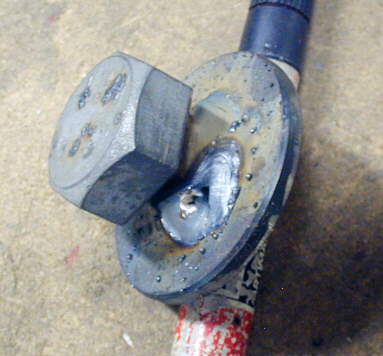
Here it is bolted to the front of the motor and now with a 3/4 inch socket I can turn the motor over easily without fear of breaking the bolt in the crank snout.
...................
I also needed a handle to ease the installation of the cam into the motor.
.........................
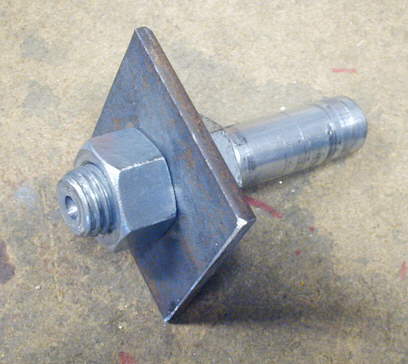
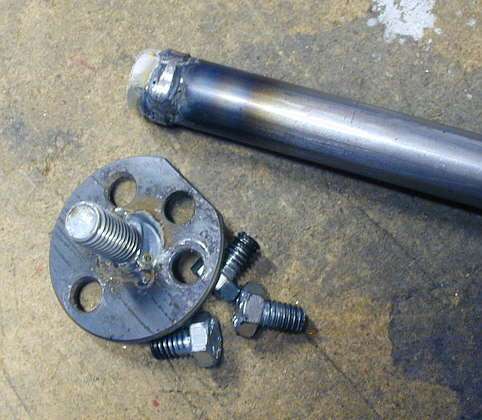
Using the same methods as above I made a round plate that would bolt to the front of the cam that had a threaded shaft welded to the front of it. I then took a piece of tubing and welded a nut on the end of it.
...............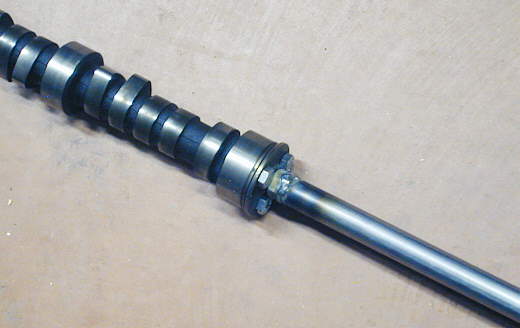
I can bolt the one part to the front of the cam and then thread on the tubing which becomes my handle.
I realize you can buy the items I have shown on this page, but I like making my own and it just took a couple hours and was fun and saved me a couple bucks!!
...............................................Return to Metal Working Index
.................