.Our MacGregor Index Page.....Mac 26S Rigging Mods Index Page.........
....................... Previous Page...................................... Next Page If There Is One
=======================================================
........................--- Single Line Reefing – First Reef Point ---
=======================================================
In 2010 we bought new sails (Main and Furling Genoa) from Somerset Sails and at the same time Ruth made a sail-pack/sail-cover and I installed lazy jacks. I also wanted to change from the stock reefing method to single line reefing. I more or less copied what Bob Hussey had done on his Mac S before selling it. What he had done looked like it would fit our needs well.
At the moment I go to the mast to handle the main's halyard and now also the reef line. These lines could be led back to the cockpit in the future without much trouble.
.....................
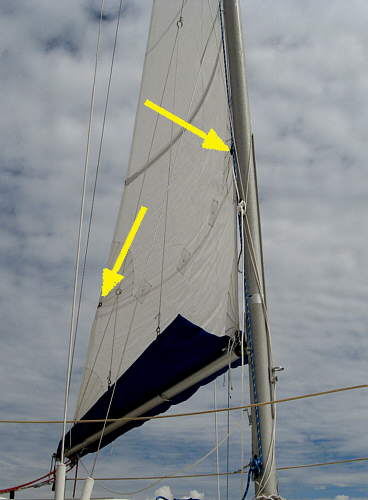
Here the new full batten, loose footed main has been hauled up at home on the trailer. Some of the pictures that will follow are at home and some where taken in Florida, the first trip with the new sails. The two arrows point to the single reef point that Martin had put in the main. He told us if we weren't satisfied he could always add a second for us. You can also see the sail pack and lazy jacks in the picture..
.......
The reef line starts at the back of the boom on the starboard side where it is tied off on a cleat, lower arrow. The upper arrow points to where it goes up to an air block at the back reef point on the sail. In this picture the sail is reefed down of course.
.......
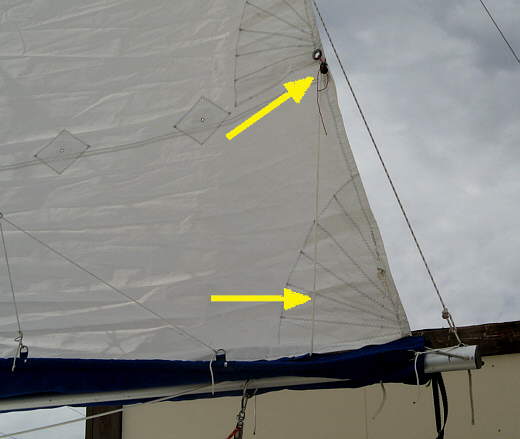
The reef line goes up the starboard side of the main to the airblock (top arrow) and then down to the boom on the port side.
.......
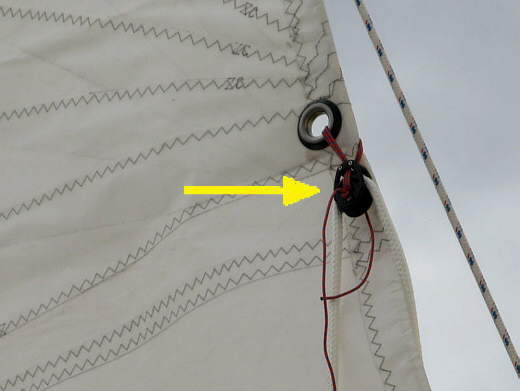
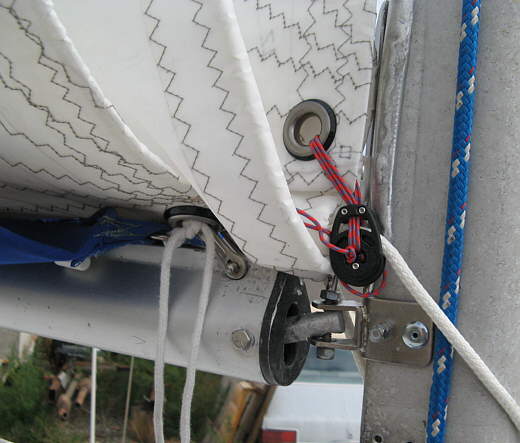
A close up of the airblock. The loose lines were later trimmed.
.......
On the port side the line passes through a slot in the sail-pack and turns at the cheek block. All of the blocks and cleats that you will see attached to the boom and mast are held on with #10 stainless machine screws. The holes were first drilled and then tapped for the screws and I use an anti-seize on the screws as I want to be able to get them out if needed. You will see that some use a loctite on them so they don't come out. You make your own decision what you want to do.
............
Here you can see how the line is attached to the cleat on the starboard side and then goes up to the airblock and then down to the cheek block on the port side.
.......
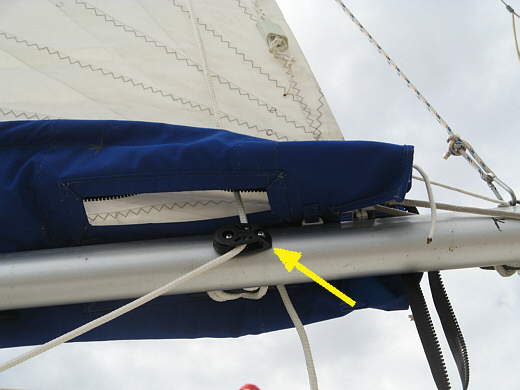
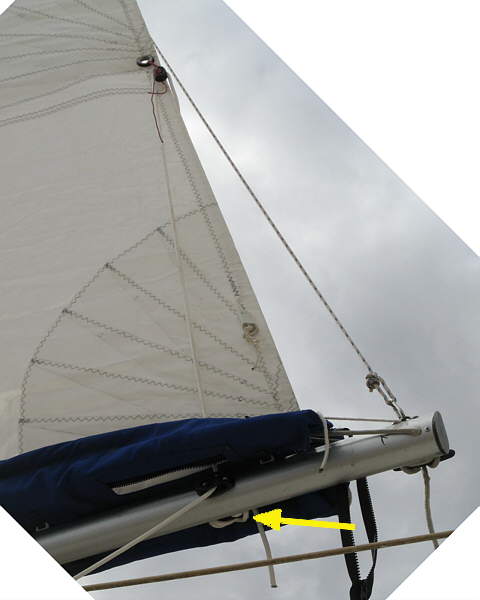
The line (now blue) parallels the side of the boom and goes through a fairlead mid-boom (left arrow). The fairlead helps to keep the line from sagging below the boom and holds it up out of the way. The 2 right arrows point to preventer lines that were attached when this picture was take to the boom and had been used when we had been running downwind.
.......
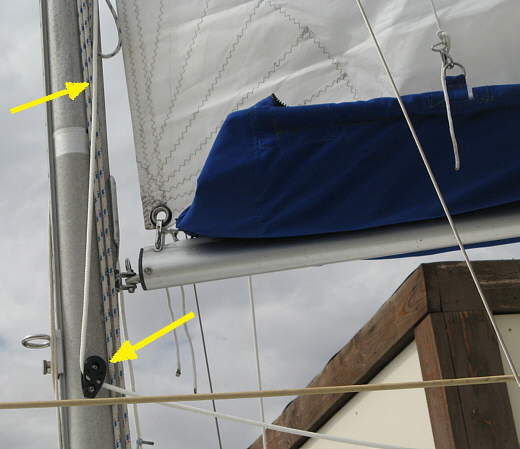
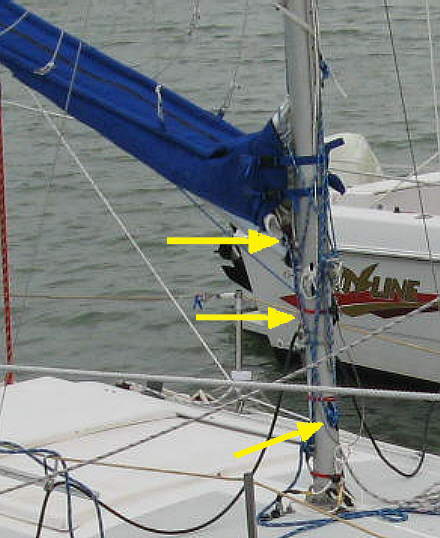
The line, now white again and the fairlead on the boom had not been installed when the above picture was taken, goes through another cheek block on the mast, lower arrow. Then heads up to...
...............
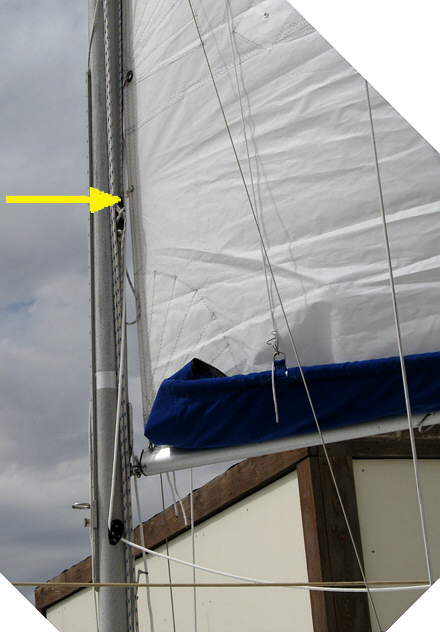
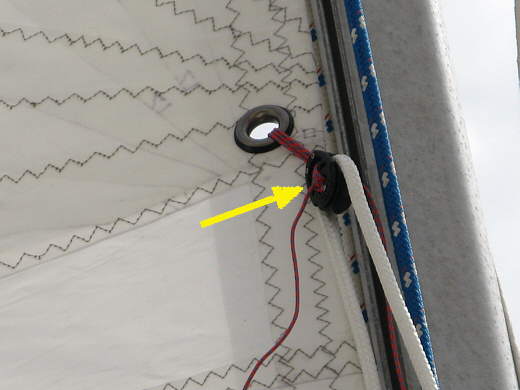
...another air block at the reef point, shown....
.......
..... here. Then it goes down....
...............
... and is cleated on the new cleat on the mast, bottom arrow, just above and off of where the main halyard cleats below the bottom arrow. Note the reef line in the above picture is blue.
.......
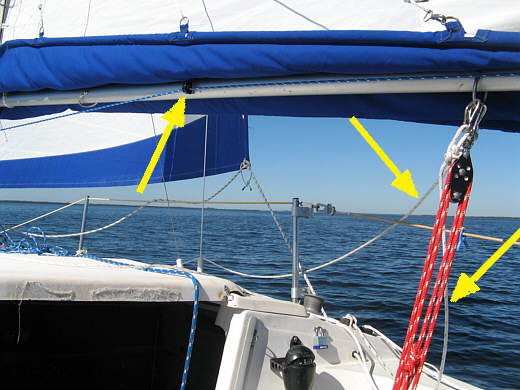
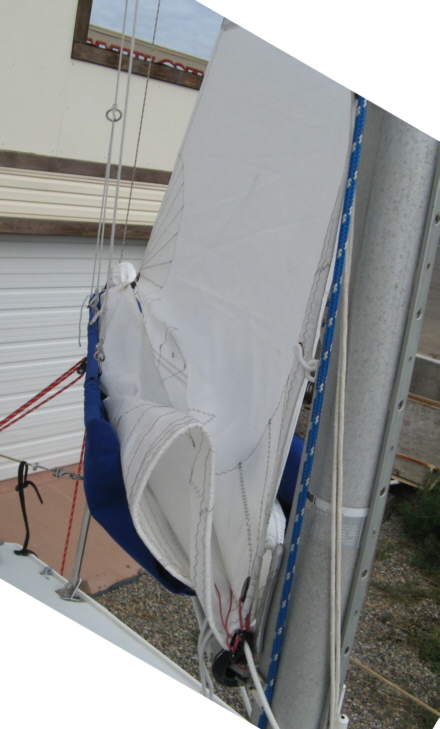
To reef I just lower the main some and pull in the reef line at the mast on the cleat side. It pulls the back of the sail down onto the boom as shown above.
.......
And also pulls the luff of the sail down at the fore end of the boom as shown above.
...............
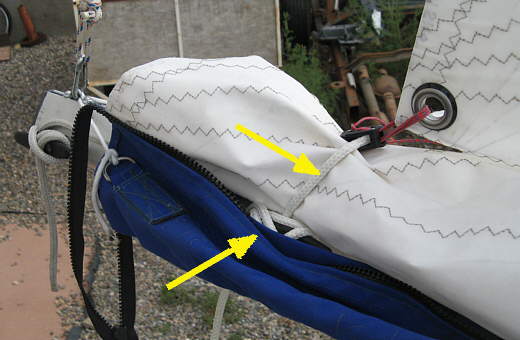
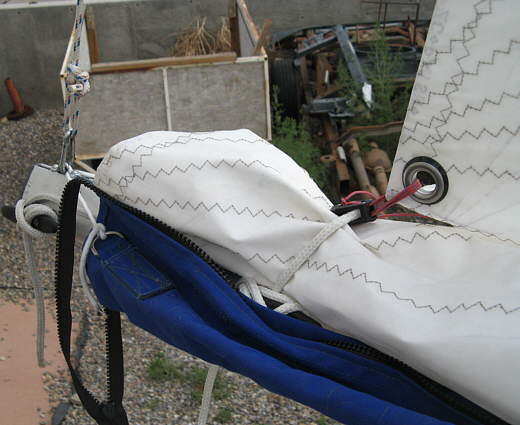
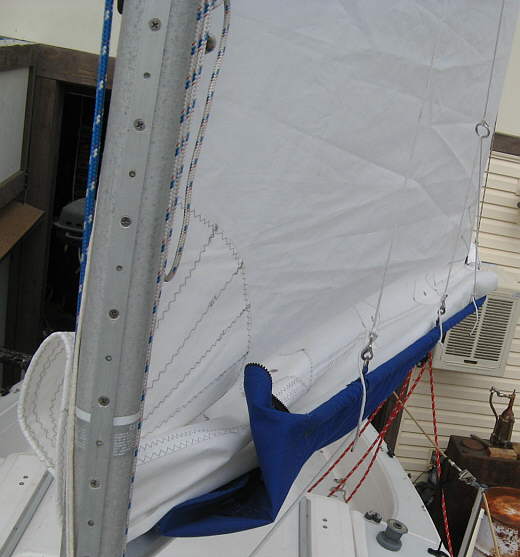
I don't tie the sail off along the boom as it is down in the sail-pack as shown above on the starboard side of the boom and...
.......
... here on the port side.
.......
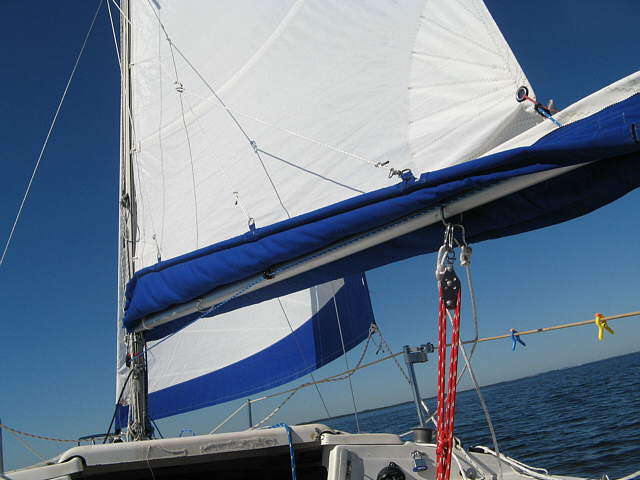
A final shot out on Charlotte Harbor, FL. We are very happy with the new sails, the sail-pack, lazy jacks and of course the way the single line reefing works. I can reef much easier, quicker and safer than before.
=======================================================
Parts Used and some prices as of the Spring of 2010.
2 -- Harken 40 MM Cheek Blocks -- Defender #614038 -- $20.08 each
2 -- Harken 29 MM Carbo Ti-Lite Air Blocks -- Defender #614638 -- $15.14 each
1 -- Fairlead -- from Duckworks
2 -- Cleats -- from Duckworks
5/16 Sta-Set Yacht Braid
=======================================================
.................................................................................. Next Page If There Is One