..................
.........................................................--- Cockpit Cover ---
When we bought our Mac in January of '09 it had snowed a lot in December, but not at all in January. Well the first week of February we got about 6 inches one night and the boat and inside the cockpit were covered. Some of this melted and as it ran off it started to freeze in the cockpit drain output and I started to worry about the ice expanding and cracking the fiberglass in that area. I cleaned the snow off the boat and out of the cockpit the best I could and decide to try and do something about the problem as another storm was approaching. It was 3 in the afternoon and getting late, but I thought I could get something done pretty quickly.
...............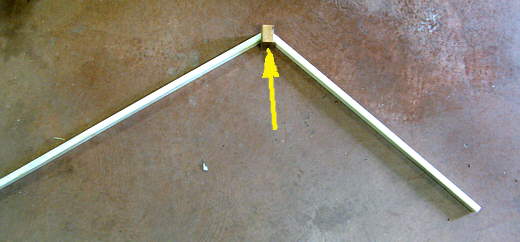
I started by running a 2 X 4 from the rear of the cabin roof to the rail around the rear of the cockpit by the mast support (sorry, but no picture of this). I then laid some 1 X 2's out to the sides of the cockpit and over the 2 X 4. I scribed a line down them to mark the angle they needed to be cut to lay against the 2 X 4. So in the picture above the small piece of 2 X 4 (arrow) represents the ridge pole going from the cabin back to the rear rail. In the picture above the one side is longer since I had the 2 X 4 next to the mast support and it was no longer above the center of the cockpit at the rear.
...............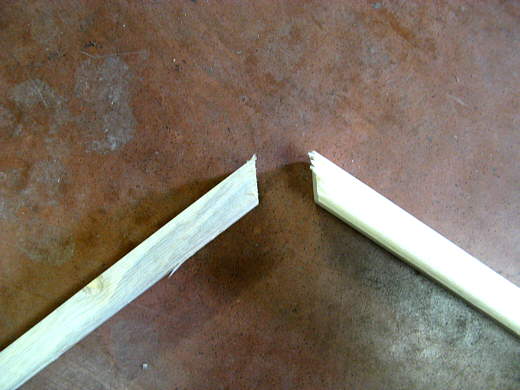
I cut the 1 X 2's on my scribed angle line with my radial arm saw.
...............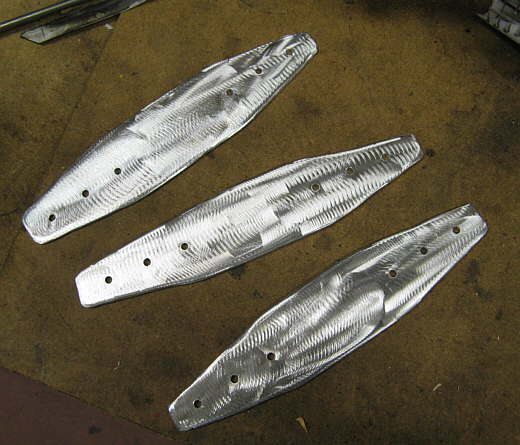
Next I took some scrap aluminum I had and made these brackets. They are about 9 inches long and about 2 inches wide as that was the width of the scrap. They are .090 5052 aluminum, but you could use sheet metal or whatever. I cut the tapers on them for looks and so they wouldn't overhang the sides of the 1 X 2's. After cutting and grinding on them I drilled the holes all at once by stacking them in the mill/drill.
...............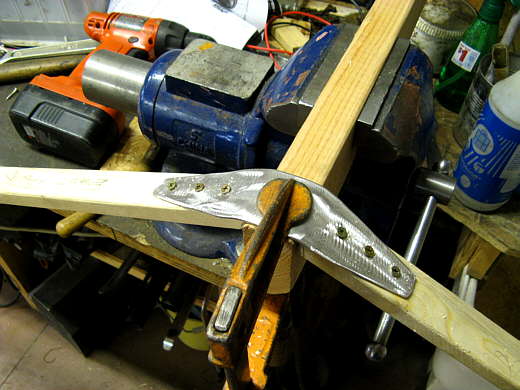
I bent the brackets to the angle of the cut 1 X 2's and screwed them onto the 1 X 2's with some 7/8 inch grabber screws. I put a 2 X 4 in the vise and clamped the bracket to it then screwed the brackets to the side members as shown.
...............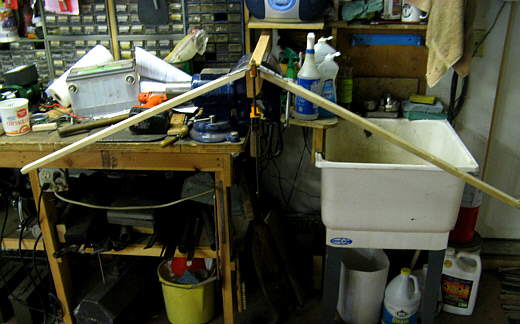
Here is one of the three ribs I made. This just took a couple minutes.
...............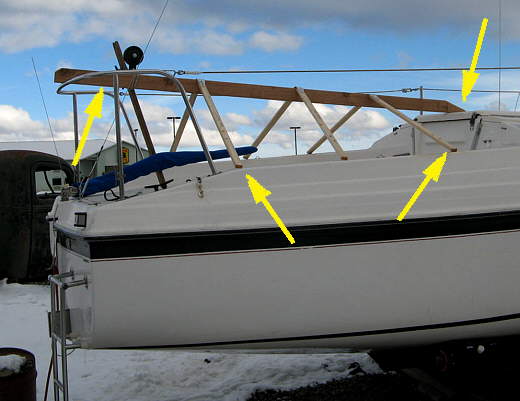
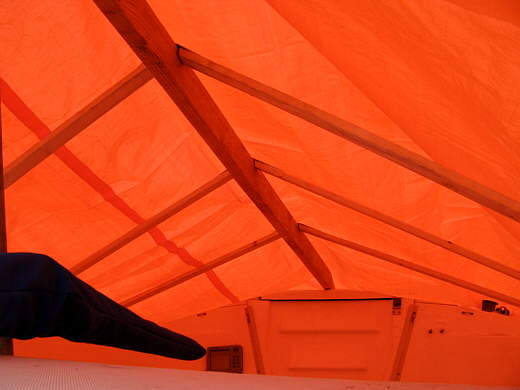
Here you can see the ridge pole going from the cabin top (right top arrow) back to the back railing (left top arrow). The two bottom arrows show how the ribs just rest on the tops of the cockpit sides.
...............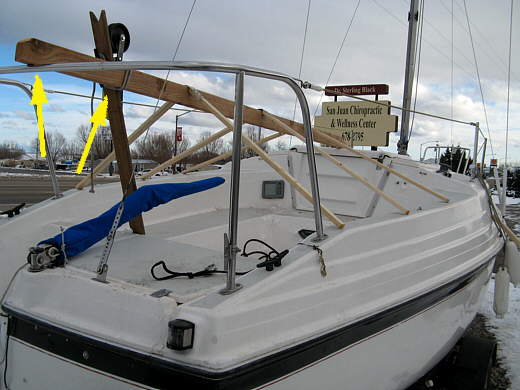
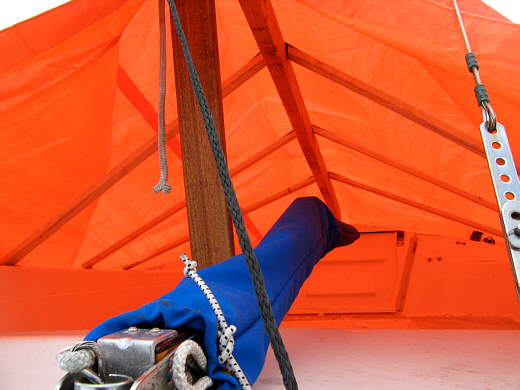
The ridge pole rest on the railing (left arrow) and is lashed to the mast support. If the mast was down the tarp would be under it.
...............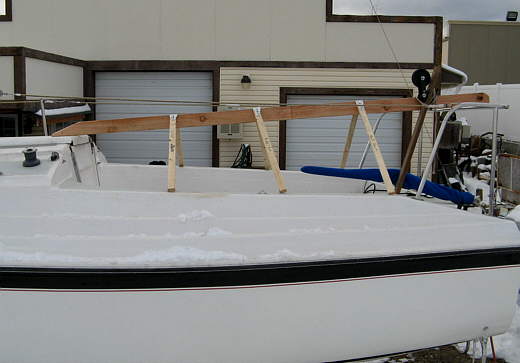
A side view. The ridge pole just sits on the center of the cabin roof and the side supports just sit on the ridge pole. The center one here needed to slide just a bit to the rear before putting the tarp on.
...............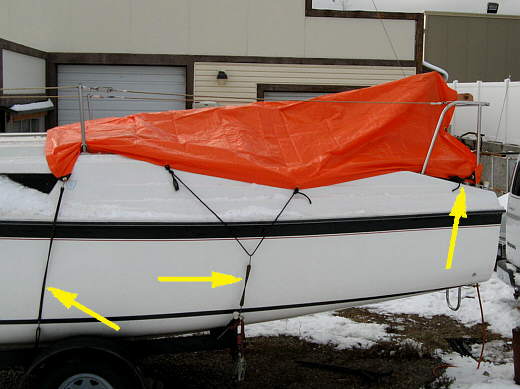
Here the 8 X 12 tarp is on and held down with some line and rubber bungies. The right arrow points to where I used a rope on a cleat at the stern.
...............
A view looking inside the back and.............
...............
...........another. In less than a minute I can undo the bungies on one side, throw the tarp over, remove the ribs and ridge pole and be in the cabin. We wanted a cover, but still wanted to be able to quickly get inside the boat to work on that area. We will see how it holds up in the snow and rain and report back.
Oh, start to finish on this was about 2 hours.