............................... Previous Page.................................................. Next Page If There Is One
..................
..........--- Extend Frame & New Back Bunk/3rd Bunk ---
..........
On this page the original frame will be extended further back and a new third/rear bunk will be added to the trailer.
......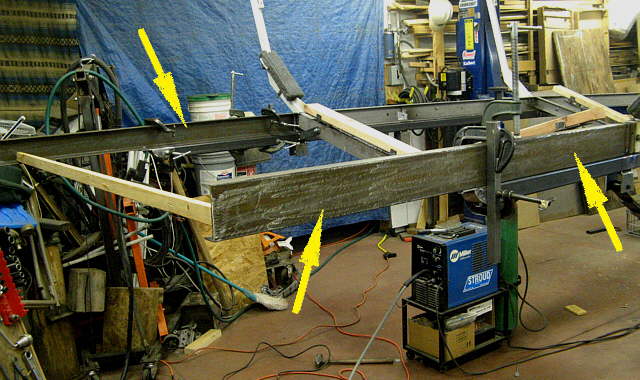
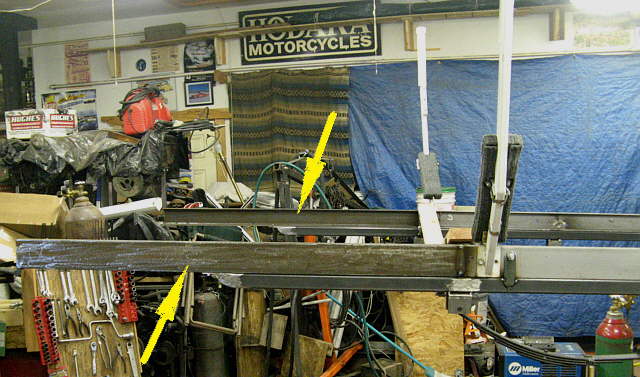
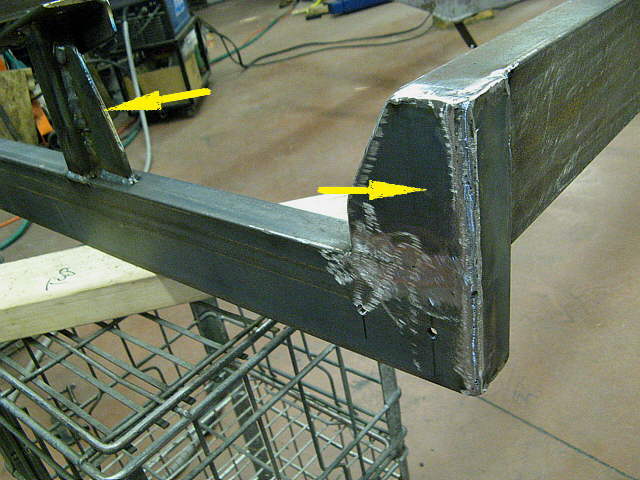
The arrows point to the new pieces of channel used to extend the frame. Notice that about 1/2 way between the bottom two arrows the new sub-frame ends, where that clamp is. The sub-frame overlaps the junction of this extension and where ....
......
... the weld joint is, top arrow. You can also see that the spring hanger also overlaps the joint which is above the sup-frame, bottom arrow.
......
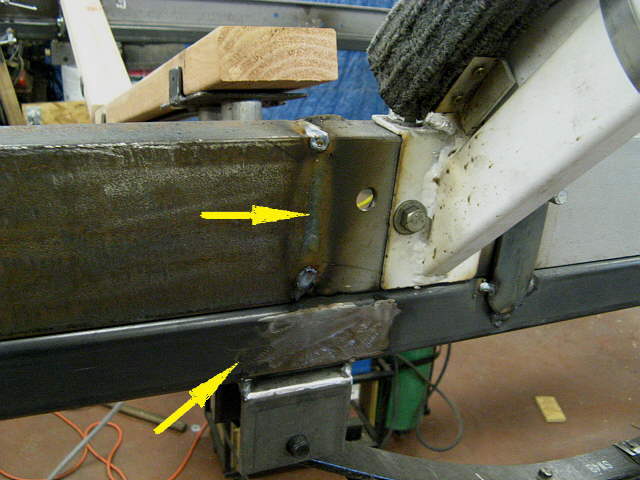
The port side of the trailer with the weld joint at the left arrow. Later 'diamond shaped' plates were welded over the weld joint on the top for additional strength. I used various clamps and pieces of steel to position the extension while welding it.
......
The arrow above points to where the sub-frame ends and where it is bolted to the new extension above it.
......
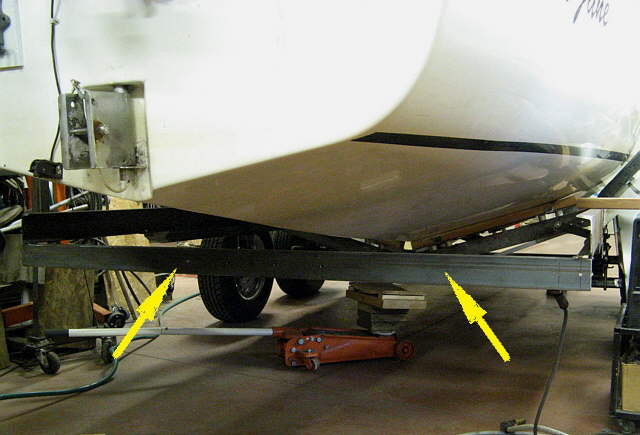
The extensions look quite long, but they still don't go quite to the stern of the boat. I hated towing the boat night or day with the factory lights being so far up under the boat. Not a good deal. If I wouldn't of extended the frame I would of made some lights that could of been attached to the stern of the boat while towing.
......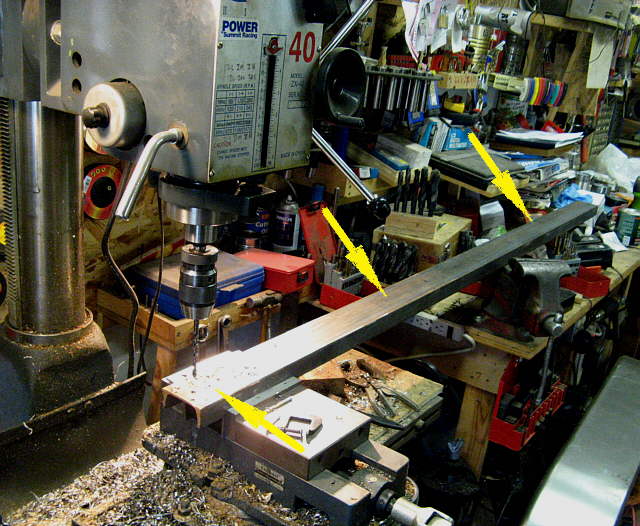
Next up was a new rear cross-member. One was cut to length and above holes are being drilled into the ends of it to mount the new tail/stop/turn light assemblies.
......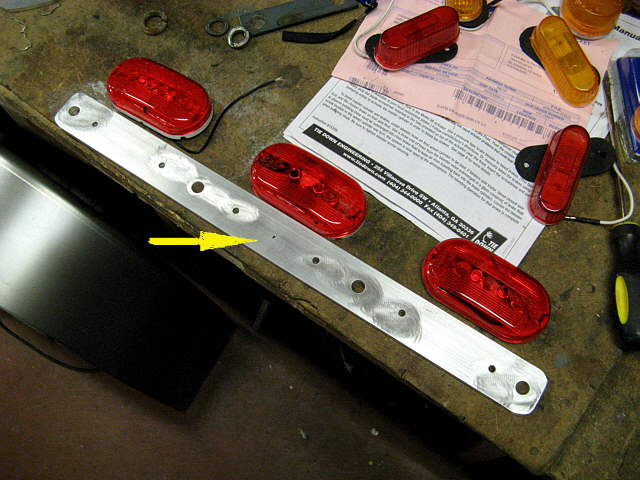
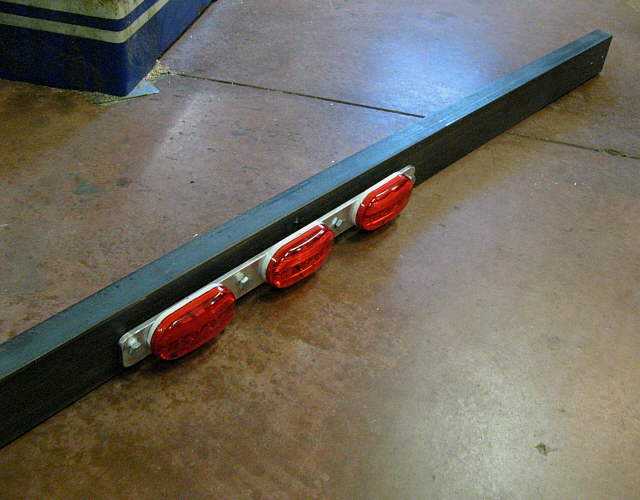
The other item that Roger didn't put on these trailers, but that are require now, are light bars that should be mounted at the center rear of the trailer due to their width. You can buy these, but I made one from a piece of aluminum and ....
......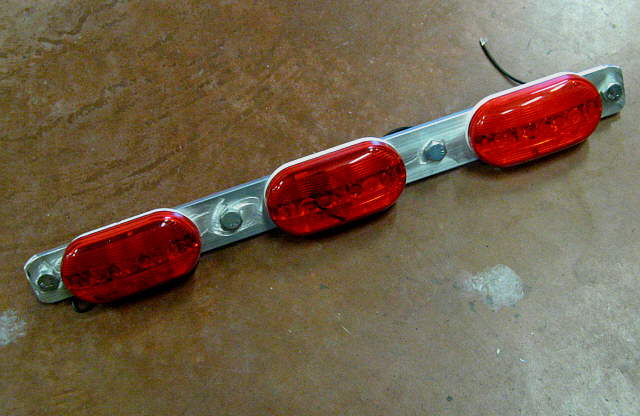
.... three lights.
......
Holes to mount it were also drilled in the rear cross-member. 4 bolts are over-kill, but they keep the aluminum, with the help of spacer, out away from being in contact with the cross-member and the wires for the lights run between the aluminum and the cross-member and...
......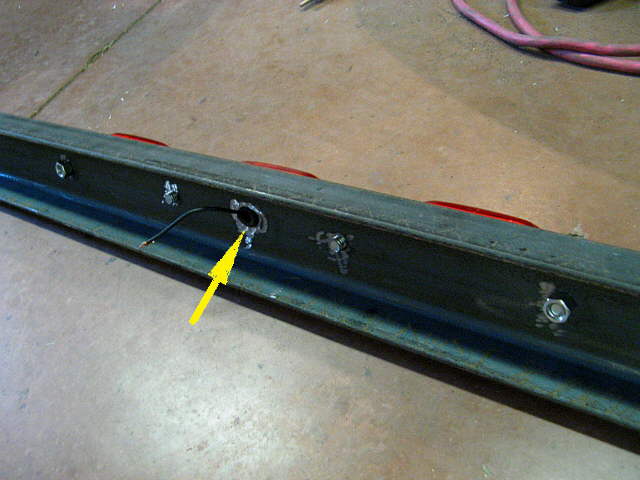
... exit out behind the cross-member through a rubber grommet, arrow.
......
The cross-member was then tacked to the bottom of the frame rail extensions. Notice that the axles are now under the trailer and I had to put the boat back on the trailer at this point. That was a pain, but I felt it had to be done to properly mount the new back bunk on top the the cross-member.
......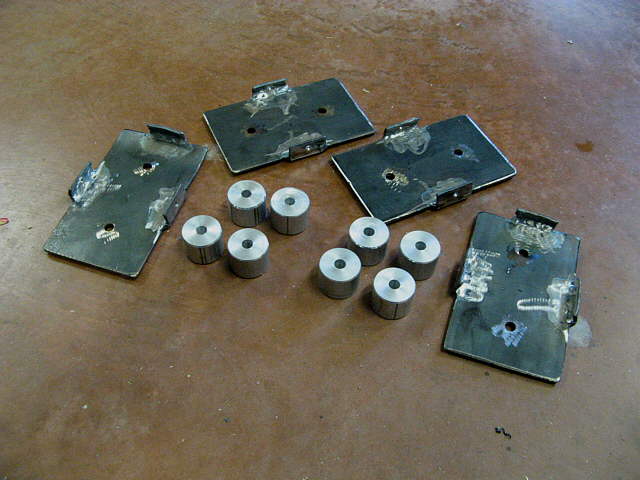
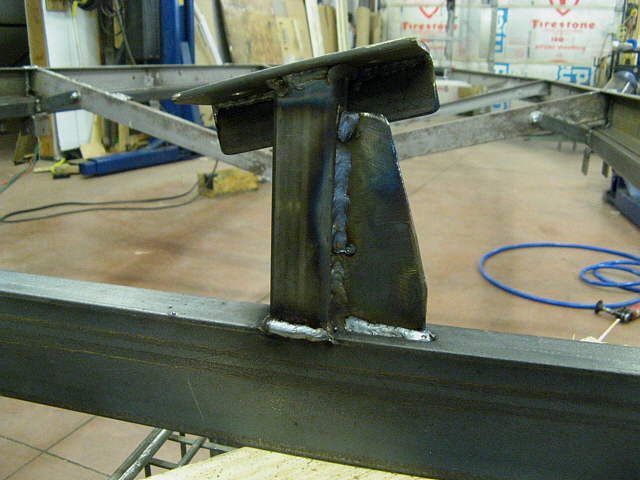
A somewhat similar approach was taken for this back bunk and the above pieces were fabricated along with...
......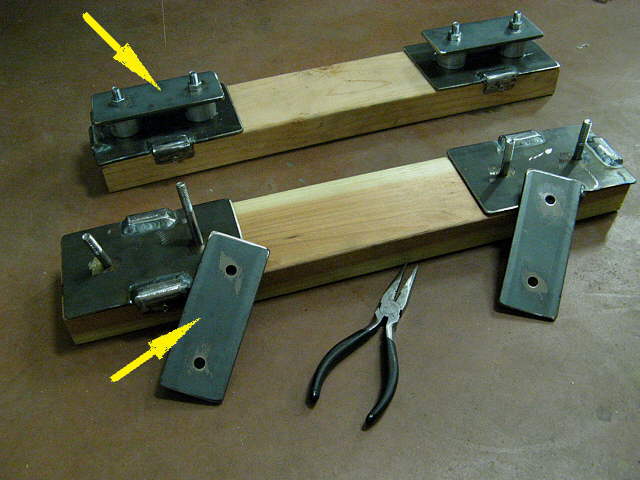
... the plates above, arrows.
......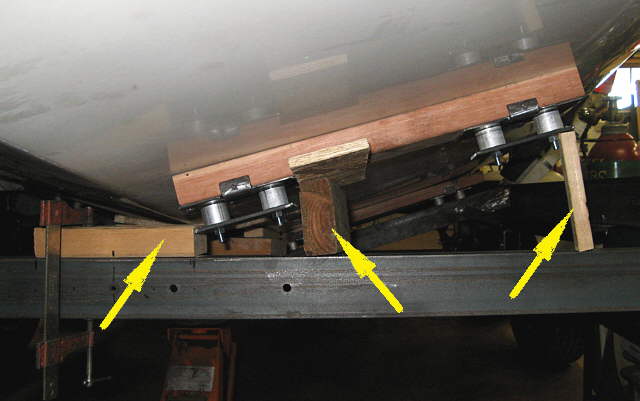
The bunk pieces where then braced against the bottom of the boat where I wanted them with the pieces of scrap wood, arrows.
......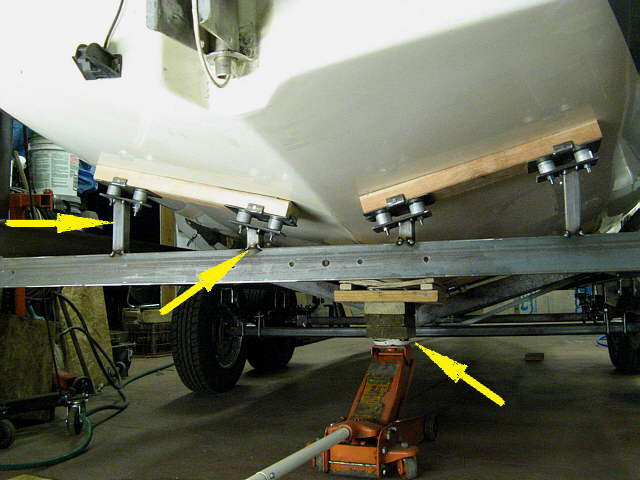
Next uprights were cut and tack welded to the bottom of the bunk plates. I used the jack to raise or lower the boat a little to get the bunks where I wanted them with some load on them from the stern of the boat, but being careful that the boat was still being support by the middle bunk, the old aft one on the original trailer.
......
Additional pieces were tack welded to the cross-member to tie it to the frame extenders.
......
They were then finished welded and ground down and also other pieces were welded to the new uprights, arrow, to brace them.
......
They were also finish welded. I weld everything I can solid to keep water out of the joints as much as possible.
......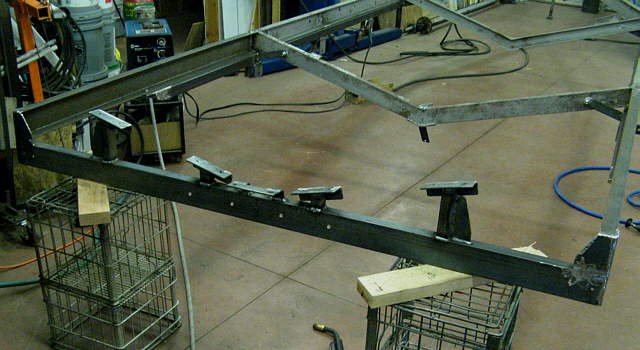
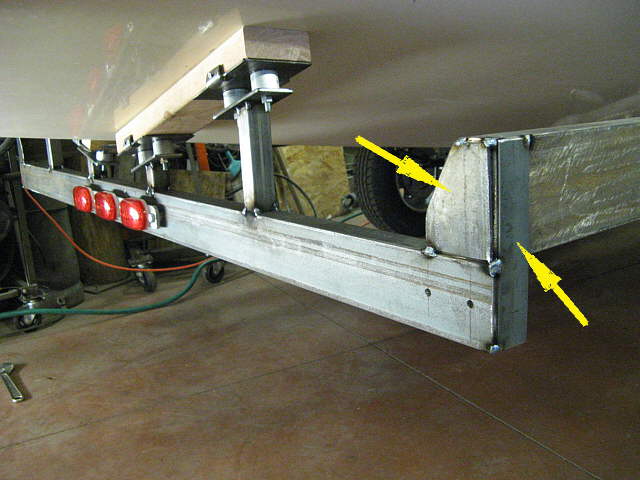
Here the new rear cross-member with towers for the rear bunks is in place. The bracket in the middle of it will be explained later.