..................
......................................--- Pop-Top Cover Conversion ---
This page will document the conversion of the stock pop-top cover that came with the boat that is lacking in a number of areas into one that has worked great for us. Here are some problems with the stock one.
1. No windows open for ventilation, thus no need for screening.
2. The sides barely reach the top of the pop-top and don't seal that area from wind or insects.
3 The entry way flap barely covers the top of the companion way hatch presenting sealing problems in that area.
Our goal was to add some clear vinyl windows to the front that would open and have screens outside of them. We would also add flaps to the front and sides to better seal those areas and last we (Ruth) would make a larger rear door with a screen opening in it that would go all the way down to the bottom of the companion way hatch. The stock cover could be zipped down over the screened window when the need arose. So follow along as Ruth does a great job of accomplishing these goals.
...............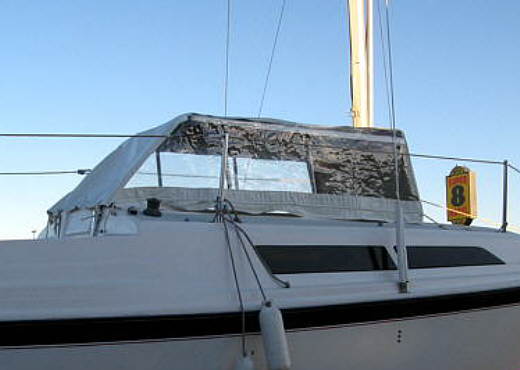
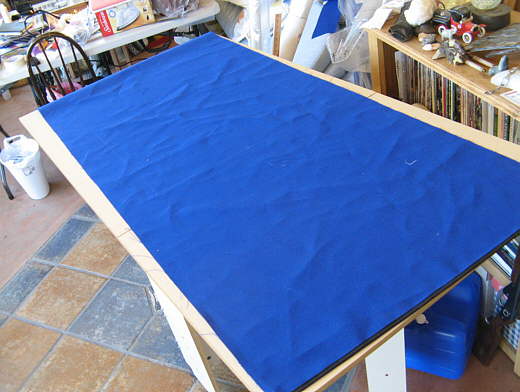
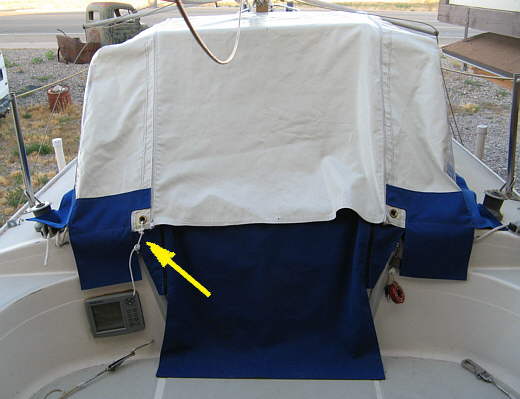
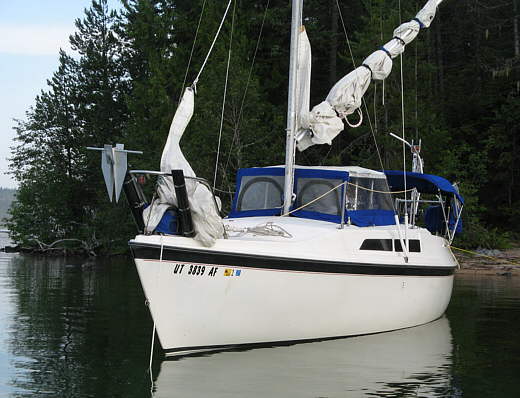
Here is a picture of the stock pop-top and you can see the sealing problem along the bottom easily.
...............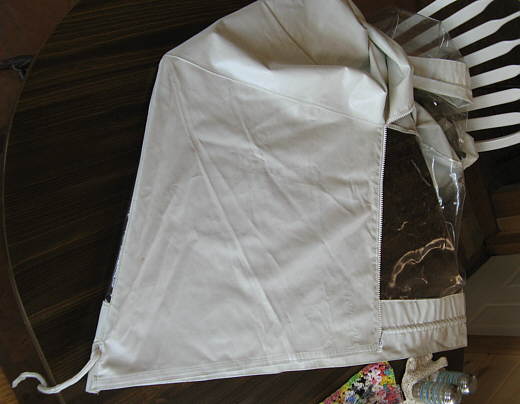
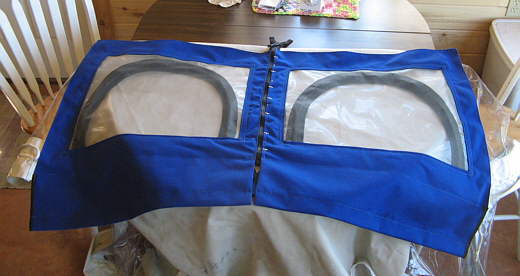
This is the front of the cover on one side with the zipper to the left. We wanted to replace this panel on both sides with one that has an opening window with a screen. While doing this we also wanted to change the color of the new parts to Ocean Blue Sunbrella to match the bimini and other covers on the boar.
...............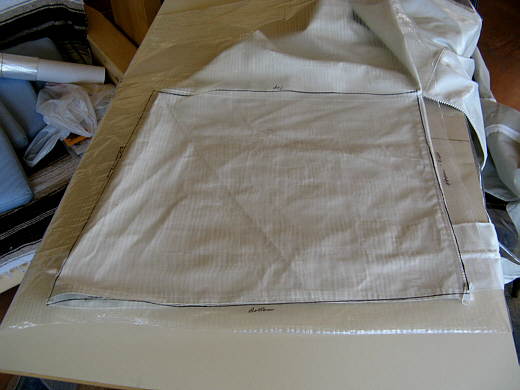
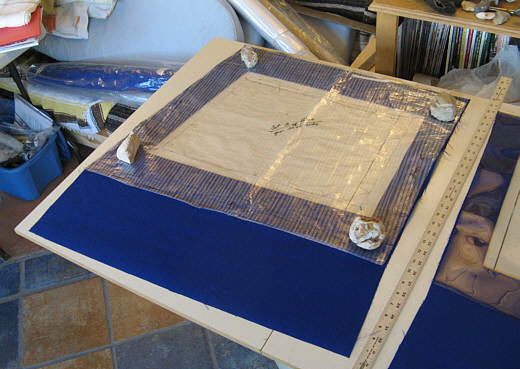
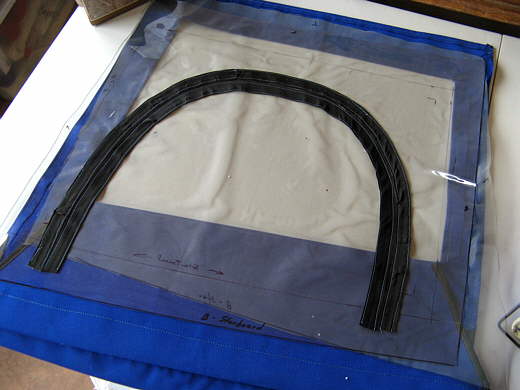
Here Ruth has taken some pattern material to make an exact duplicate of the original piece .
...............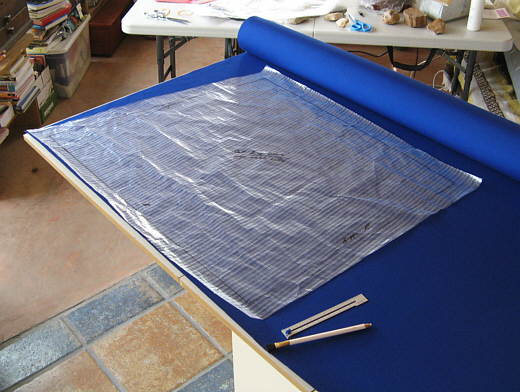
That is then transferred to the Sunbrella with added material for the hems.
...............
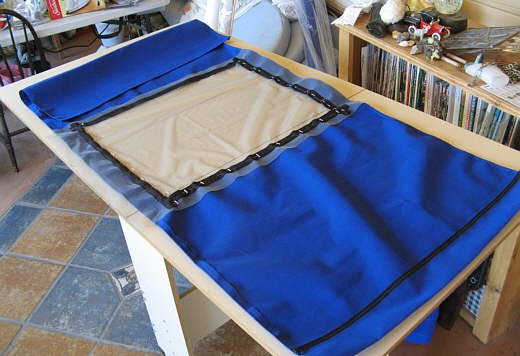
An extension for the bottom was added for a flat that will turn at the pop-top and lay flat on it. Also the window opening has been cut out.
...............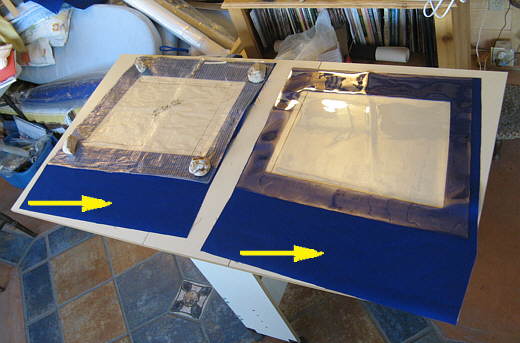
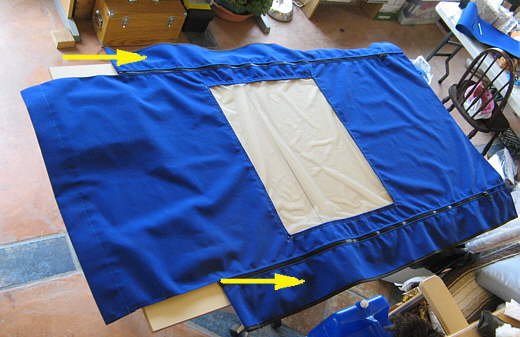
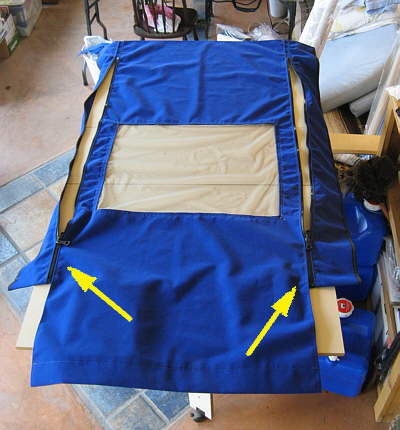
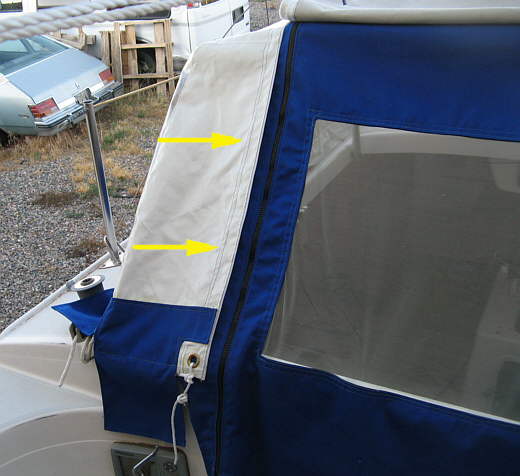
Another picture with the arrows pointing to the flap area that is not on the stock cover.
...............
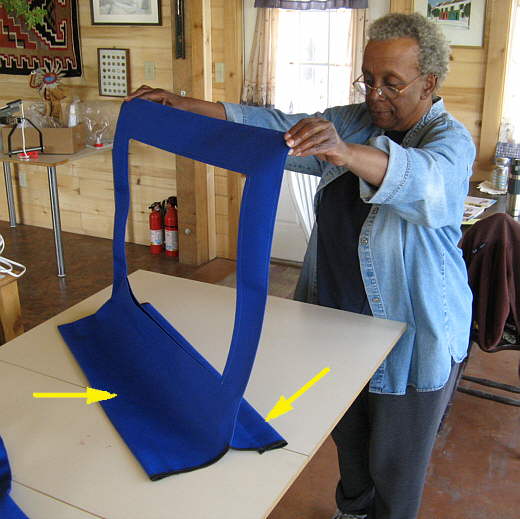
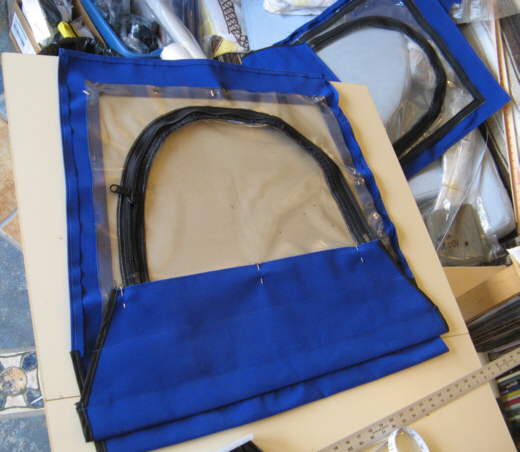
Here Ruth is working on the screening and making inside flaps to further help in sealing the point where the cover meets the pop-top. We had considered snaps and other fasteners, but decided to try the flaps firs without them. The result worked great and really cuts down on the time it takes to put the cover on, which is only a couple minutes from start to finish. Also this leaves a deck free of Velcro or fasteners when the cover is not in place.
...............
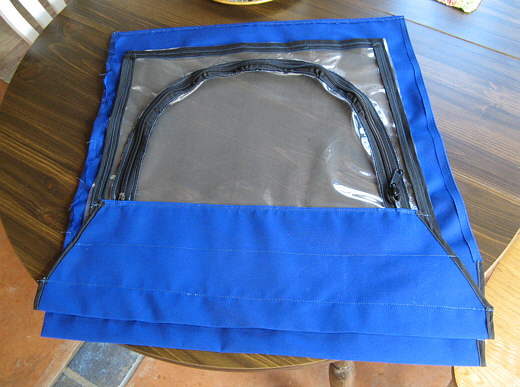
This gives a better idea how the flaps work. Ruth did really excellent work on this whole project.
...............
Here the clear vinyl for the window is being marked where the zipper will go in it.
...............
Here the zipper has been installed. This is pretty confusing on how to do this, so I'm not going to try and explain it here. Go to Sailrite's site and pay and download the video that shows you how. It is worth it.
...............
A couple pictures of the zipper installed and .............
...............
...............the flaps in place on the inside and the .............
...............
...............screen on the outside.
...............
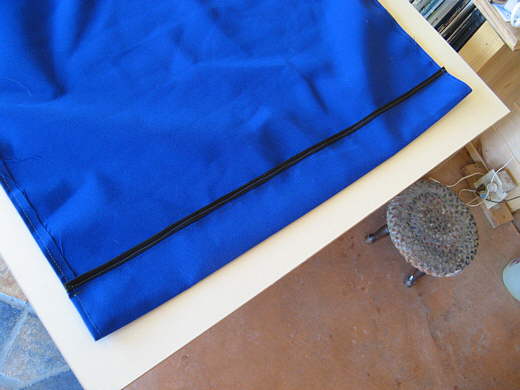
A zipper was added to tie the two panels together. It is needed to get the front of the cover in behind the mast when the pop-top is up and held to the mast.
...............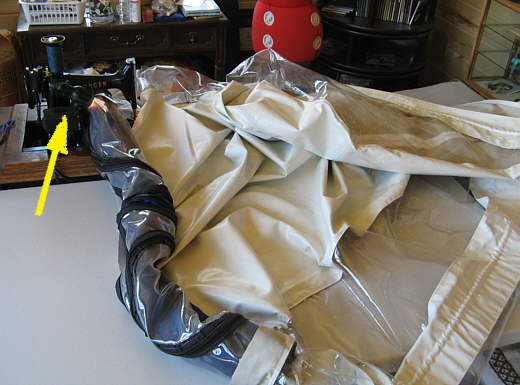
We had bought an old industrial Singer 99 for $200 on E-bay that was able to penetrate all of the various layers of Sunbrella and vinyl and screening. The Sunbrella is really tuff stuff. The machine struggled a couple times, but did the job where our newer machine wouldn't of stood a chance. Here is a quote from one site on the Internet "Don't let the smaller size of the Singer 99 sewing machine fool you for one minute. This machine is a beefy little tank of a sewing machine that will last for generations with just a little bit of care."
...............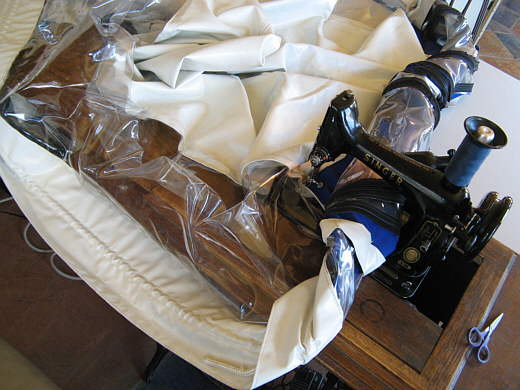
The biggest problem with using it is the small amount of space under the machine's arm and getting a lot of material wadded up under it to sew some of the seams that Ruth had to do when attaching the new front panels to the existing cover after the old ones had been ripped out. This has her lusting after one of Sailrite's larger industrial machines. It took the two of us to do some of this sewing to handle the large amount of material and to get it to walk through the machine.
...............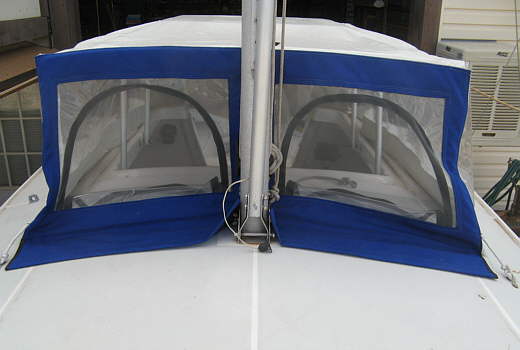
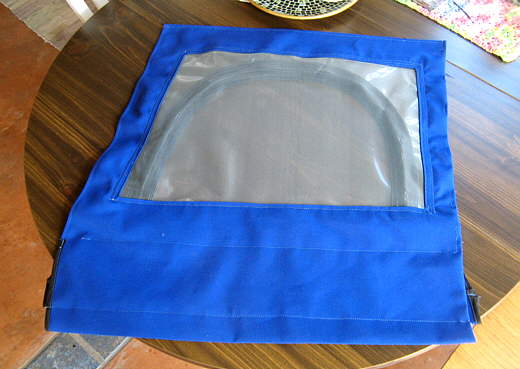
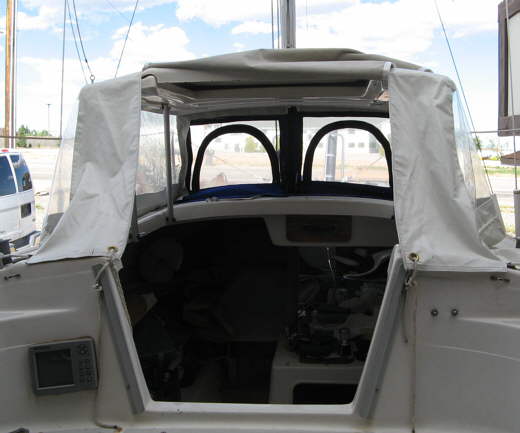
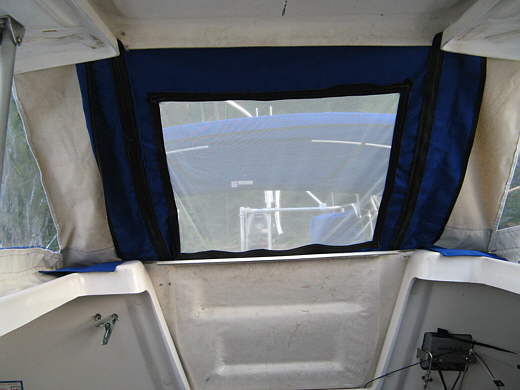
Here is the finished front with the outside flaps down and the windows un-zipped.
...............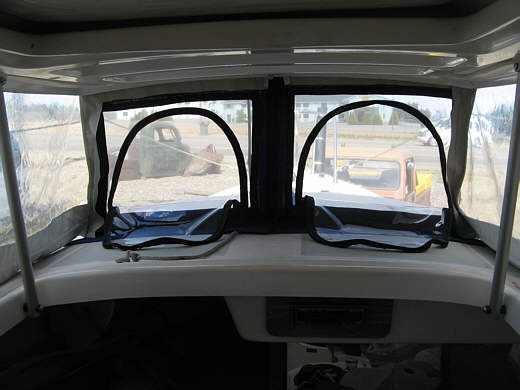
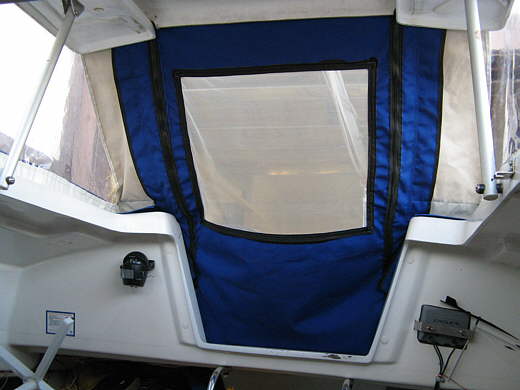
A view from the ................
...............
.........inside that also shows the inside flaps. You just put the cover on and pull the flaps flat from either the inside or outside. That is all there is to it, no snaps or other attachment needed. You can still see the problem with the stock side flaps at this point, but Ruth will take care of that.
...............
Looking forward from the cockpit. Here you can see the stock cover barely covers the areas to the sides of the companion way and when the back is zipped down it...........
...............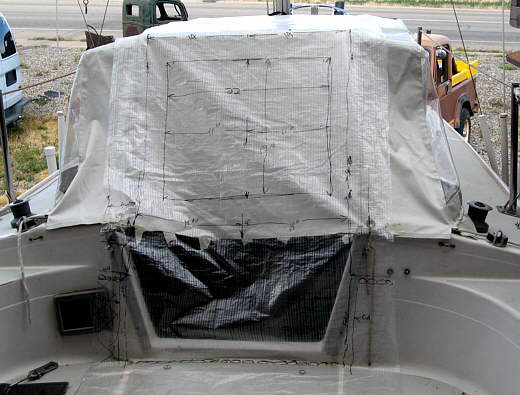
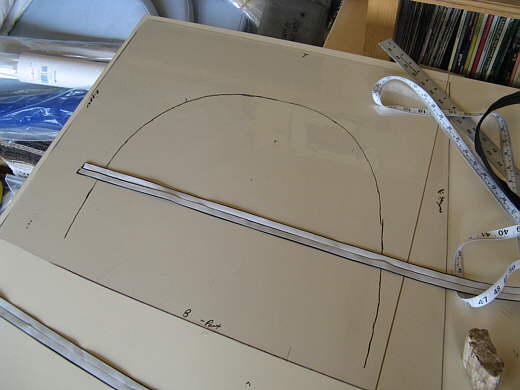
.........doesn't cover the companion way bottom half. Here pattern material is being used to figure the dimensions of the new rear flap that will be sewn to the stock cover and will go under the existing rear entrance flap all the way to the top. You can see the back window opening marked on the pattern.
...............
Here is the main door laid out with a hem in the bottom...
...............
The large hem at the bottom is for a chain or other weight, but we don't feel it is necessary and haven't put any weight there, but the stiffness of the large hem helps. Also at this point Ruth is working on the screen window. At some point we might replace this with a vinyl window with a zipper and then a screen also, but the jury is out on that.
...............
A closer look at the bottom and side hems.
...............
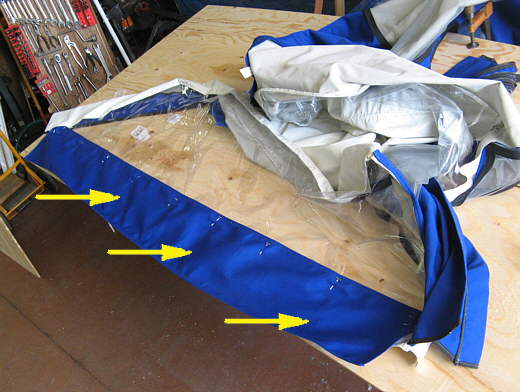
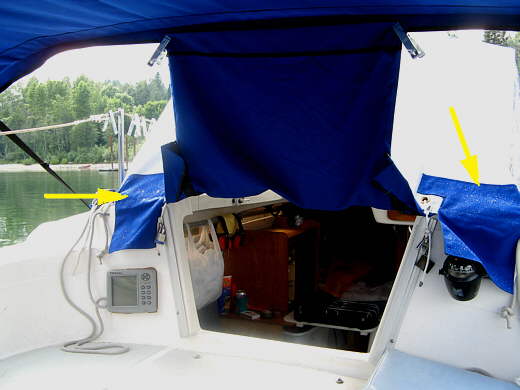
The arrows point to side panels that were added and they will be sewn to the existing cover inside of the existing doorway and under it.
...............
The arrows point to the one mistake we did on this cover at this point. We bought zippers and installed them like you would on your jacket where you put them together at the bottom and zip them up. It seemed logical at the time, but isn't what you want to do as to un-zip the bottom you have to unzip the whole zipper from the top down and part it at the bottom. What you need to do and what Ruth did when she got home was to cut this zipper out and turn it upside down. Before you sew it in zip it up and then melt the end of the zipper so it can't ever unzip and come apart. Then turn it around and sew it in. Now to close the door you grab the zipper at the top (not the bottom like in the picture) and pull the zipper down until it stops like your coat zipper stops when you pull it up to your neck. Then to get out reach down and pull the zipper up from the bottom on one side or the other and step out.
On our trip we were able to get out without unzipping the zipper at all by pulling it up at the bottom of the companionway and sliding out under it. It worked and we could still open the whole opening, but the new zipper arrangement will be a lot simpler. Another reason to get the video from Sailrite as the zipper thing can get complicated in you mind.
...............
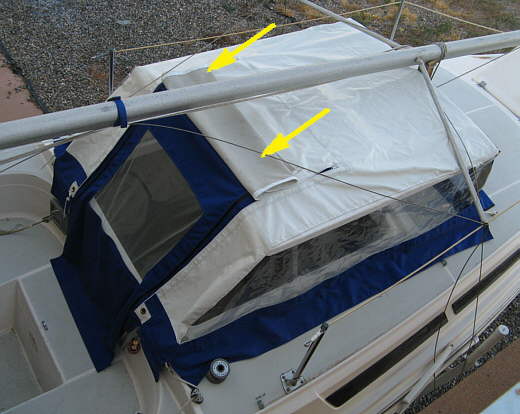
Here Ruth is working on the side flaps that lay on the pop-top to the outside of the cover.
...............
Here you can see that we left the original side bottoms and had them lay inside the best we could, but they are short.
...............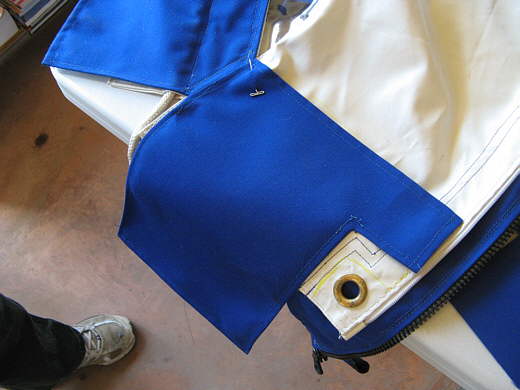
Inside and outside flaps were also added to the back corners......
...............
......by the doors. We still ended up with that small opening you can see at the center of the picture. If bugs were really bad it was plugged with a small piece of cloth.
...............
The door from the inside with the large screen window. Now we have ventilation from the front to rear. We are unsure at this point if we want to add any from side to side with some new windows/screens there. We had 90+ degree weather during the day on our trips, but it was cool at night when we used the cover, so we were comfortable and even usually pulled the old cover down over the screen at the back at night, but would leave the front windows open a little to help with the condensation that can build at night.
...............
The arrows point to where the new back door is sewn to the original cover. It is in a ways so that the old zipper is still easy to pull up and down.
...............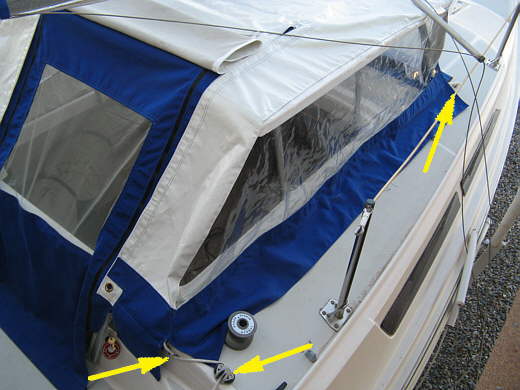
The arrows point to the bolt rope that went through the original cover and that is still used to tie to the eye strap in the front and goes through the eye strap at the back and then through the cam cleat. Like I mentioned before the cover goes on or off in just a couple minutes.
The other grommet to the left of the bottom arrows is also used along with a small rope to tie that area to an eye strap that is right under there.
...............
Here you can see the original door rolled up. Usually it would be tucked under the top of the cover.
...............
The arrows point to the front eye straps that are also used for the baby stays when you raise the mast. As has been mentioned the flaps worked well even in higher winds and we see no reason to add snaps or other fasteners where the cover meets the deck.
...............
The arrow points to the other back attach point.
...............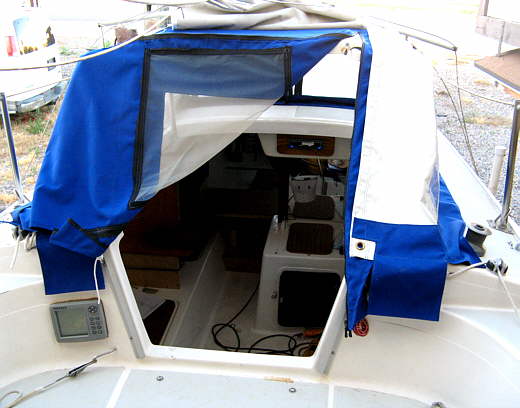
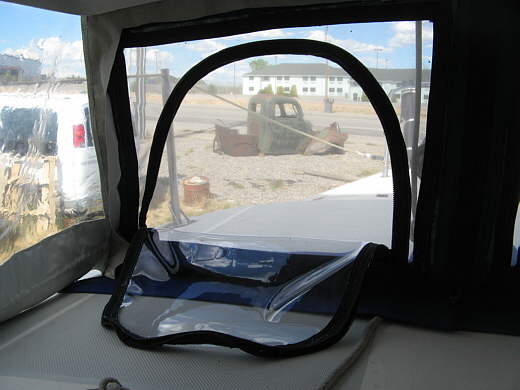
With the door part way open..........
...............
...........and all the way open.
...............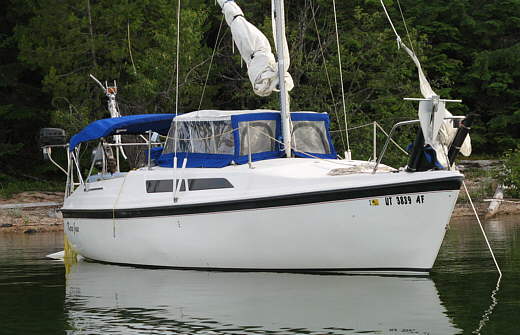
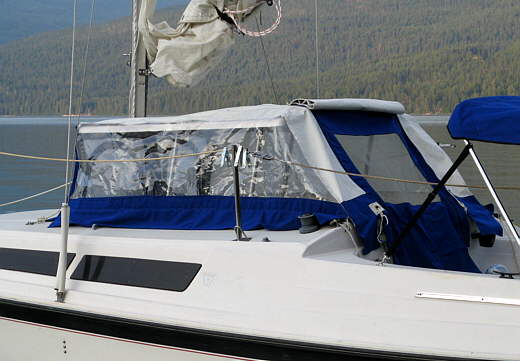
Out on the water for our trip at Priest Lake in Idaho. We used the cover every night for the 28 day trip and loved it, but latter on made one more addition to it....
...............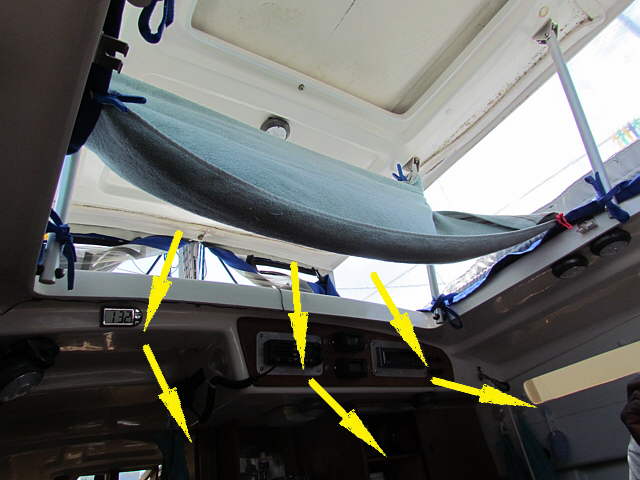
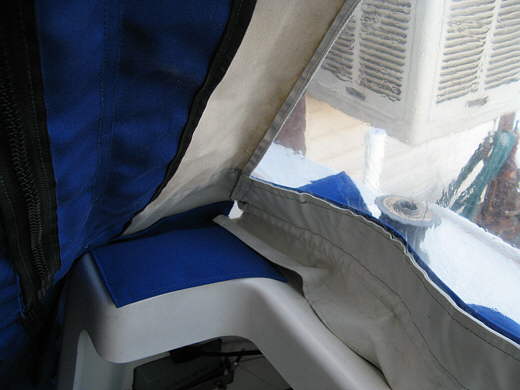
In high winds the sides could lift up and spill air in or out. To fix this and better seal the side bottoms we added inside skirts that were like the outside ones. You can see the starboard side above. We also added 'ties' to them so that we could tie the sides to the pop-top supports. You can also see the ties in the picture. This picture shows how by opening the front and adding the towel across the cabin top you can divert the incoming air down into the cabin. It seems to simple to work, but it really does work real well on anchor where you are pointed into the wind. There is more on it ( HERE ).
...............
A couple.............
...............
.............more.............
...............
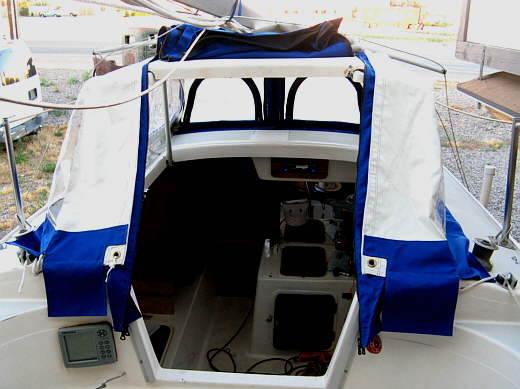
...............views.........and also from........
...............
........the inside with the companion way hatch in place. We could pull this out and slide out under the cover without un-zipping it if we wanted. Now that we have reversed the zippers that won't be so necessary unless it is maybe raining when that method lets less water come in.
...............
We did have rain on the trip (arrows are pointing to it) and found that we could slide the bimini forward on its tracks and then clip the door piece up to it and go from the cabin to under the bimini without getting wet. This wouldn't work in a hard driving rain and we might make a larger cover to go from the bimini to the pop-top cover.
This has been a great mod and has made the boat much more livable in rain, wind, heat, cold and when there are insect problems. Ruth did good!!