.......................................Endeavour Index Page.................Outside Mods Index Page
....................................................Previous
Page..............................
Next
Page If There Is One
=======================================================================..................
.......................................................--- Boatyard Ladder ---
=======================================================================
When we returned to the Endeavour in the spring of 2012 one of the first things I did was make a boarding ladder to use in the boat yard. Ruth had had operations on both of her feet involving pins and so forth the fall before and the aluminum stepladder just wasn't a good deal for her. Also we would be working on the boat and living on her at the same time so a nice ladder was going to be used a lot. I looked at some ladders, but they just weren't that much better than the stepladder we had.
So I bought less than $100 worth of materials and built the ladder on these pages in about a half a day. We used the ladder for 3+ months and it worked great (update – still using and loving the ladder in 2017). It was solid, the steps were wide and easy on the feet and it just felt way safer.
.......................
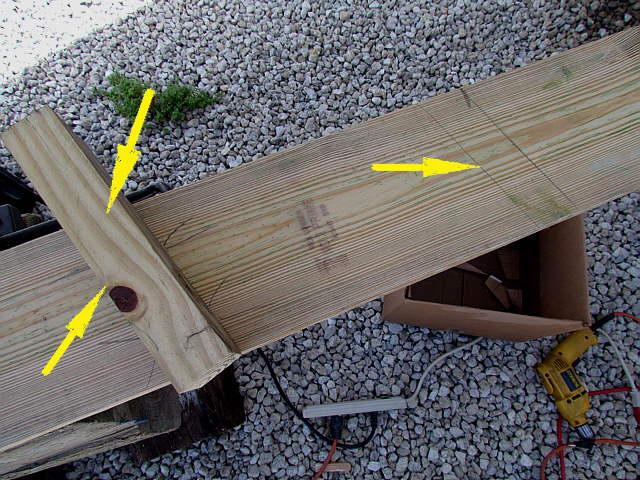
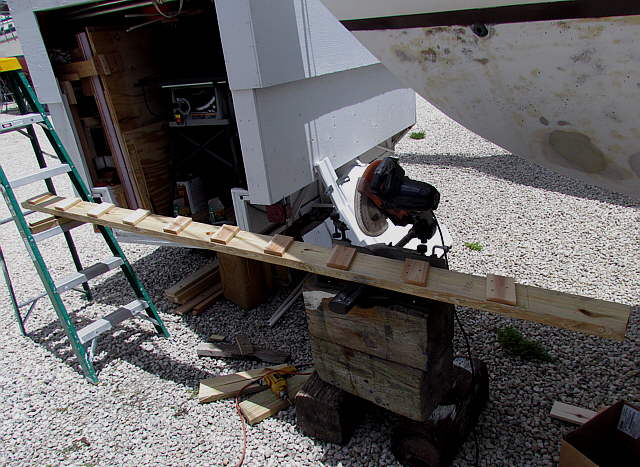
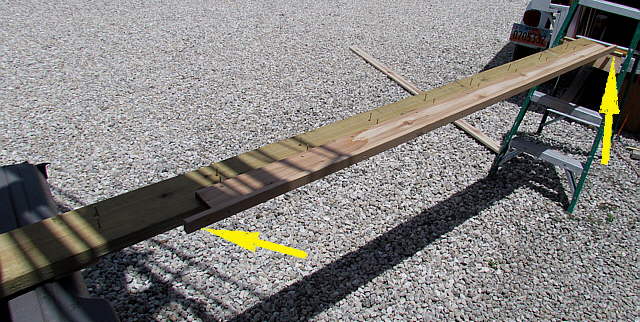
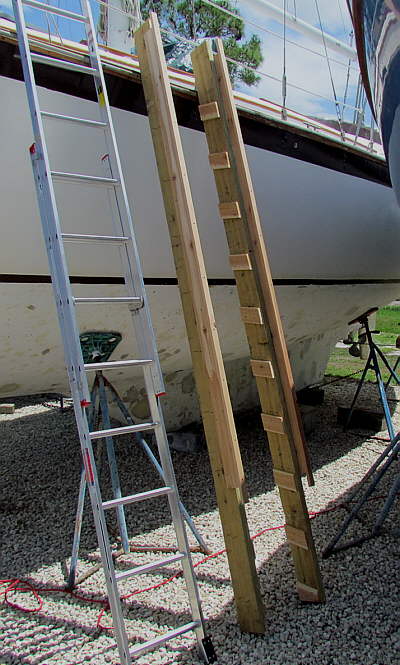
I started with two pieces of 2 X 6 that were pressure treated. Ignore the pieces attached to them for now but to locate them....
..............
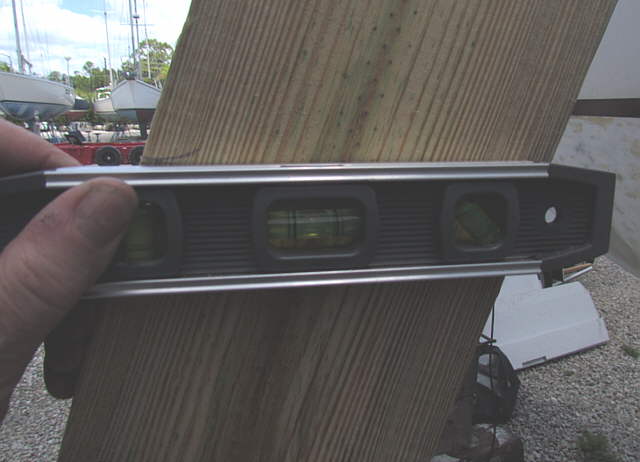
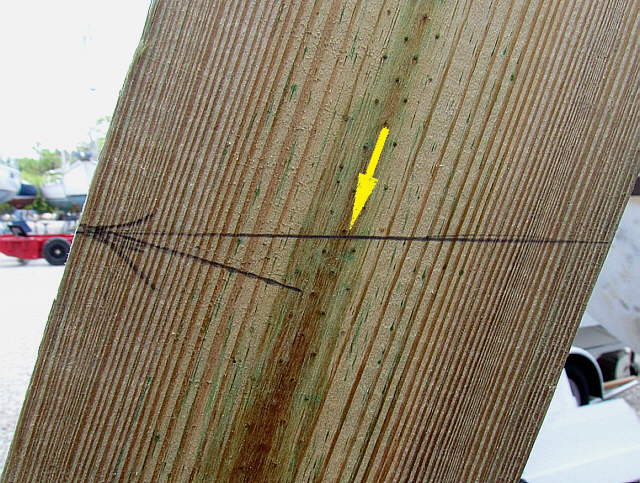
... I leaned one of the 2 X 6's up against the boat at the angle I wanted then using a small level a line was drawn across the 2 X 6.
..............
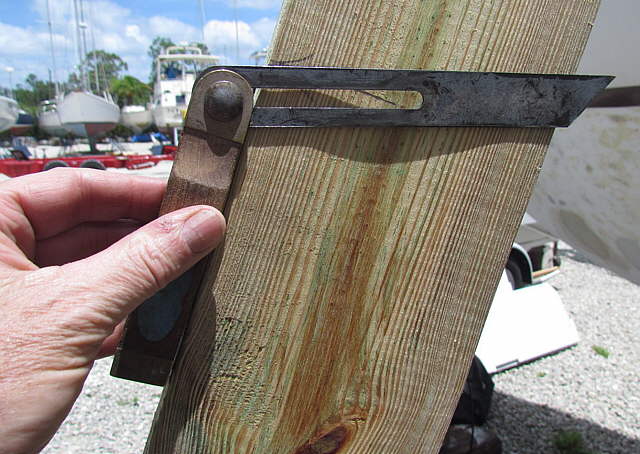
This line could of been anywhere along the board. It was used to ......
..............
.... set the angle gauge at the right angle for the steps.
..............
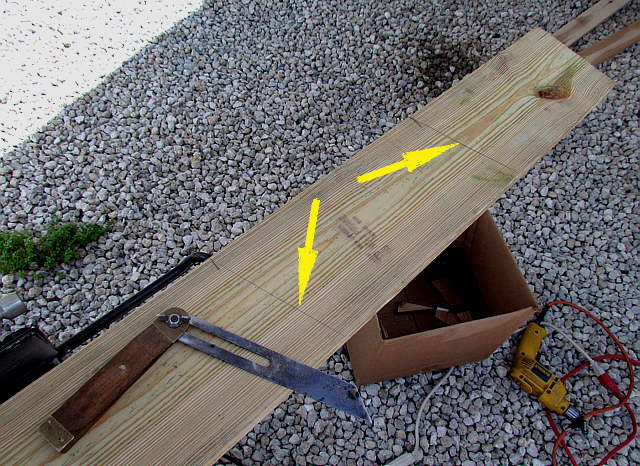
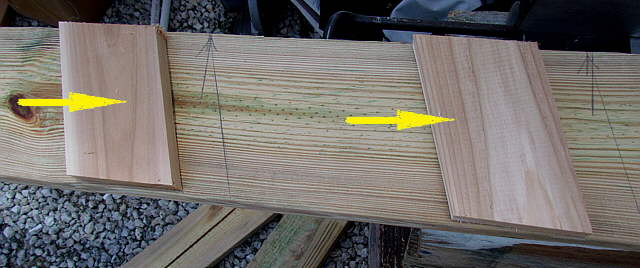
Then the angle gauge is used to mark off each step at whatever distance you feel good about. This was done on both 2 X 6's and will be the inside of the ladder.
..............
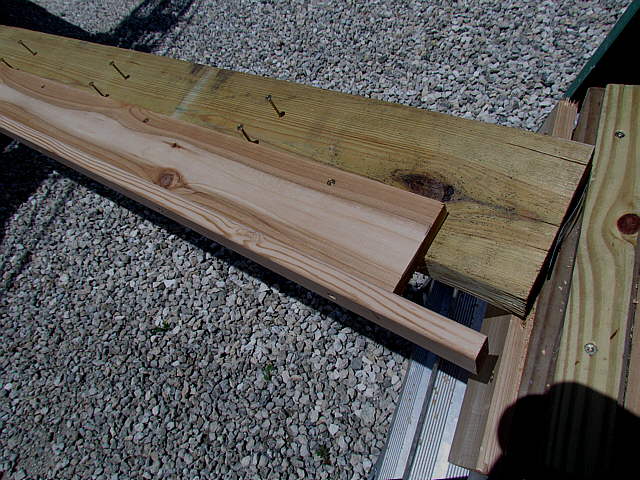
A short piece of 2 X 6 was then held to the line and marked at the bottom side with a pencil. This space will be where each step will be located.
..............
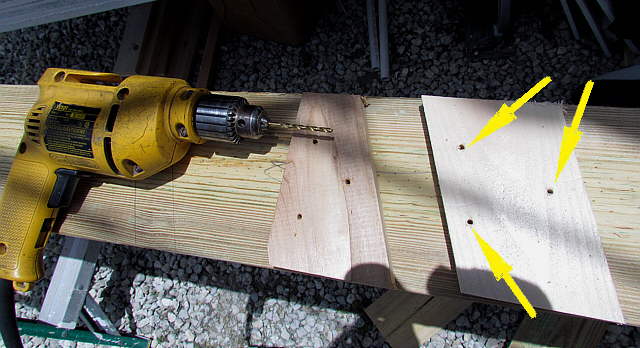
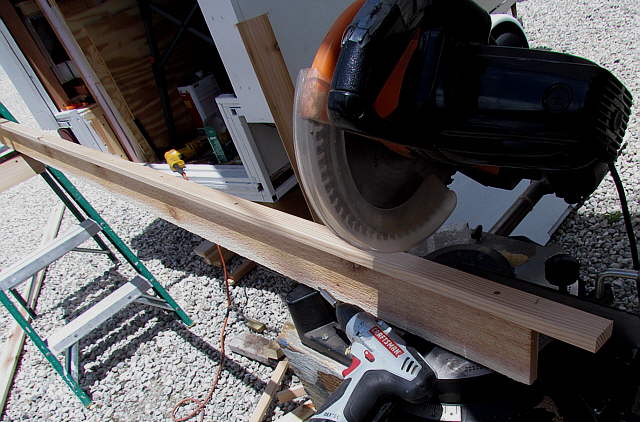
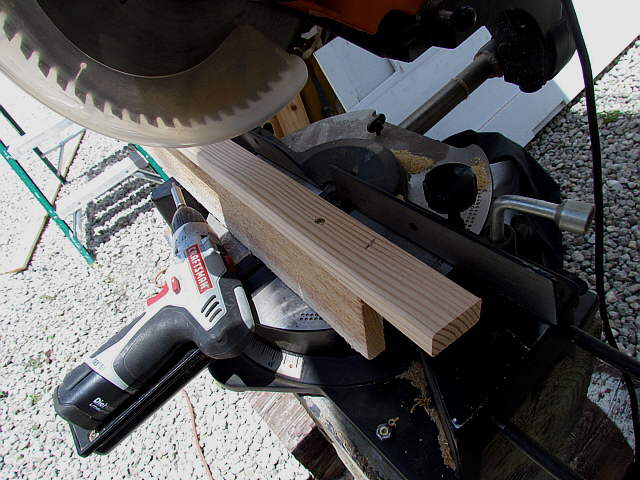
Next some pieces of 1 X 6 cedar were cut to go below each step.
..............
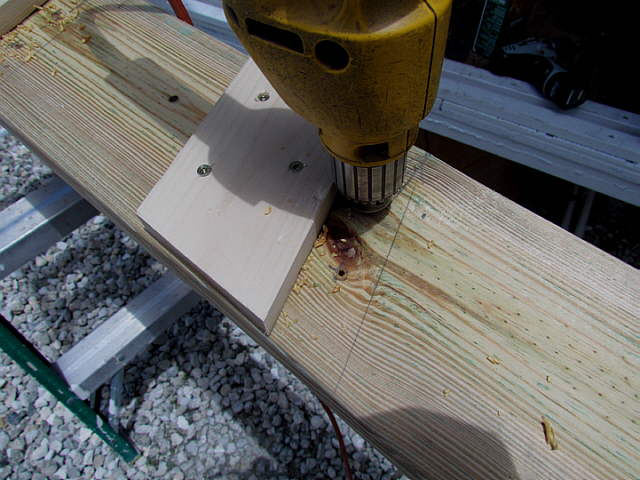
Three holes were drilled in each piece so that they wouldn't split when screwed to the 2 X 6's. The one on the left will go at the very bottom of the ladder where the first step is.
..............
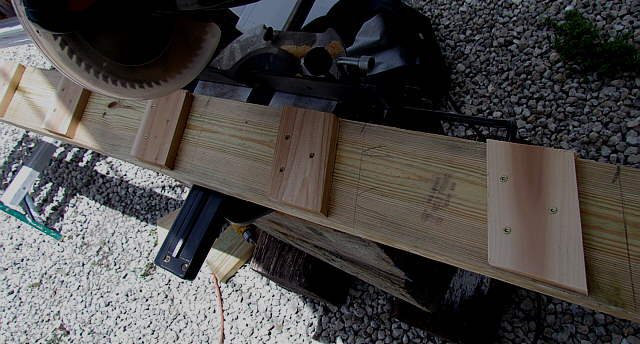
Next these support pieces were screwed to the ladder sides with deck screws.
..............
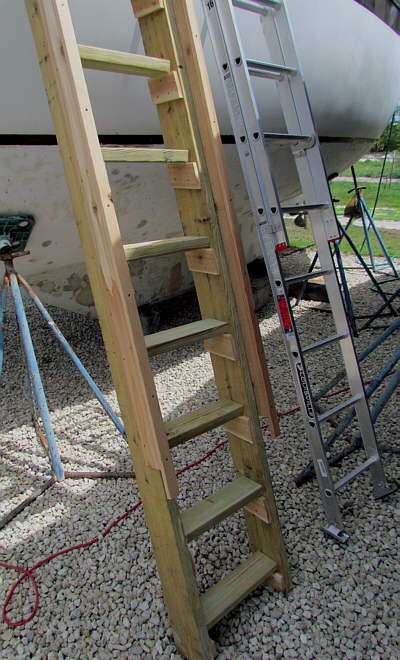
One side of the ladder and you can see the short support piece at the bottom of the ladder to the left. Also there are not steps to the very top so that you can hold onto the ladder and step through.
..............
Next two holes for screws were drill at each step location and ....
..............
... deck screws were started in from the other side.
..............
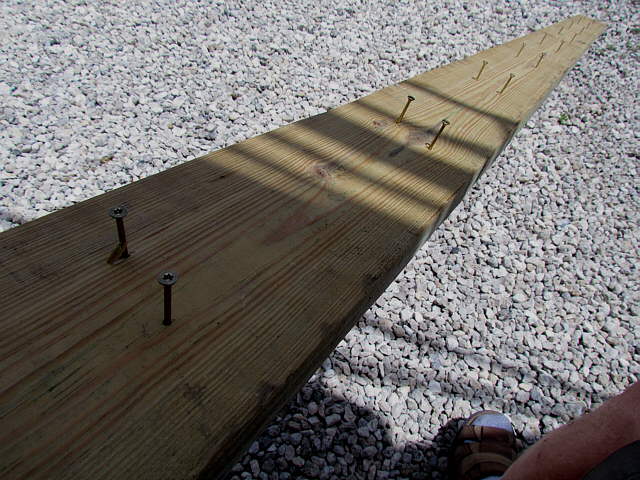
Hand rails were made from lengths of good quality 1 X 2's. Holes were drilled and screws started in down the length of the 1 X 2.
..............
The 1 X 2's were screwed onto the edges of 1 X 6 cedar. Notice the 1 X 2 goes past the one end.
..............
A close up of these two pieces.
..............
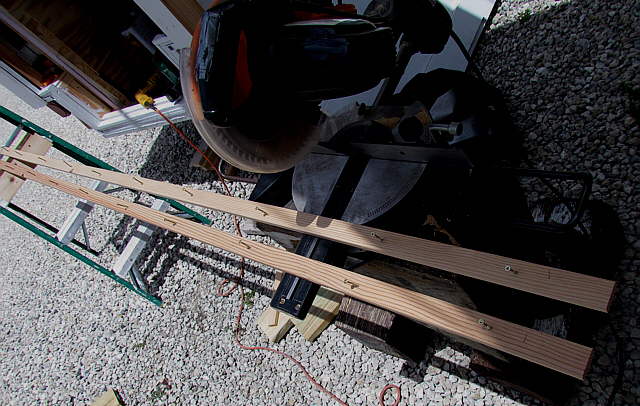
The hand rail assemblies were then screwed to the outer sides of the ladder. Again the 1 X 2's are longer than the piece under them.
..............
This will be the top of the ladder.
....................................
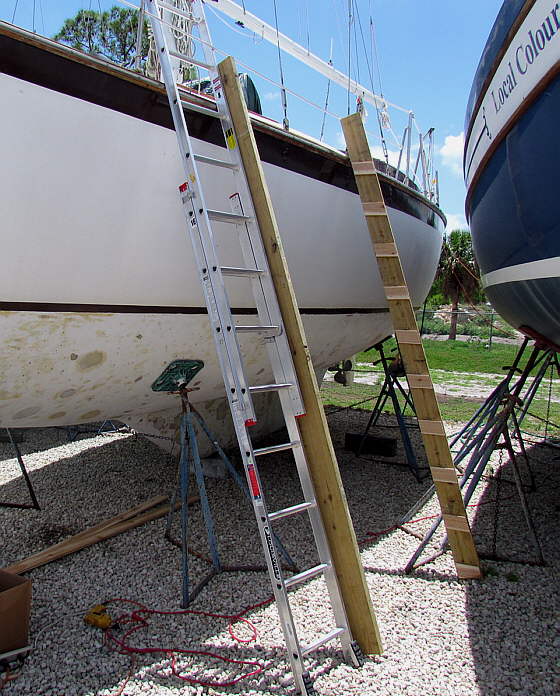
Next put the ladder sides in place against the boat and cut the runners to the length you want.
....................................
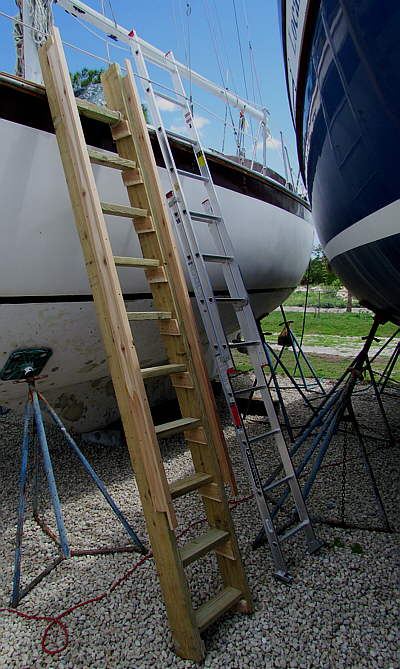
They sit on the supports and you screw them on with the screws that were on the outside of the ladder sides.
....................................
You are done and have a very stable easy to climb ladder. A number of people mentioned that they wished they had a ladder like this. You can for less than $100 and a few hours work.
..............=======================================================================
.................................................................................. Next Page If There Is One