................................--- Mount For Six 80 Watt Solar Panels ---
........................................................................................--- Part II ---
..............
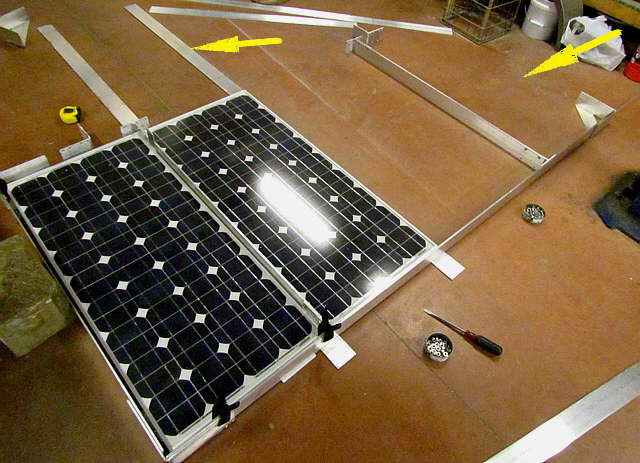
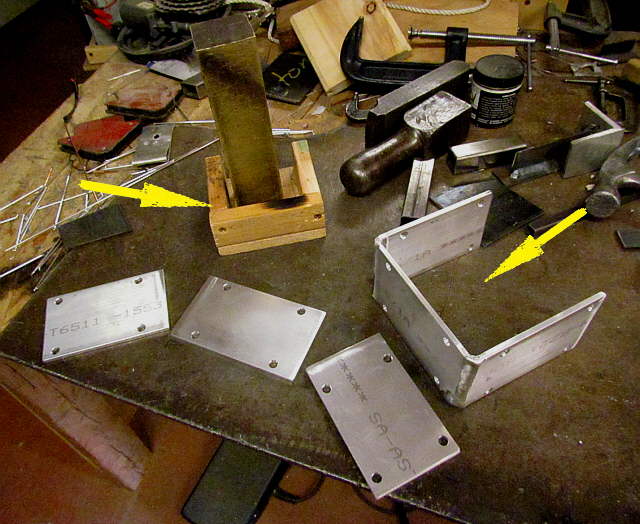
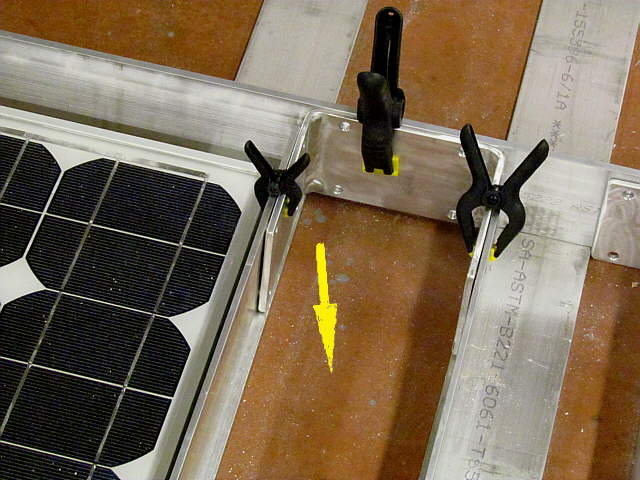
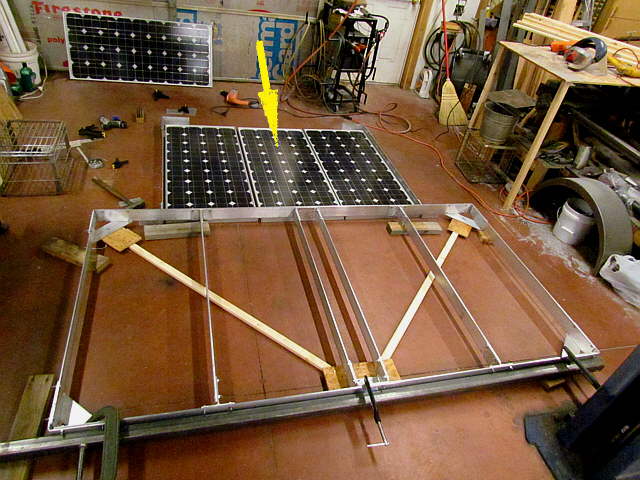
The flat pieces you see in these first pictures, top arrow, are just keeping the components up off the floor. The right arrow points to what will be the port side of the framework.
..............
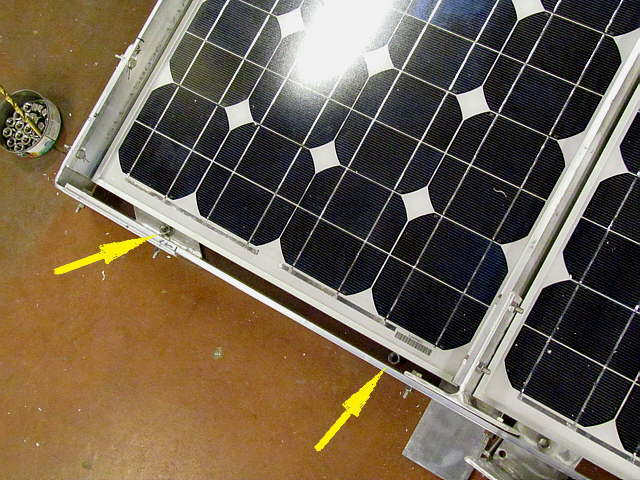
The arrows point to nuts I used as spacers at this point to keep the panels away from the sides of the panels some. I wanted a little clearance on the panels in case we broke a panel and future panels weren't exactly the same size. Latter we did buy one extra panel to take with us for a backup and it was about 1/2 inch wider than this set of panels. Be aware of that when building a frame.
..............
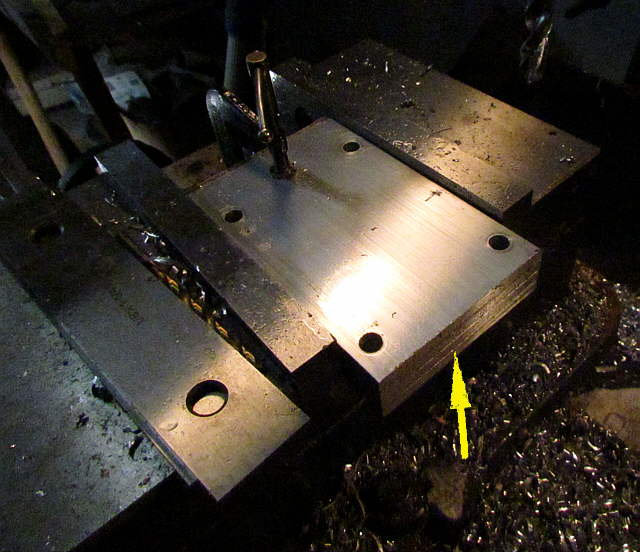
More brackets being made up. Note, arrow, that I usually machine the ends square and drill the holes with a group clamped together.
..............
Again I drilled all of the holes on the same centers.
..............
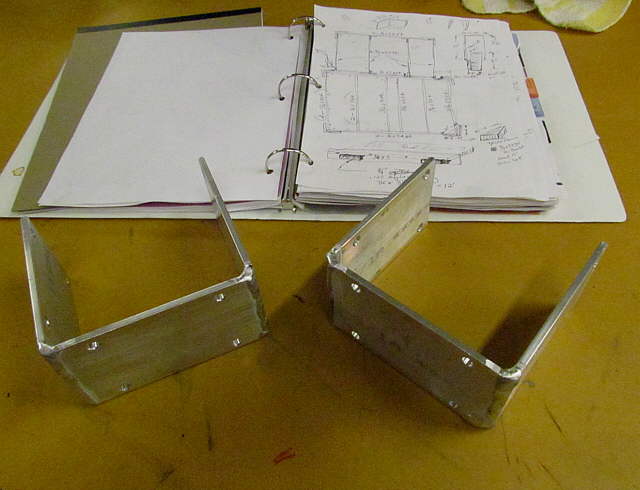
These pieces were welded together to form "U-shaped" brackets. The wood piece, left arrow, helps me to keep them square during welding.
..............
Still I'll use this piece to bend them slightly if necessary to get a true 90 degree corner.
..............
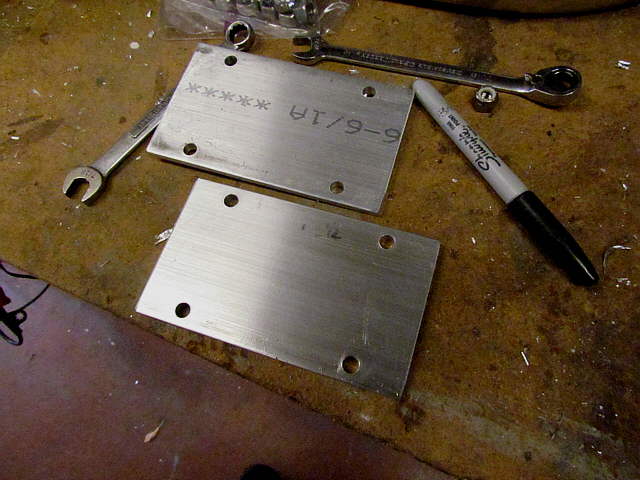
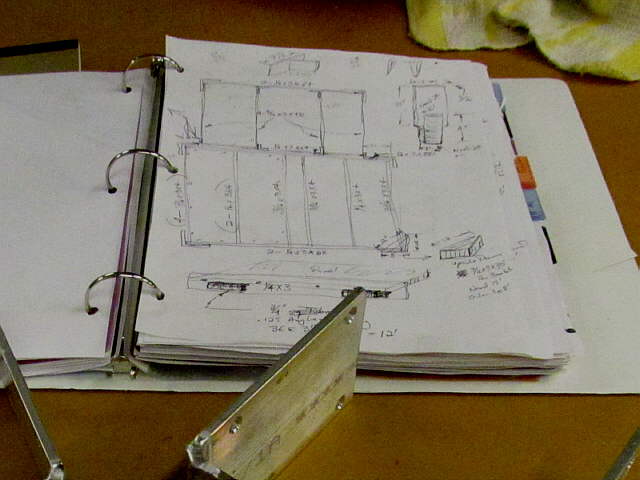
The finished pieces with ....
..............
.... my plans in the background.
..............
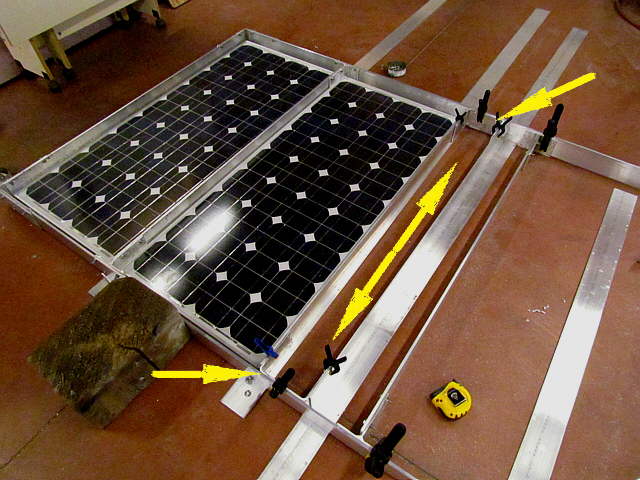
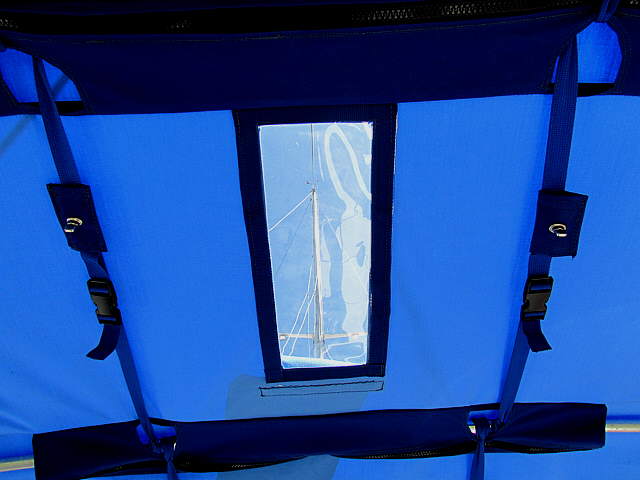
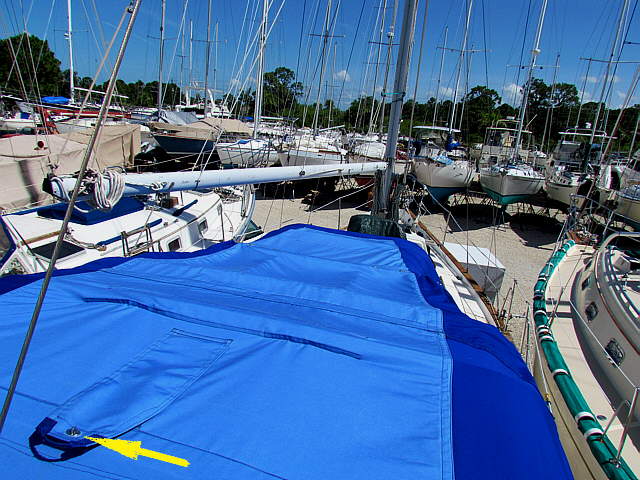
The "U" pieces were used in the middle of the frame, top/bottom arrows, to create a long narrow window there, double arrow. This is there so that we can look up through...
..............
... the window in the bimini and see the windex from the helm.
..............
A closer look at one end of the window area, arrow, and disregard the pieces laying flat on the floor.
..............
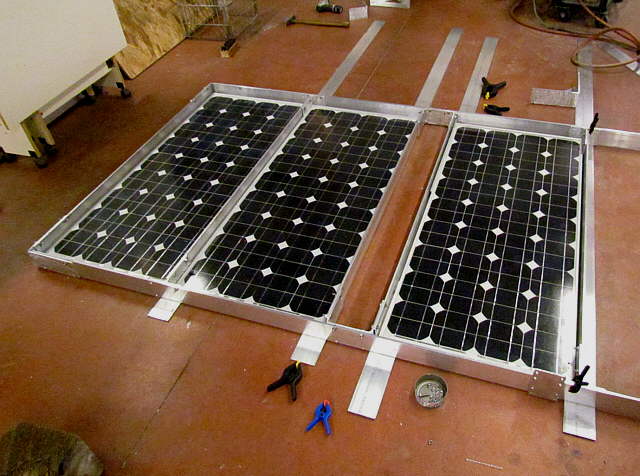
Here the space for the first panel to the right of the window is taking place.
..............
I worked from the left, starboard side, to the right with the openings and then cut the long side to side pieces to fit when I got to the right side. The total width of the frame is a little under 8 feet with the panel sizes being roughly 21 inches X 47 inches. I ordered the strap in 8 foot sections.
..............
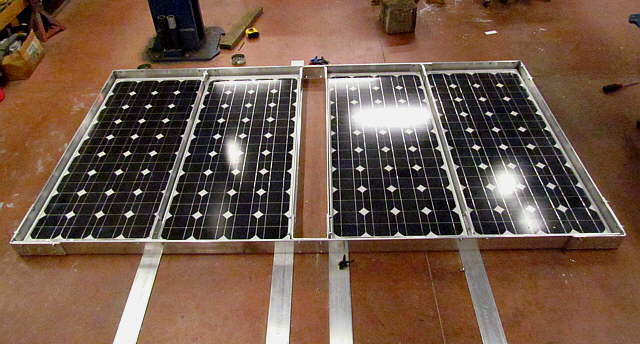
A view from what would be the stern. At this point the panels are just sitting in the openings and have no fasteners yet.
..............
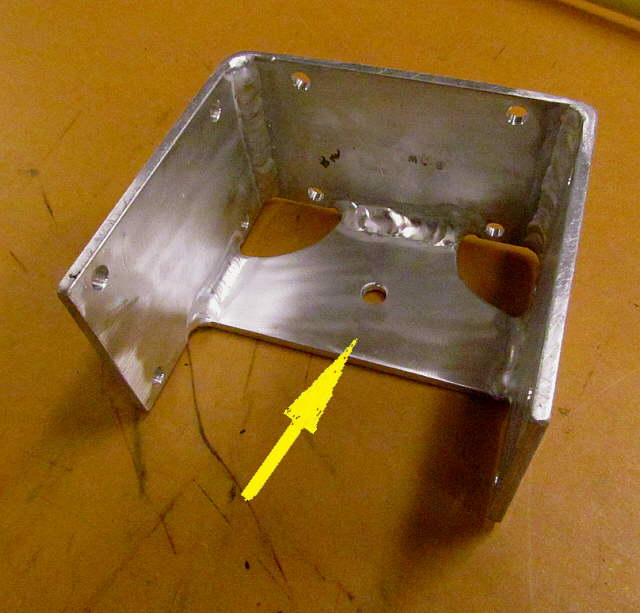
The front "U" received a bottom piece welded into it that has a mounting hole in the middle.
..............
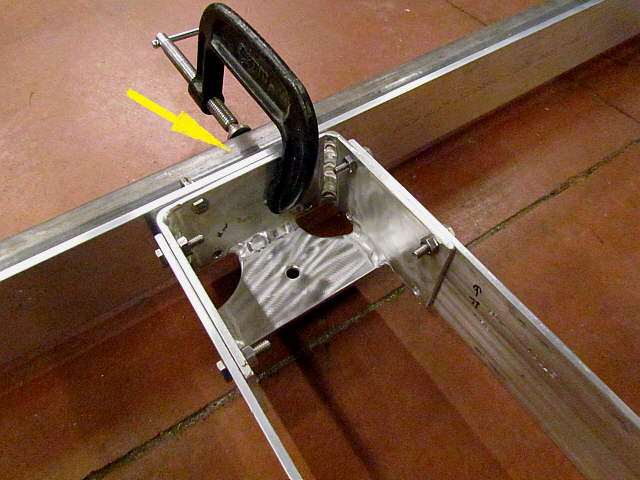
Here it is mounted back onto the framework. To keep the framework square for the next step a heavy piece of 2 X 2 square tubing was clamped to the leading edge of the frame.
..............
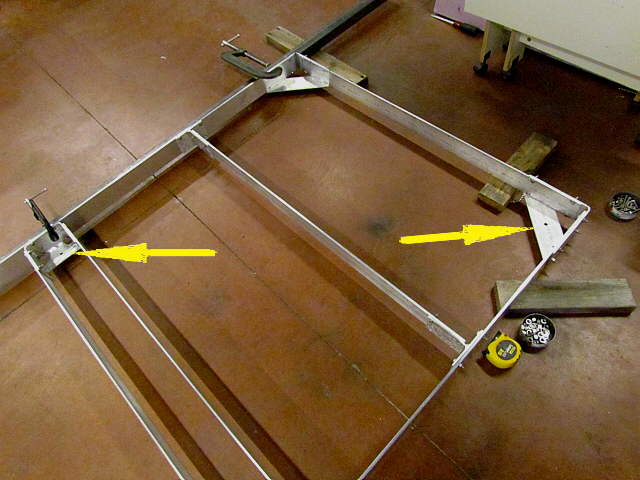
Another hole was drilled into both of the back corner pieces.
..............
A piece of metal strap will be connect to the two holes, arrows to square the frame up.
..............
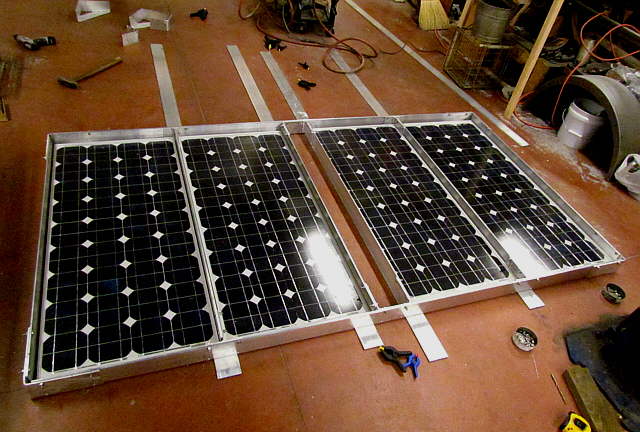
Above I had the frame squared with pieces of wood and the square tubing across the front. The back frame was then begun. There will be no middle panel, arrow, as that area will remain open for now for acess to opening and closing the ....
..............
... window covering on the bimini shown further up the page and above. The middle panel was only there for spacing purposes. If I can do that from the front of the bimini and there is need for more solar a panel could go in that location. We will have an extra panel stored onboard in case we broke one while out.